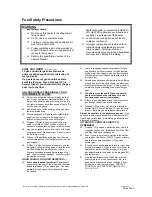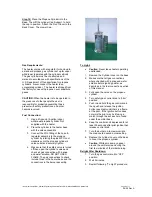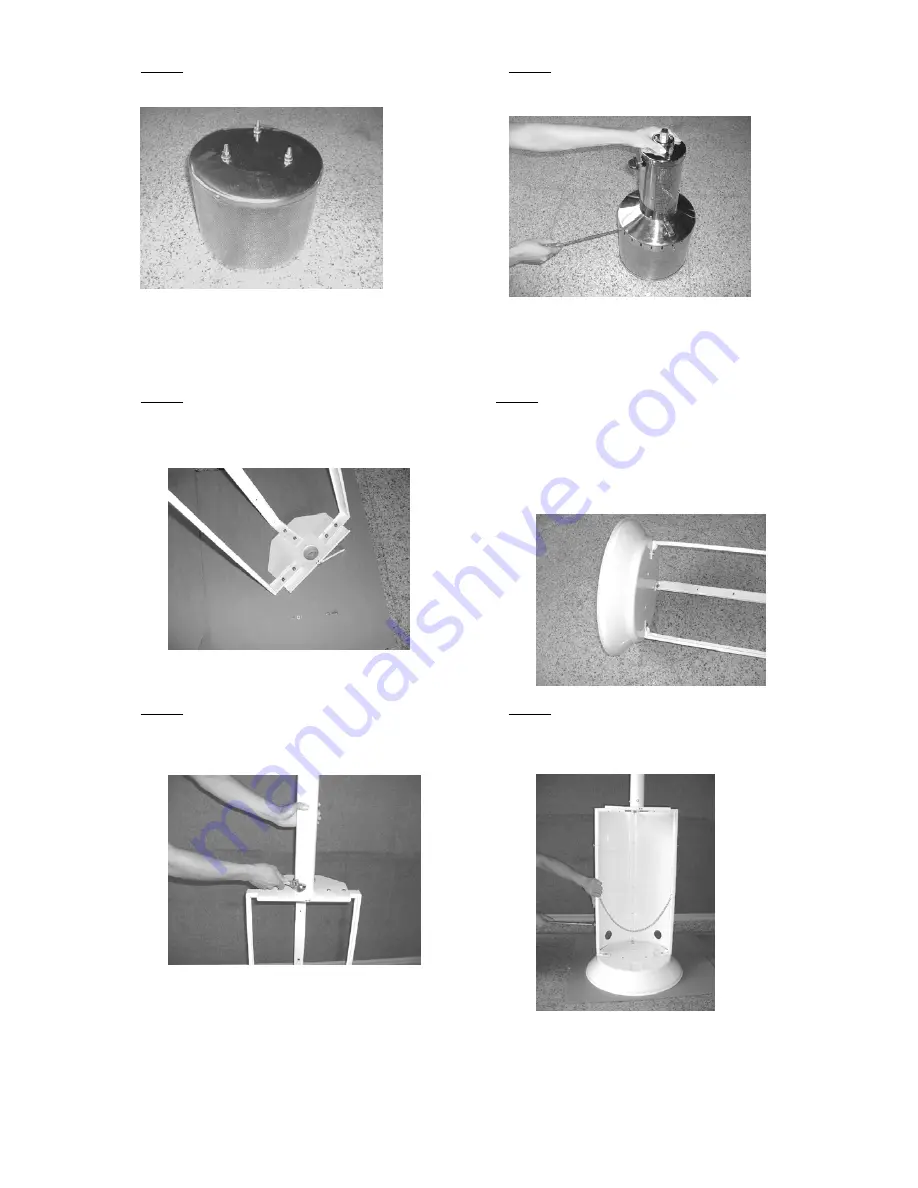
Step 2:
Tighten the 3 nuts on the emitter top.
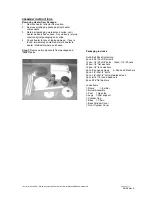
Step 3:
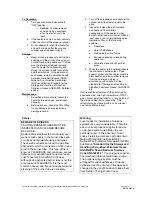
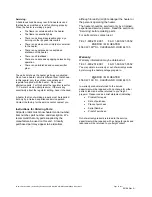
Attach Emitter Assembly to Burner Assembly
(4-screws 3/16"-24
×
3/8")
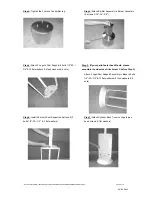
Step 4:
Attach 3 Legs to Post Support (6 bolts 1/4"-20
×
3/4"& 12 flat washers & 6 lock washers & 6 nuts)
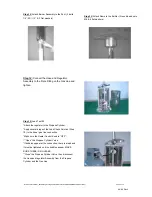
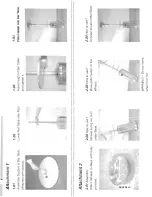
Step 5: (If your patio heater has Wheels, please
assemble the wheels as Attachment 2, before Step 5).
Attach 3 Legs/Post Support Assembly to Base (6 bolts
1/4"-20
×
3/4"& 12 flat washers & 6 lock washers & 6
nuts)
Step 6:
Install Post onto Post Support and attach it (3
bolts 1/4"-20
×
1/2" & 3 flat washers)
Step 7:
Attach Cylinder Back Cover to Legs (4-pan
head screws, 4-flat washers)
\\Commserv\Users\EGI_Shared\Engineering\Labels & Manuals WIP\MH40PH\MH40PH Manual.doc
Page 5 of 11
06/08 Rev A
Summary of Contents for MH40PH
Page 12: ...06 08 Rev A...


