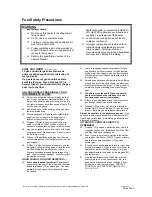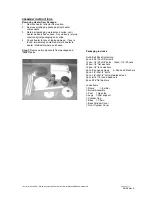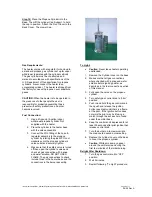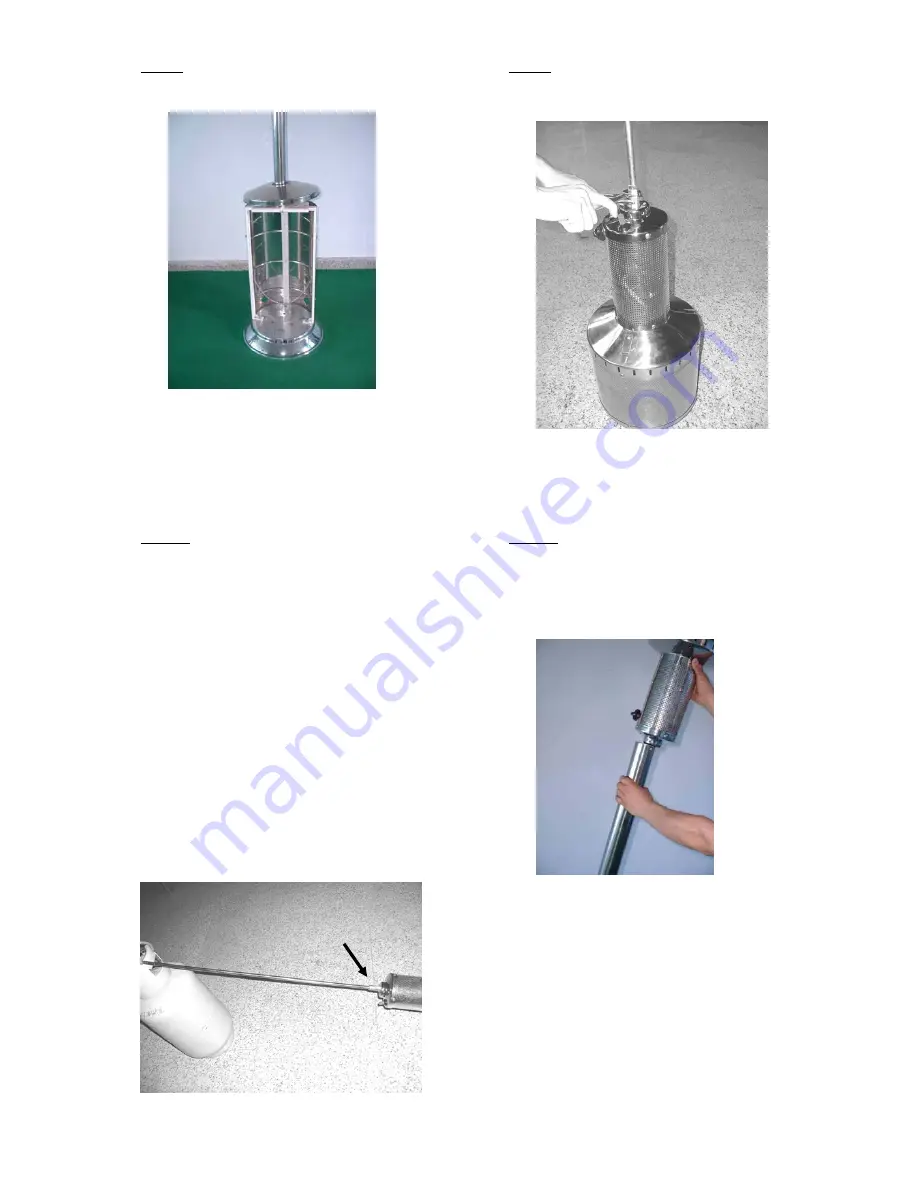
Step 8:
Place Cylinder Cap onto Post pull into place.
Step 9:
Assemble the Gas Line to the Burner Assembly
and tighten.
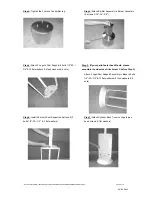
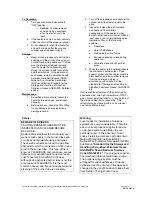
Step 10:
Leak Test #1:
*Mix a leak check solution (1-part liquid dishwashing
detergent to 3-parts water).
*Connect the Hose and Regulator Assembly to the Gas
Line and tighten. Then connect the Regulator to the
propane cylinder.
*Apply several drops of the leak check solution to the
gas connection at the burner assembly.
*Make sure that the heater control knob is turned “OFF”.
*”Open” the Propane Cylinder Valve.
*If bubbles appear at the connection, there is a leak and
it must be tightened until no bubbles appear. MAKE
SURE THERE IS NO LEAKS.
*”Close” the Propane Cylinder Valve, then disconnect
the Hose and regulator Assembly from the Propane
Cylinder and the Gas Line
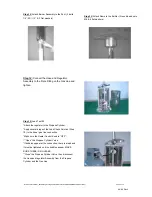
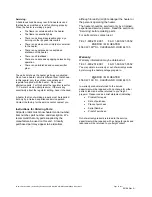
Step 11:
(please read the NOTE)
Carefully insert the Gas Line into the Post.
Take great care not damage the flare fitting on the Gas
Line that will connect to the Hose and Regulator.
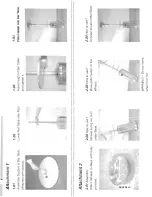
**NOTE:
If your patio heater has a Bar Table, please assemble
the table as Attachment 1, before Step 11.
\\Commserv\Users\EGI_Shared\Engineering\Labels & Manuals WIP\MH40PH\MH40PH Manual.doc
Page 6 of 11
06/08 Rev A
Summary of Contents for MH40PH
Page 12: ...06 08 Rev A...


