Page 11
mrcool.com
Unit Installation - OPTION 1: Conventional Weld / Flare Line Set
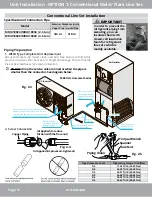
Conventional Line Set Installation
IMPORTANT
Specification of Connection
Pipe
Piping Preparation
1. WELD Type Complete Unit Replacement
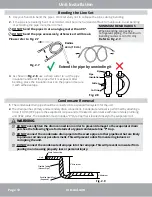
All cut ends are to be round, clean, and burr free. Failure to follow this
practice increases the chances for refrigerant leakage. Ensure that the
line set size matches service valve connection.
DO NOT
crimp the service valve connector when the pipe is
smaller than the connector. See diagram below.
2. Screw Connection
Copper Piping
Oil Applied (to reduce
friction with the flare nut)
Oil Applied (improves air-tight seal)
Fig. 2.5
Fig. 2.4
Fig. 2.3
Torque Wrench
Spanner
Piping Union
Flare Nut
Model
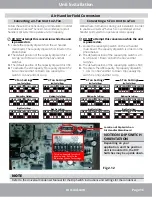
MDUI18024/MDUI18036 (2-3 ton)
Purge with
Nitrogen
Must open stop valves
after pulling vacuum
and before powering
on unit
Weld joint
Weld joint
Air Handler
MRCOOL Universal Series
DC Inverter
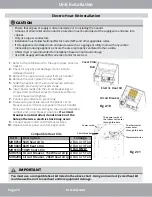
Open stop valves on the condenser and air
handler with 5 mm & 8 mm allen wrenches
only after the line set connections have been
completed but before powering on the unit.
Must install filter
drier biflow with this
installation type
Must Purge with Nitrogen
before brazing joints
Must Purge with
Nitrogen before
brazing joints
MDUI18048/MDUI18060 (4-5 ton)
Vapor Pipe Liquid Pipe
3/4 in
3/8 in
In order to prevent the
refrigerant piping from
sweating, you can
insulate them with
closed-cell insulation
foam for refrigerant
line sets which is
readily available.
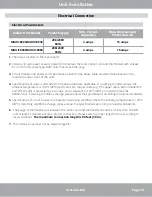
Pipe diameter (inch)
1/4
3/8
1/2
5/8
3/4
7/8
26-29 ft/lb (35-40 Nm)
33-37 ft/lb (45-50 Nm)
44-48 ft/lb (60-65 Nm)
52-55 ft/lb (70-75 Nm)
59-63 ft/lb (80-85 Nm)
11-22 ft/lb (15-30 Nm)
Tightening torque ft/lb (Nm)
External Diameter (inch)


