Studiobot TX90 Quick Start Guide
20
Starting up the Studiobot TX90 system
Once you have attached all the cables, you power up the rig by switching
on the components in the order described below.
1.
Make sure you have secured the area around Studiobot
TX90. Put up guard rails around Studiobot TX90 (and
the track) as necessary, and tell others on the set that
you are now powering up the rig.
2.
Release the E-stop on the
Studiobot TX90 Base
by
turning the red button clockwise until the button pops
up. Also make sure the key is in the clockwise position.
Do not release the other E-stop by the computer
stack yet.
3.
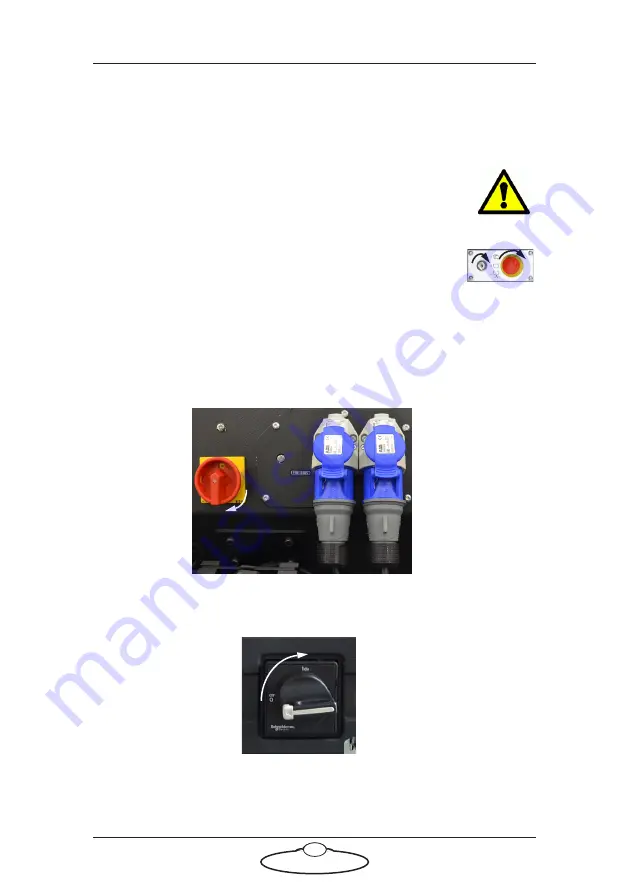
Power up Studiobot TX90 itself as follows:
The Studiobot TX90 power-up sequence takes about three minutes.
Turn on the power switch on
the side of the Studiobot
TX90 Base.
For StudiobotTX90 On
Pedestal, turn on the power
switch on the Stäubli CS8.
Summary of Contents for MRMC-2000-00-JB-0053
Page 19: ...Studiobot TX90 Quick Start Guide 15 Notes...
Page 35: ...Studiobot TX90 Quick Start Guide 31 9 Type AT to get a menu of commands...
Page 38: ...Studiobot TX90 Quick Start Guide 34 2 AT Debug 2 command gives you the following information...
Page 53: ...Studiobot TX90 Quick Start Guide 49 Notes...
Page 57: ...Studiobot TX90 Quick Start Guide 53 4 The Cabinet Temperature is shown on the pendant screen...
Page 58: ...Studiobot TX90 Quick Start Guide 54 Notes...
Page 62: ...Studiobot TX90 Quick Start Guide 58 Notes...


