USER MANUAL SWG
Page 60 of 129
•
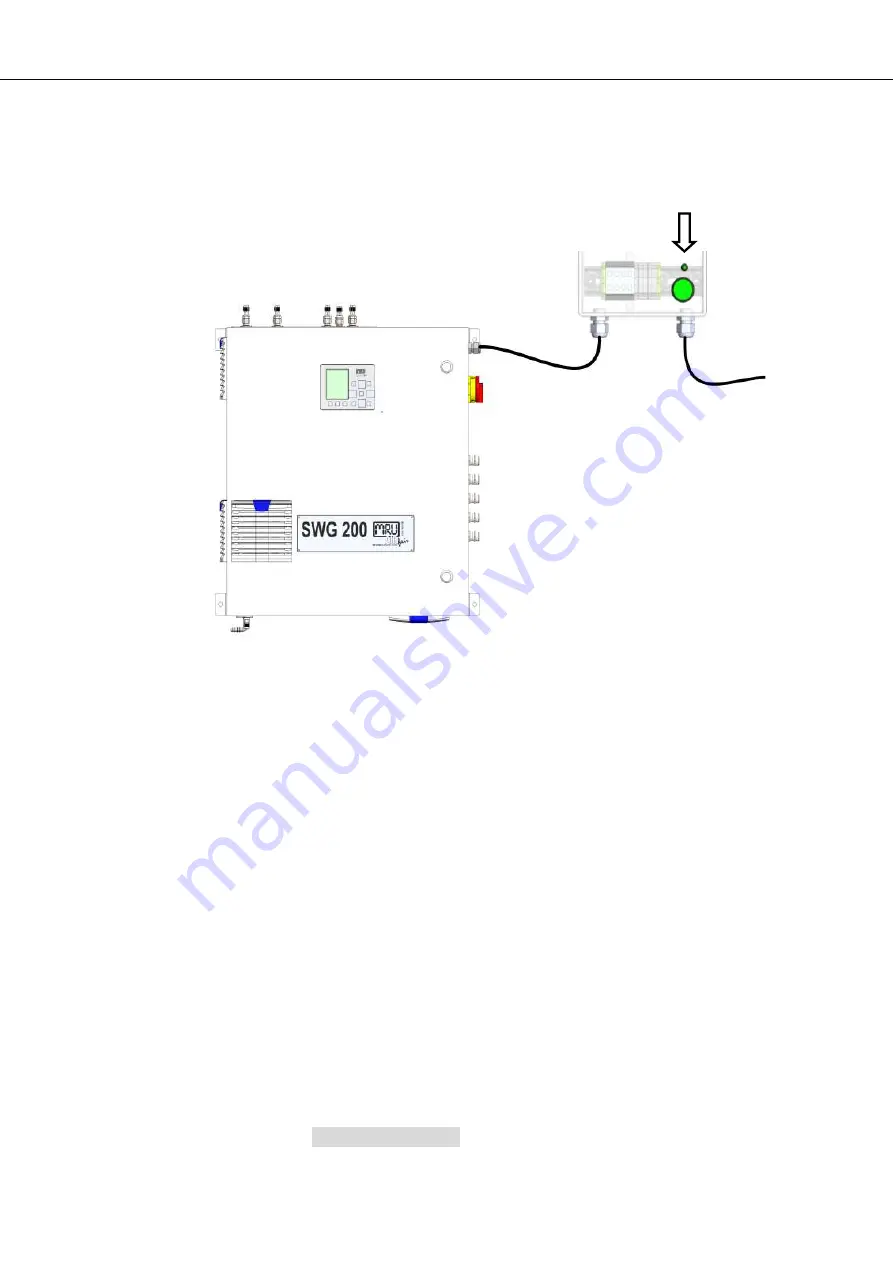
Press the power switch of the remote power supply box.
Wait until the system is ready for operation. The green LED
on the remote power supply box will glow.
•
The analyser will start and firmware will boot. Wait until the
first Self-Test is completed.
5.2.
Checking list for commissioning
After the first start of the analyser it is necessary to make some settings at the
analyser. These settings are:
•
Check the country and language.
•
Check the date and time of the instrument.
•
Configuration of the alarm relays.
•
Configuration of the Modbus.
•
Configuration of the external control via relay contacts (IO
module).
•
Configuration of the analog outputs at the I/O module.
•
Configuration of the AUX inputs at the I/O module.
•
Configuration of the alarm outputs at the I/O module.
•
Configuration of the auto calibration.
5.3.
Check country and language
Important note:
In case the analyser shows a language you don't understand, you may swap the
language to English by pressing the menu key and selecting the function 'Set
English language'.
Use the menu
E
XTRAS
–
G
ENERAL
S
ETTINGS
.
Press for 3 sec.
Summary of Contents for SWG 100 SYNGAS
Page 1: ...SWG 100 SYNGAS USER MANUAL ...
Page 12: ...USER MANUAL SWG Page 12 of 129 11 H3PO4 inlet G1 8 inner thread ...
Page 24: ...USER MANUAL SWG Page 24 of 129 ...
Page 32: ...USER MANUAL SWG ...
Page 63: ...USER MANUAL SWG Page 63 of 129 Detail A Alarm Relais ...
Page 89: ...USER MANUAL SWG Page 89 of 129 8 3 Description of the analyser 1 1 1 1 2 ...
Page 99: ...USER MANUAL SWG Page 99 of 129 ...
Page 110: ...USER MANUAL SWG Page 110 of 129 12 Appendix ...
Page 114: ...USER MANUAL SWG Page 114 of 129 ...
Page 116: ...USER MANUAL SWG Page 116 of 129 Positions of the components 3 4 ...
Page 127: ...USER MANUAL SWG Page 127 of 129 ...
Page 129: ...USER MANUAL SWG Page 129 of 129 ...


