background image

INSTALLATON INSTRUCTIONS

NOTE: 

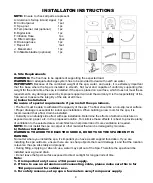
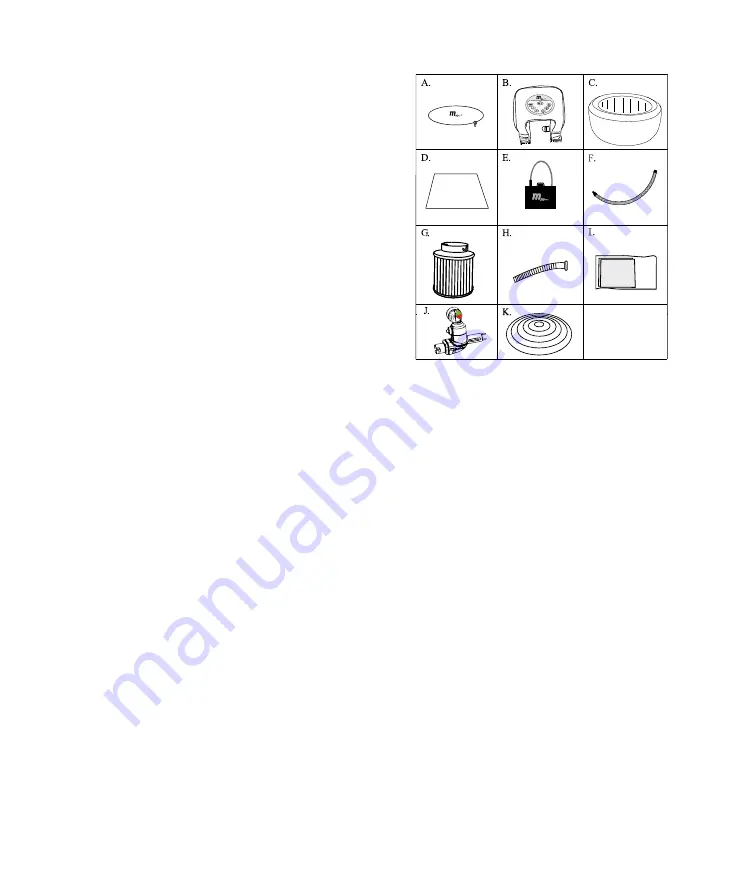
Ensure to check all parts are present.

A: Aluminium foil top lid and zipper   1pc

B: Control panel                                1set 

C: Spa pool                                       1pc

D: Temp barrier mat (optional)          1pc

E: Digital lock                                    1pc

F: Inflation Hose                                1pc

G: Filter cartridge                               pcs

H: Drainage hose                              1pc 

I:  Repair kit                                       1set

J:  Manometer                                   1pc

K: Inflatable bladder (optional)          1pc

A. Site Requirements

WARNING: 

The floor has to be capable of supporting the expected load. 

WARNING:

 An adequate drainage system has to be provided to deal with overfl ow water. 

IMPORTANT:

 Because of the combined weight of the spa, water, and users, it is extremely important 

that the base where the Spa is installed is smooth, flat, level and capable of uniformly supporting this 

weight for the entire time the spa is installed. If the spa is placed on a surface, which does not meet these 

requirements, any damage caused by improper support will void the warranty. It is the responsibility of the 

Spa owner to assure the integrity of the site at all times. 

a) Indoor Installation:


Be aware of special requirements if you install the spa indoors.

• The floor must be able to withstand the capacity of the spa. The floor should be a non-slip, level surface. 

• Proper drainage is essential for indoor spa installation. When building a new room for the spa, it is 

recommended that a floor drain be installed. 

• Humidity is a naturally side effect with spa installation. Determine the effects of airborne moisture on 

exposed wood, paper, etc. in the proposed location. To minimize these effects it is best to provide plenty 

of ventilation to the selected area. An architect can help determine if more ventilation is needed. 

NOTE:

 Do not install the spa on carpet or other material that can be damaged by moisture.  

b) Outdoor Installation:


WARNING: TO AVOID THE ELECTRIC SHOCK, DO NOT USE THE SPA WHEN IT IS 

RAINING. 

No matter where you install the spa, it’s important you have a solid support foundation. If you are 

installing the spa outdoors, ensure there are no sharp objects that could damage it and that the location 

is level so the spa sits stably and properly. 

• During filling, emptying or when in use, water may spill out of the Spa. Therefore the spa should be 

installed near a ground drain. 

• Do not leave the Spa’s surface exposed to direct sunlight for long periods of time. 

Note:

1. It is important only to use a 16A power supply.

2. If have to use an extension cord/connecting cable, please make sure this is for 

    16A purpose and for outdoor use.

3. For safety reasons, set up spa a few meters away from power supply. 

4

Summary of Contents for B-110 Silver Cloud

Page 1: ...001...

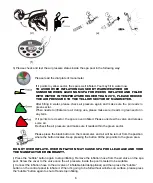
Page 2: ...spa WARNING Disconnection must be incorporated in the xed wiring in accordance with the wiring rules And the disconnection intended to ensure all pole disconnection WARNING Spray head must not be used...

Page 3: ...ation may induce drowsiness while other medication may affect heart rate blood pressure and circulation WARNING TO REDUCE THE RISK OF INJURY Never pour water which higher than 40 C 104 F into the spa...

Page 4: ...evel surface Proper drainage is essential for indoor spa installation When building a new room for the spa it is recommended that a oor drain be installed Humidity is a naturally side effect with spa...

Page 5: ...er with inflatable bladder optional being used It s only possible to setup and leave the spa at outside temperature less then 4 C as long as the spa has a constant water temperature guaranteed more th...

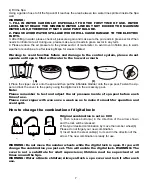
Page 6: ...to shut off and stop in ating After filling in water please check air pressure again and make sure the pin reads in green sector When needs to inflate more air during use please make sure it reads in...

Page 7: ...zipper cover onto the spa and then put the in atable bladder onto the spa pool Fasten the zip per and lock the cover to the spa by using the digital lock in the accessory pack Note Please remember to...

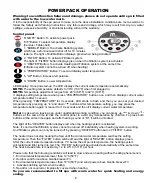
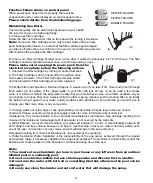
Page 8: ...hen heating system is working And filtration system can only be turned off by pressing HEATER button but not FILTER button The heater does not stop heating the Spa until the current water temperature...

Page 9: ...can change to a clean filter once a week while the other is being cleaned Let the cleaned filter to be totally dry before using it again If your water quality contains earth particles or iron particl...

Page 10: ...ined unscrew the complete part of the air valve on the spa pool and the spa will be de ated Make sure all water is drained from the Spa and control box This is essential to extend the life of the spa...

Page 11: ...11...

Page 12: ...e use or loss of use installation or repair of the Spa including but not limited to freight damage punctures cuts in vinyl water and or sewage costs freeze damage or water damage to surrounding areas...

Reviews: