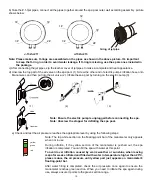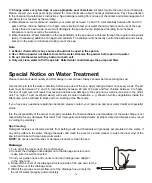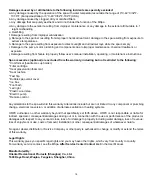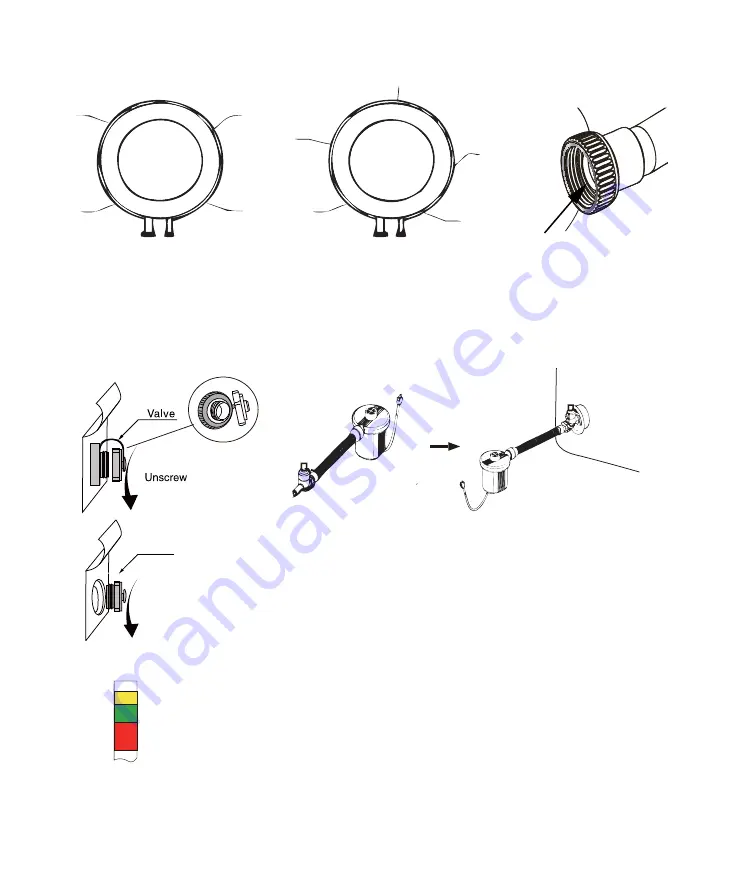
b) Take the #.1-3jet pipes, connect all the pipes together around the spa pool outer wall according assembly picture
shows below:
Note: Please make sure O-rings are assembled on the pipes as shown in the above picture. It’s important
to keep the O-ring in order to avoid water leakage. If O-ring is missing, use the spare ones included in
the package.
c) After connecting the jet pipes, zip the leather cover of jet pipes to make a complete and neat appearance.
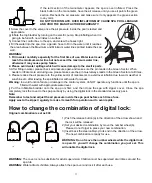
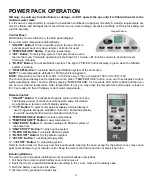
d) Unscrew the top part of the air valve on the spa pool (1). Screw the other end of electric pump’s inflation hose onto
Manometer, and then put into the air valve. (2). Inflate the spa pool by turning on the electric pump (3).
Note: Ensure the electric pump is unplugged before connecting the spa.
Note: Unscrew the stopper for deflating the spa pool.
1#
1#
1#
1#
1#
2#
2#
3#
3#
J-132/J-211
J-152/J-213
O-ring of jet pipe
Valve
Unscrew
(
1
)
(2)
(
3
)
10
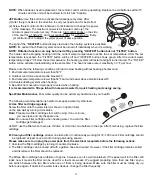
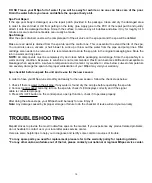
e) Check and test the air pressure reaches the appropriate level by using the following steps:
Note: The top white section on the floating-point bar of the manometer only appears
when not in use
During inflation, if the yellow section of the manometer is pushed out, the spa
inflation is completed. You can fill the spa with water at this point.
yellow
green
red
To avoid over inflation caused by warm weather or sunshine when leaving
mspa for weeks inflated and filled with water in temperature higher than 20°C,
please reduce the air pressure until yellow part just appears on manometer's
floating-point bar.
After water filling is completed, check the air pressure once again to ensure the
manometer reaches green section. When you need to inflate the spa again during
use, always ensure it points to the green section range.


