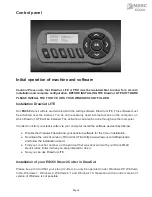
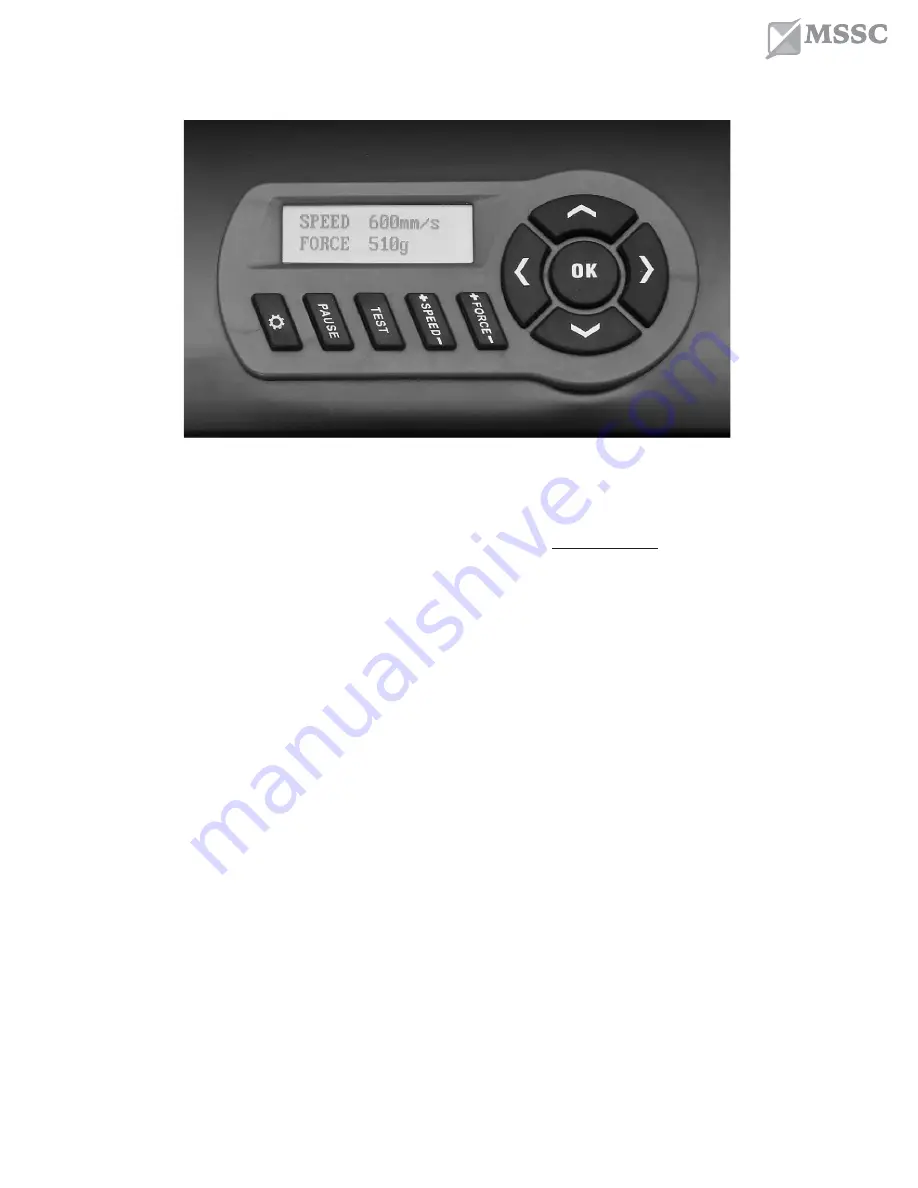
background image

Control panel 


Initial operation of machine and software 
 

Caution! Please note that DrawCut LITE or PRO must be installed first to allow for a smooth


installation and complete configuration. BEFORE INSTALLING THE DrawCut LITE SOFTWARE

PLEASE INSTALL THE FONT CD INTO YOUR WINDOWS FONT FOLDER.


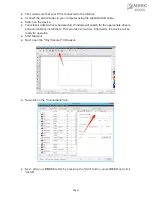
Installation DrawCut LITE 

Our 

ESC60

 stencil cutters are delivered with the cutting software DrawCut LITE. This software must 


be activated over the internet. You do not necessarily need internet access on the computer, on


which DrawCut LITE will be installed. The activation can also be done through another computer.


In order to control your stencil cutter via your computer, install the software as described below:


Disable the Windows Firewall and your antivirus software for the time of installation.  

Download the current version of DrawCut LITE at http://www.drawcut.com/#downloads  
and follow the installation wizard. 

Find your voucher number on the printout that was delivered with your StencilMAX


stencil cutter. Enter it when you are prompted to do so.


Now you can use DrawCut LITE. 


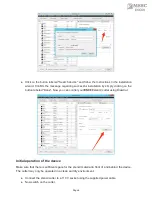
Installation of your ESC60 Stencil Cutter in DrawCut


Please keep in mind that your stencil cutter can only be operated under Windows XP, Windows


Vista, Windows 7, Windows 8, Windows 8.1 and Windows 10. Operation with an older version of


version of Windows is not possible. 


Page 6

ESC60

Summary of Contents for ESC60

Page 1: ...26 McDonough Lake Rd Collinsville IL 62234 618 343 1006 Congratulations on the purchase of your new stencil cutter Please read through this operating manual carefully to easily integrate your unit int...

Page 2: ...nsure that the wall socket used is grounded and protected with a ground fault switch Ensure that the connected voltage 110V does not deviate by more than 10 Otherwise install a voltage stabilizer Pull...

Page 3: ...Page 3 2 ESC60...

Page 4: ...Assembly of the oor stand Your ESC60 stencil cutter s oor stand is easy to assemble using the supplied parts Simply follow these steps Step 1 and 2 Step 3 and 4 Done Page 4 ESC60...

Page 5: ...heir function a Cutting head b Control panel c Blade holder d Pressure lever for all pinch rollers w out g e USB interface f Roll mount g Pinch rollers h Floor stand i Power supply and power switch w...

Page 6: ...e through another computer In order to control your stencil cutter via your computer install the software as described below Disable the Windows Firewall and your antivirus software for the time of in...

Page 7: ...cutter will now be detected Windows will search for the appropriate drivers and automatically install them This can take some time Afterwards the device will be ready for operation Start DrawCut Next...

Page 8: ...n labeled Done Now you can control your ESC60 stencil cutter using DrawCut Initial operation of the device Make sure that there is su cient space for the stencil material in front of and behind the de...

Page 9: ...material thicknesses require di erent blade settings or even special blades it may therefore be necessary to repeat the adjustment described above Inserting the blade holder First su ciently loosen t...

Page 10: ...hat you can easily check the test cut You can check the adjustment of the blade holder as well as the contact pressure with this cutting test The inserted material should be cut cleanly and straight d...

Page 11: ...Pressing the arrow keys lets you move the cutting head left or right as well as move the material forwards or backwards The corresponding X and Y coordinates are shown on the display Setting the zero...

Page 12: ...ase and reduce contact pressure The cutting speed and contact pressure cannot be changed while a plotting job is in progress Other settings The con guration menu is opened by pressing and holding the...

Page 13: ...length of 100 cm was entered on the computer is cut on the stencil cutter to a length of only 98cm it is necessary to correct the corresponding scaling value on the plotter Otherwise these values sho...

Page 14: ...Wizard Once the calibration is complete you can start cutting Page 14 Write down your blade o set ESC60 Calibration The rst step is to open the Vinyl Spooler If you need to calibrate your machine to...

Page 15: ...ing instructions to prevent unnecessary wear and tear of your drag knives and to achieve a long life of these products instead In any case avoid cuts into the carrier of the stencil material The deepe...

Page 16: ...klit graphic LCD screen Max Speed 3 1ft s Max Media thickness 0 04 Contact pressure 50g 750g Mechanical Resolution 0 0005 Repetition accuracy 0 004 Power supply AC 90V 240V 50Hz 60Hz Environment 41 F...

Reviews: