Deck and Transmission
35
12.
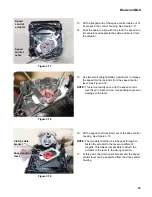
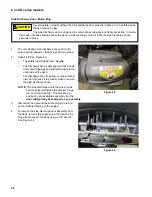
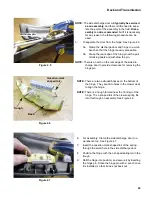
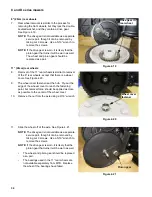
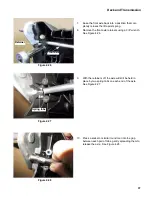
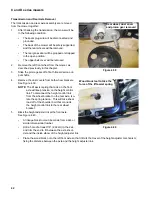
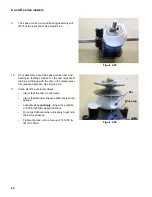
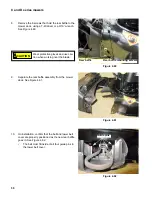
The pinion gear slides off of the transmission drive
shaft. See Figure 4.22.
NOTE:
Apply a small amount of anti-seize compound to
the splines when installing the pinon gear, but do
not use a grease lubricant on the teeth of the
gears. Grease will attract dust, becoming an
abrasive paste rather than a lubricant.
NOTE:
The 42-tooth ring gear inside the 8” wheel is driven
by a 10-tooth pinion gear. The 52-tooth ring gear
inside the 11” wheel is driven by a 9-tooth pinion
gear. The transmissions are identical. The 9-tooth
pinoin gear will fit into the 8” wheel, but it will not
mesh with the ring gear. The 10-tooth pinion is
taller than the 9-tooth pinion, and it will not allow
the 11” wheel to seat fully on its axle.
13.
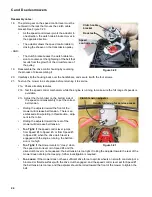
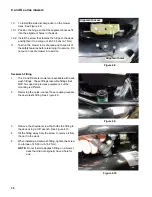
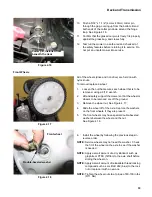
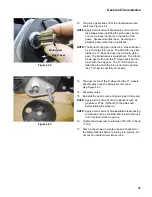
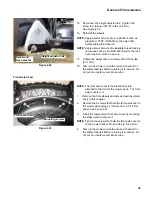
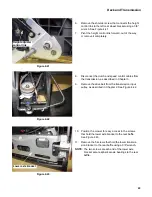
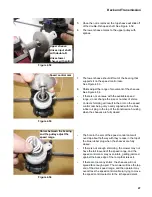
The dust covers of the 8” wheel and the 11” wheels
slip off easily once the wheels are removed.
See Figure 4.23.
14.
Assembly notes:
15.
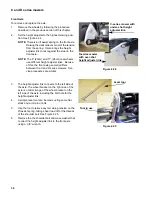
Reinstall the dust covers and pinion gear if removed.
NOTE:
Apply a small amount of a dry lubricant such as
graphite or PTFE (Tefflon®) to the axle shaft
before sliding the wheel on.
NOTE:
Apply a small amount of releasable thread locking
compound such as Loctite® 242 (blue) to the lock
nut or replace it with a new one.
16.
Tighten the wheel nuts to a torque of 80-100 in lbs (9-
11 Nm)
17.
Test run the mower in a safe area and check all of
the safety features before returning it to service. Do
not put an unsafe mower into service.
Figure 4.22
Pinion gear
Dust cover
Figure 4.23

