C and D series mowers
42
Transmission and Rear Axle Removal
The transmission and rear axle assembly are removed
from the mower together:
1.
After checking the transmission, the mower will be
in the following condition:
•
The spark plug wire will be disconnected and
grounded.
•
The back of the mower will be safely supported,
and the rear wheels will be removed.
•
The rear grass door will be propped or strapped
in the open position.
•
The upper belt cover will be removed.
2.
Remove the left front wheel from the mower, as
described previously in this chapter.
3.
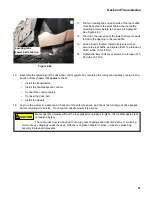
Slide the pinion gears off of both transmission out-
put shafts.
4.
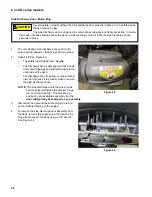
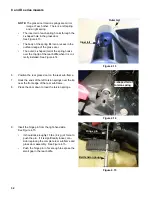
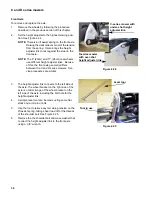
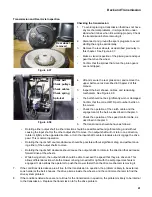
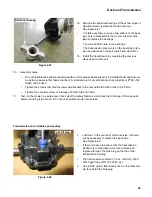
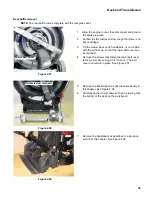
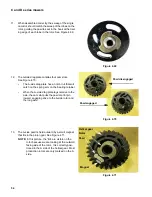
Remove the dust covers from both wheel brackets.
See Figure 4.39.
NOTE:
The lift assist spring that acts on the front
axle will keep tension on the height control
link. To disconnect the height control link
from the wheel bracket on the rear axle, iso-
late the spring tension. This will take shear
load off of the shoulder bolt that connects
the height control link to the rear wheel
bracket.
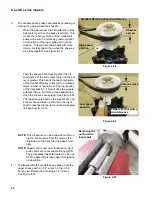
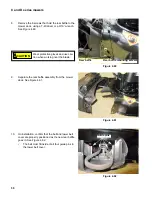
5.
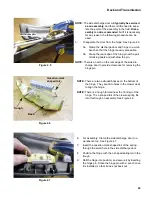
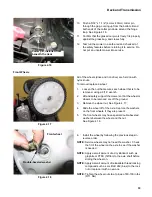
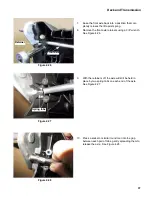
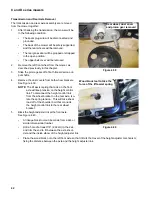
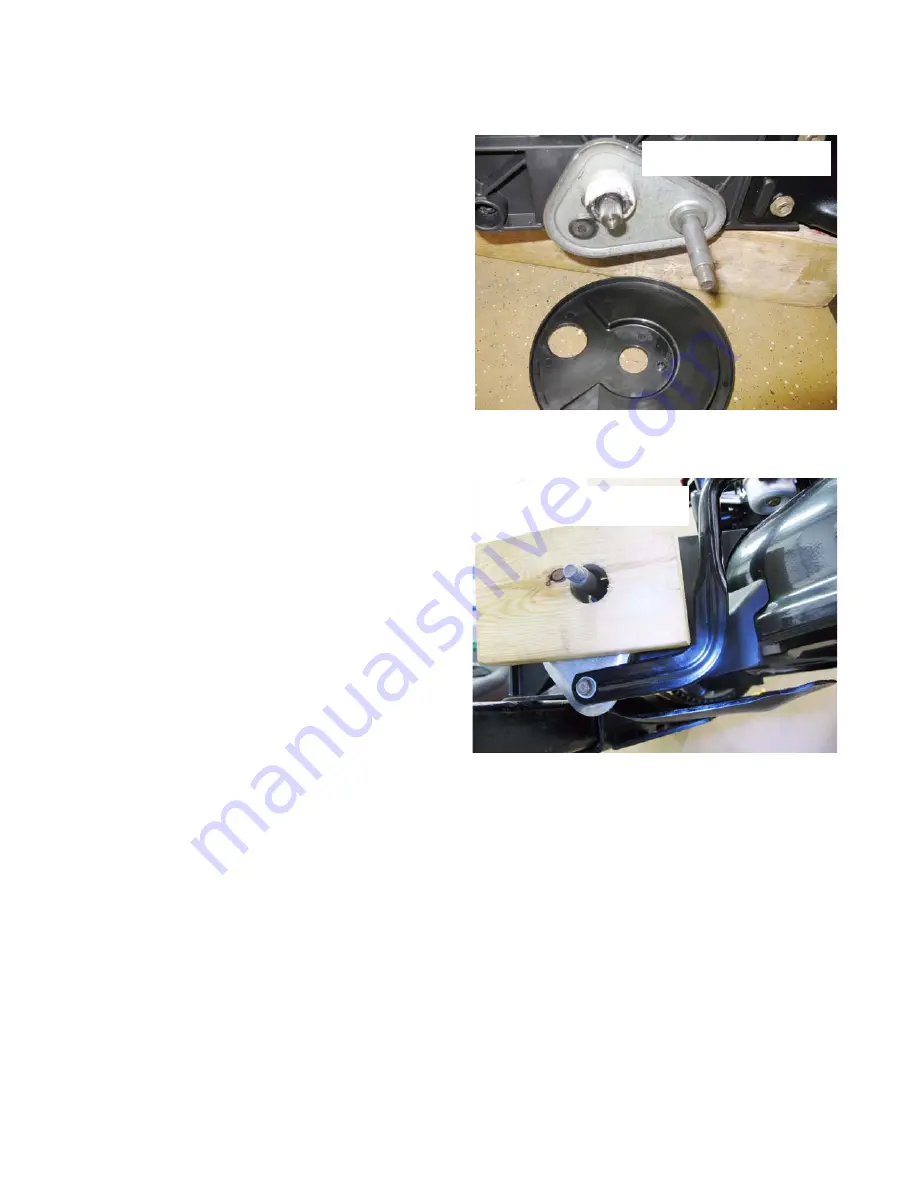
Block the height adjuster link at the front axle.
See Figure 4.40.
•
A linkage block tool can be made from a 2x4 or
similar dimensional lumber.
•
Drill a hole of at least 7/8” (2.22cm) in the 2x4,
and trim the end to fit between the axle shoul-
der and the inside elbow of the height adjuster link.
•
Place the wood block onto the left front axle so that it limits the travel of the height adjuster mechanism;
fixing the distance between the axle and the height adjuster link.
Figure 4.39
Rear wheel, dust cover
and pinion gear removed
Figure 4.40
Wood block tool to take the
force of the lift assist spring

