8
S
ection
3 — A
SSembly
& S
et
-U
p
7.
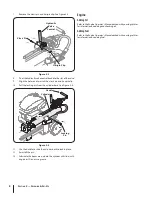
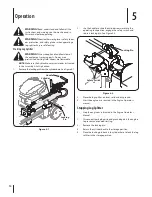
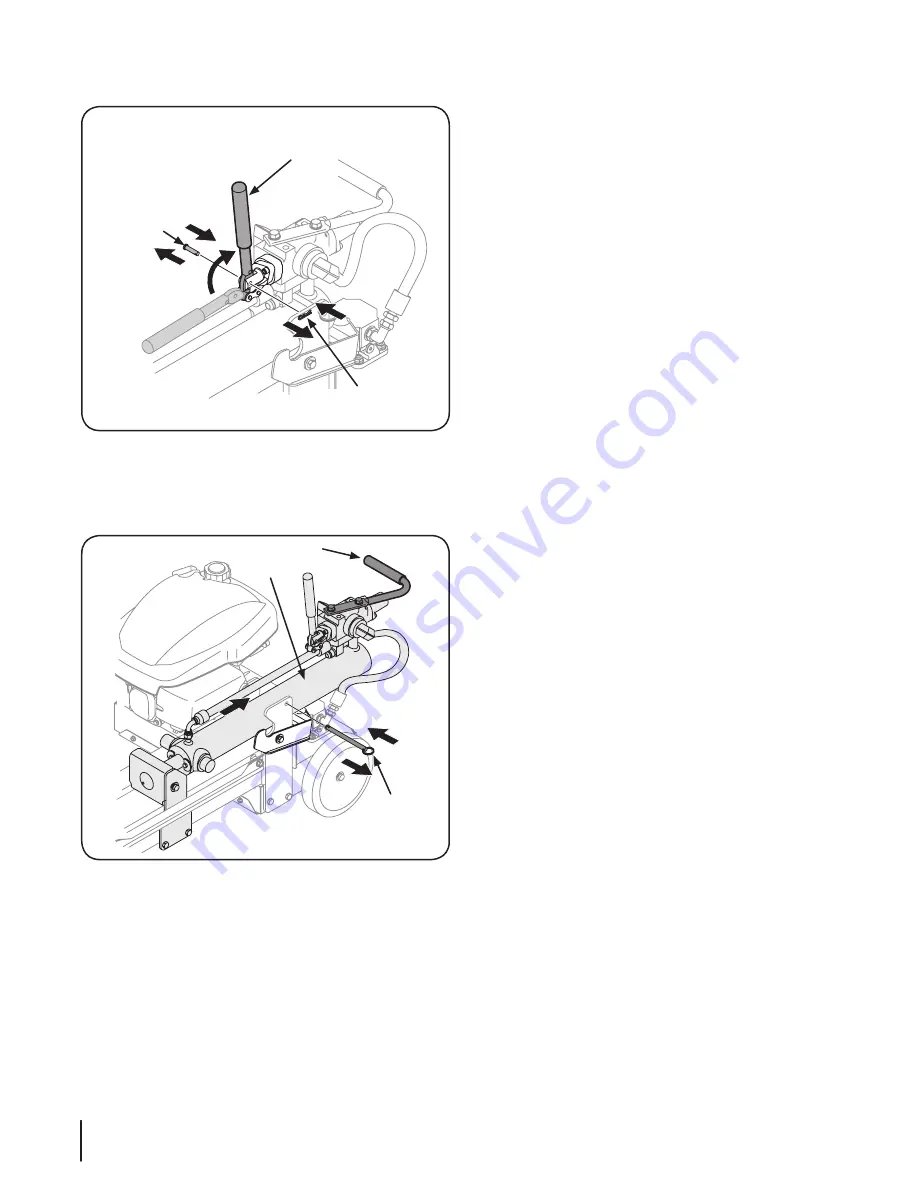
Remove the clevis pin and hairpin clip. See Figure 3-3.
Clevis Pin
Hairpin Clip
Hydraulic
Valve
Control
Figure 3-3
8.
Pivot the hydraulic valve control back into the slot of the valve.
9.
Align the holes and reinstall the clevis pin and hairpin clip.
10. Pull the locking pin from the cylinder base. See Figure 3-4.
Handle
Cylinder
Locking
Pin
Figure 3-4
11. Use the handle to slide the cylinder back to lock in place.
12. Reinstall the pin.
13. Lubricate the beam area (where the cylinder will slide) with
engine oil. Do not use grease.
Engine
Adding Oil
Refer to the Engine Operator’s Manual packed with your log splitter
for information on adding and checking oil.
Adding Fuel
Refer to the Engine Operator’s Manual packed with your log splitter
for information on adding fuel.


