SETTING UP AND CONFIGURING THE DEVICE
Conduit
®
Hardware Guide
27
3.
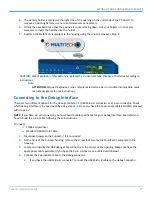
The battery holder is located at the right side of the opening on the underside of the PC board. To
remove an existing battery, use non-metal tweezers as necessary.
4.
Orient the new battery so that the positive (+) pole is facing down. Use your fingers or non-metal
tweezers to insert the battery into the holder.
5.
Reattach the MultiTech nameplate to the housing using the screw removed in Step 2.
CAUTION:
Risk of explosion if this battery is replaced by an incorrect type. Dispose of batteries according to
instructions.
Note:
ATTENTION:
Risque d’explosion si vous remplacez la batterie par un modèle incompatible. Jetez
les piles usagées selon les instructions.
Connecting to the Debug Interface
There are two different options for the debug connector: 1) USB Micro B connector or 2) 3-pin connector. Check
which debug interface is in your device by using steps 1-3. Once you have the appropriate cable available, proceed
with steps 4-7.
NOTE:
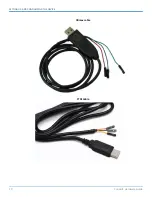
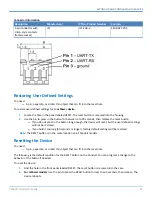
If you have a 3-pin connector, you must build a cable specifically for your debug interface. See details on
how to build the 3-pin cable following these instructions.
You need:
Phillips screwdriver
Standard USB Micro B cable
1.
Disconnect power to the Conduit, if it is connected.
2.
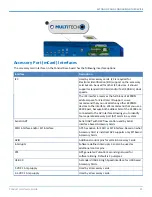
At the front of the Conduit housing, remove the screw that secures the MultiTech nameplate to the
housing.
3.
Locate and identify the USB debug cable connector in the center of the opening. Make sure have the
appropriate cable available (if you have the 3-pin connector, see cable details below).
4.
Connect the appropriate cable to the debug connector.
a.
If you have the USB Micro B connector, connect the USB Micro B cable to the debug connector.


