6
INSTALLATION & OPERATING
MANUAL
FSFCA Universal Mount Fan Coil
12,000-60,000 BTUH
Figure 6
Figure 6
INSTRUCTIONS FOR
INSTALLING THE MOUNTING
BRACKETS AND UNIT
7. Carefully place fan coil into place and
align mounting holes on both sides of the
fan coil with the holes in the mounting
brackets. Secure unit with mounting
bolts.
Figure 6
8. Connections to the indoor unit are
flared connections for both the liquid and
suction lines to the fan coil.
Figure 7
9. Ensure tubing and fittings are in line
with each other before tightening nut to
allow concentric seating of tube onto
flare nut as to prevent leakage. Ensure
the unit’s flared connection is supported
with a backup wrench when removing or
tightening any flair nuts.
10. If installing a TXV at the condenser,
ensure that the liquid line is properly
insulated all the way to the evaporator.
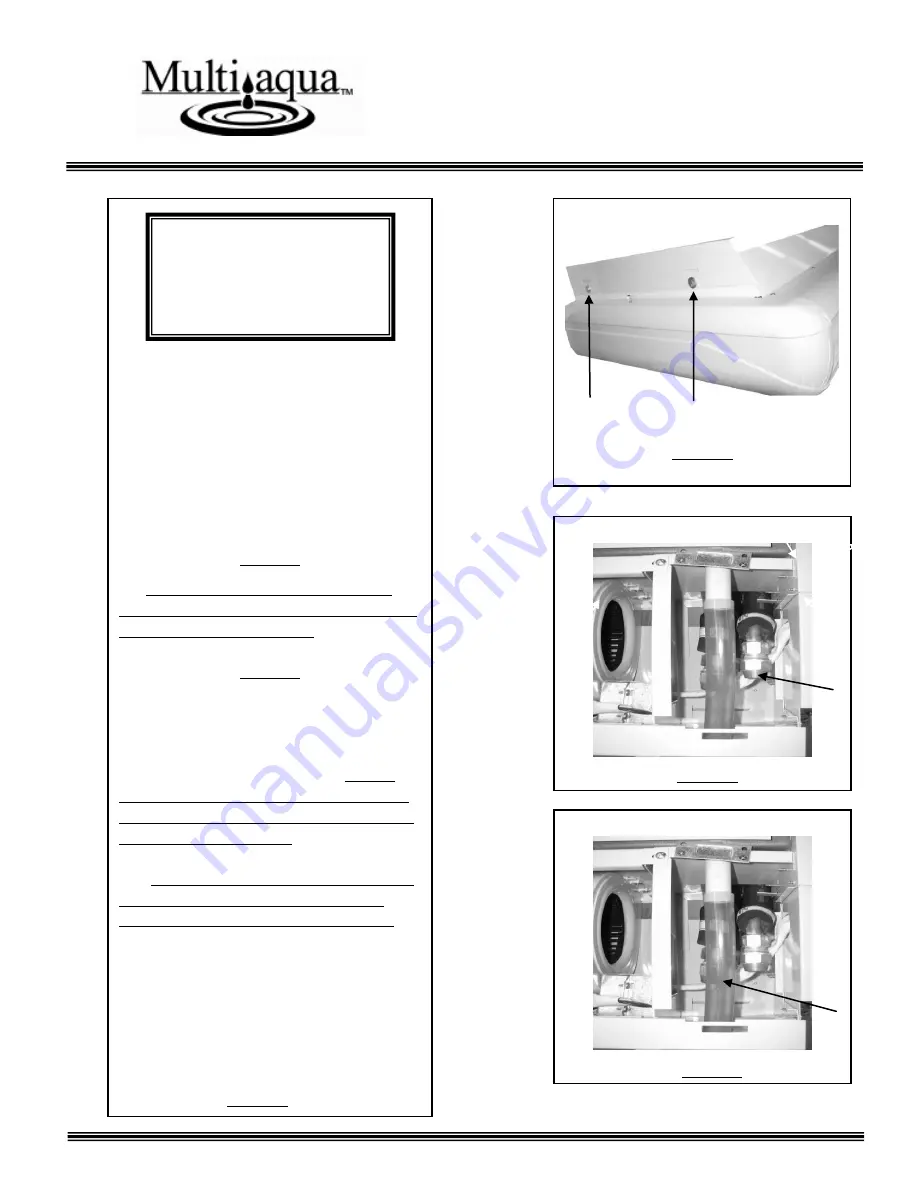
11. Connect the field drain line to the
clear drain tubing provided on the drain
pan of the fan coil. Ensure the drain line
has a ¼” of fall per foot. Insulate the
condensate drain line to prevent
sweating.
Figure 8
Figure 7
Figure 8
-------- CAUTION -------
Care must be taken when
handling sheet metal. Sheet
metal parts have sharp edges
and could cause injury.


