“Settings” Window of Hardware Tab
Most of the settings are predefined. Click the “Sampling Frequency” drop down menu and select
the desired sampling rate. The sampling rate depends on the type of the headstage and the number
of channels in use. In the example on the upper screenshot an 8-channel type headstage is selected.
When recording with all eight available channels the sampling rate is limited to 25 kHz. Recording
with one to four channels only is possible with a sampling frequency of up to 40 kHz.
“Offset Correction” Window of the Hardware Tab
The “Offset Correction” can be used to correct for offsets caused by the connected electrode. The
“Learn Offset” button detects the difference to 0 on all channels individually. Activating the "Offset
Correction" function will subtract those differences from all incoming data to correct the offset.
„
Wireless” Window of Hardware Tab
The additional “Wireless” control panel is an extension of the hardware tab, which is only visible
if a Wireless2100-System is connected.
Click button "Scan" to see all available headstages. Headstages are only available for the system if the
battery is connected, if they are within transmitting range, and have not been switched off previously
by software command.
On the right side the "Available Headstages" are listed with type and serial number. Highlight the desired
headstage and click “Select”. The headstage will now be displayed in the "Selected Headstage" window.
The serial number, the type and the status of the battery charging is displayed. Deselect the headstage
by clicking the button "Deselect". The LEDs on the selected headstage will blink, if they have not been
switched off. In the example above the blue LED is in “Blink” mode, the red LED is off.
On the “Channel” list, any combination of channels can be selected for recording. On the screenshot
above, the first 16 channels of the headstage are selected. Deactivation of channels reduces energy
consumption of the headstage and might allow higher sampling rates
A selected headstage which is not recording is in stand by mode, where it uses about 10 % energy
compared to active recording. To shut it down completely, use the “Switch Off” button. A headstage
which has been switched off will no longer show up in a scan. To reactivate it, you need to shortly
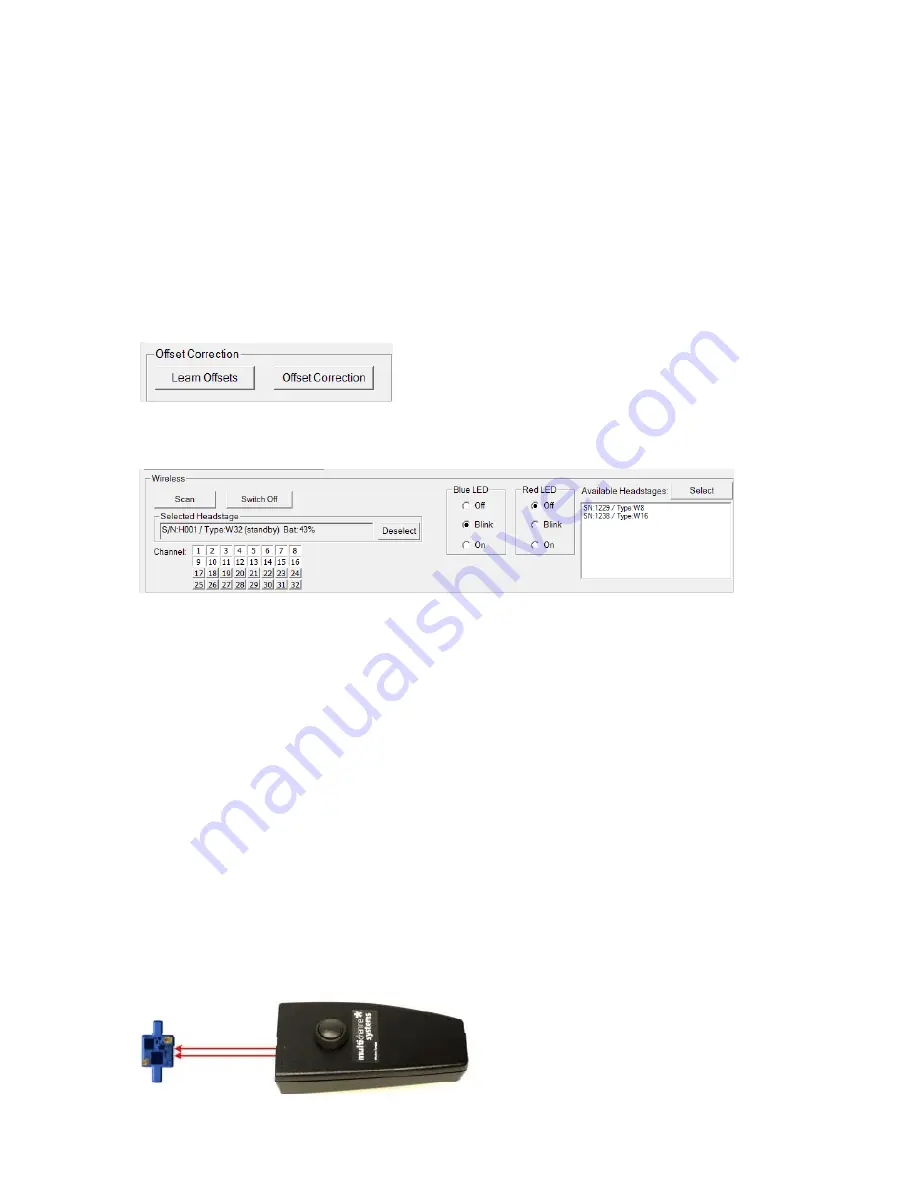
disconnect the battery, or use the infrared “IR-Remote Control”. Aim at the headstage from 5 to
10 cm distance.
Summary of Contents for Wireless2100-System
Page 1: ...Wireless2100 System Manual ...
Page 33: ...Datasheets ...


