Multicom MUL-HDENC-C-100-NA User Manual
(800) 423-2594
All Rights Reserved © 2019 Multicom, Inc.
(407) 331-7779
14
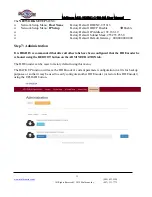
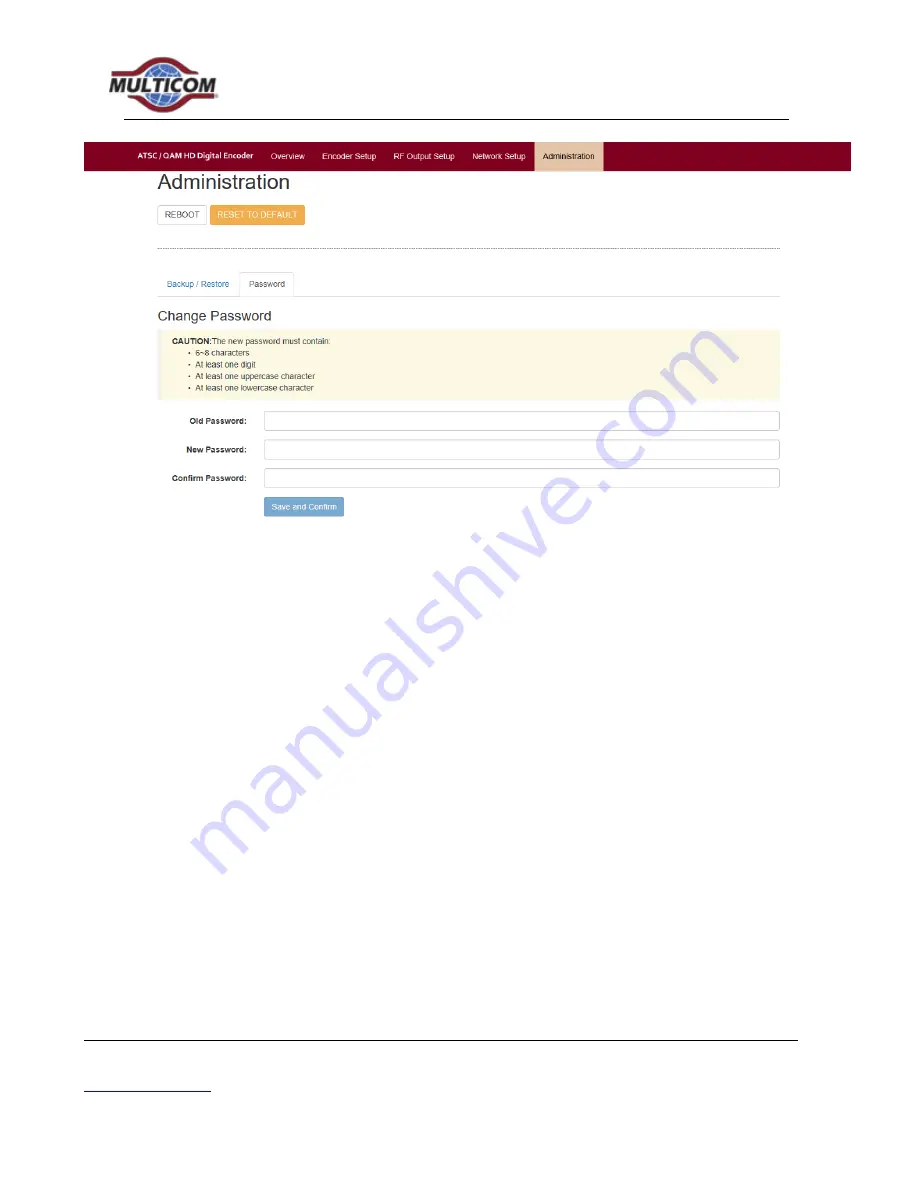
Step 8: Changing Password
Step 9: Hardware Installation and Connections
It is highly recommended that the highest quality cables and connectors be used for all video and audio
source connections.
1.
Ensure the video Source has output.
2.
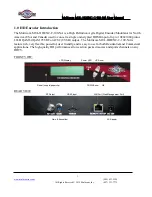
Connect the HDMI cable to the HD Encoder from the Source.
3.
Connect the included AC power adapter cord to the HD Encoder’s 12VDC Power receptacle at the
rear.
4.
Connect the AC adapter to an appropriately rated AC power outlet.
5.
Test the RF output with a CATV meter to ensure that it is within the input range of the connected
TV’s
6.
Connect to the coaxial distribution using the “F” connector at the rear of the HD Encoder. Use a
high quality 75Ω coaxial cable with compression-type “F” connectors from the HD Encoder’s RF
Output. Ensure that all connections are tight.
7.
When the HD Encoder configuration is complete – disconnect the HD Encoder from the
network/Ethernet to insure its security and highest performance


