SETTING UP AND CONFIGURING THE DEVICE
Conduit
®
300 Series IoT Programmable Gateway MTCDT3AC-L4G1/-EN Hardware Guide
21
Chapter 4 – Setting up and Configuring the Device
Install and Connect Hardware
To install and cable the device:
1.
Disconnect power to the device, if it is connected.
2.
Install a Mirco SIM card (3FF).
3.
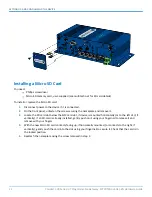
Install a Micro SD card (optional).
4.
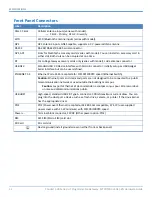
Connect the supplied antenna(s) to the appropriate connector(s) on the front of the device. Connectors
vary with model.
5.
Use one of the Ethernet ports to connect your Conduit 300 to the PC designated to administer your
device. NOTE: Ethernet ports 1-4 form an Ethernet Switch that connects to an internal IP address and can
access the POE IP address.
6.
Install any mCard accessory card into slot AP1 or AP2 on the front panel of the device. Refer to Installing
an mCard Accessory Card for instructions.
7.
Depending on the accessory card type, attach any antennas or cables for use with the card.
8.
Connect the power adapter to the terminal block on the front panel of the device, unless you are using
optional POE for power. (NOTE: POE injector or other POE power source is user-supplied.)
9.
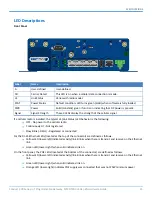
Connect the power cord to an outlet or power strip and to the power adapter. The Power LED comes on
immediately after power is applied. Wait for the STAT LED to light up green (solid).
After powering up, refer to your device's software guide for first-time setup and commissioning.
Installing a Micro SIM Card
You need:
Phillips screwdriver
Micro SIM card (3FF form factor)
To install or replace the Micro SIM card:
1.
Disconnect power to the device, if it is connected.
2.
On the front panel, unfasten the screw securing the nameplate and remove it.
3.
Locate the SIM card slot above the SD card slot, if device is mounted horizontally (or to the right of it, if
vertically). If a SIM card is already installed, gently push on it using your fingernail to release it and
remove with your fingers.
4.
With the new Micro SIM card cut corner to the right and SIM contacts facing down, if horizontally
mounted (or cut corner facing down and contacts to the left, if vertically), gently push the card into the
slot using your fingernail to secure it. Check that the card is in the locked position.
5.
If not installing a micro SD card, reattach the nameplate using the screw removed in Step 2.


