ProxyServer User Guide
MTPSR3-200
76
Running the WINMCSI Workstation Software
WINMCSI has a workstation portion of the software that LAN users run and use to log onto the
communications server prior to running datacomm software on their client PCs. The following steps
guide you through this process.
1.
Start WINMCSI.
Windows 3.1, Windows for Workgroups 3.11, or Windows 95 (16-bit) users:
To start WINMCSI, double-click the ComMap icon in your Program Manager in Windows. The
ComMap for Windows window is displayed. Go to step 2.
Windows 98/95 (32-bit) and Windows NT users:
To start WINMCSI, click Start | Programs | MultiTech MCSI | ComMap.
2.
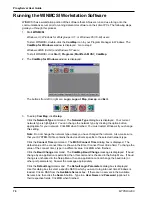
The ComMap for Windows window is displayed.
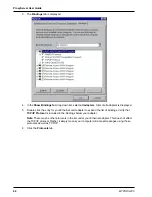
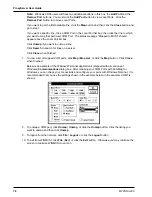
The buttons from left to right are: Login, Logout, Map, Unmap, and Exit.:
3.
To setup ComMap, click Setup.
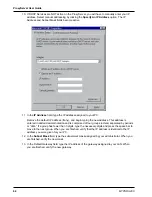
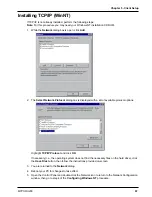
Click the Network Type command. The Network Type dialog box is displayed. Your current
network type is highlighted. You can change the network type by clicking the option button
appropriate for your network. Click OK when finished. You must restart Windows if you change
this setting.
Note: Do not change the network type unless you have changed the network. Also, make sure
that your SYSTEM.INI file contains the device drivers specific to the selected network type.
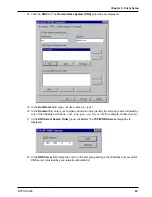
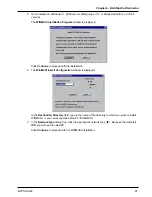
Click the Connect Timer command. The MCSI Connect Timer dialog box is displayed. The
default value of the connect timer is shown in the Enter Connect Timer Value field. To change the
value of the connect timer, type in a different value. Click OK when finished.
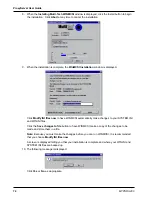
Click the Baud Change command. The ComMap Baud Change message is displayed. If baud
change by an application is permitted, then this command is checked in the Setup Menu. If baud
change is unchecked in the Setup Menu, then an application cannot change the baud rate (or
other port parameters). Answer the message appropriately.
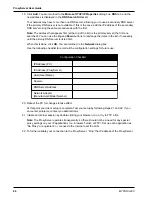
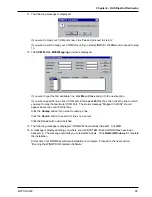
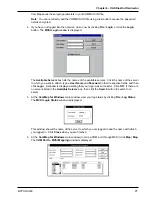
Click the Default Login command. The Default Login Parameters dialog box is displayed.
Use this dialog box to select a specific RAS to which you want to log into next time Windows is
loaded. Click a RAS from the Available Servers box. If there are no servers in the Available
Servers box, then click the Search button. Type in a User Name and Password (optional) in
their respective fields. Click OK when finished.
Summary of Contents for ProxyServer MTPSR3-200
Page 1: ...Internet Access for LAN Based Users Model MTPSR3 200 User Guide ...
Page 5: ...Chapter 1 Introduction and Description ...
Page 11: ...Chapter 2 Installation ...
Page 15: ...Chapter 3 Software Loading and Configuration ...
Page 24: ...ProxyServer User Guide MTPSR3 200 24 ...
Page 25: ...Chapter 4 ProxyServer Software ...
Page 51: ...Chapter 5 Client Setup ...
Page 68: ...ProxyServer User Guide MTPSR3 200 68 ...
Page 69: ...Chapter 6 RAS Dial Out Redirector ...
Page 79: ...Chapter 7 Remote Configuration ...
Page 82: ...ProxyServer User Guide MTPSR3 200 82 ...
Page 83: ...Chapter 8 ProxyServer Management ...
Page 89: ...Chapter 9 Service Warranty and Tech Support ...
Page 95: ...Appendices ...
Page 112: ...ProxyServer User Guide MTPSR3 200 112 ...
Page 113: ...Glossary of Terms ...
Page 130: ...ProxyServer User Guide MTPSR3 200 130 X XON XOFF Pass Through command 107 ...

