Chapter 3 – RouteFinder Software Operation
Multi-Tech RouteFinder RF650VPN User Guide
76
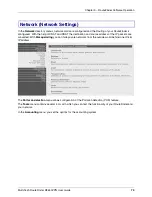
Example: The network cards could be connected in the following way:
Network card 1: INTERNAL (to the local network)
Network card 2: EXTERNAL (to the Internet)
Network card 3: DMZ1 (DMZ for server)
The host name and the default gateway must only be defined once. The host name is, for example,
FIREWALL.yourdomain.com; the gateway could be your Internet router.
A suitable IP address must be entered for each network card. Let's assume that you are using a Class-C
network for your internal network, in this case the entry for network card 1 could look like the following:
Description: INTERNAL
IP address: 192.168.2.1
Net mask: 255.255.255.0
The description is for clarity purposes and is used in all further configurations. Make sure that the
RouteFinder IP address is entered as the default gateway in the protected networks.
Interfaces Menu
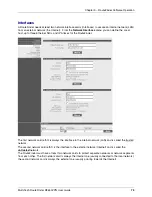
During initial installation, the RouteFinder automatically recognises the installed network cards and adds
them to the configuration. If network cards are added after the installation, the RouteFinder must be
installed again from the Network|Interfaces menu. Use the backup function to read in the old
RouteFinder configuration after the new installation.
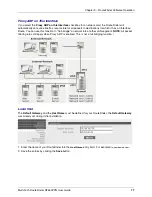
The RouteFinder must be the interface between the LAN and the Internet (as shown in the graphic on the
left below). All information packets must pass through the RouteFinder.
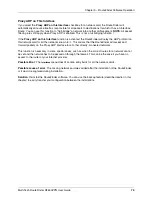
We strongly recommend that you NOT physically put the interfaces of the RouteFinder together on one
network segment via a hub or a switch, unless the segment is configured as a VLAN switch. This can lead
to faulty ARP (Address Resolution Protocol) resolutions (ARP clash). Some operating systems (e.g.,
Microsoft Windows) cannot cope with this. That is why one network interface should be used per physical
segment.


