Technical Configuration
TalkAnytime User Guide
72
Local Configuration Procedure (Detailed)
You can begin the configuration process as a continuation of the TalkAnytime software installation. You
can establish your configuration or modify it at any time by launching the TalkAnytime program from the
Windows
Start
menu.
1.
Check Power and Cabling
. Be sure the TalkAnytime unit is turned on and connected to the computer
via the TalkAnytime unit’s Console Port (RJ45 connector is connected at the TalkAnytime unit; DB9
connector is connected at the computer’s COM port; if the computer has only USB2.0 ports and no serial
ports, use a USB2.0-to-serial adaptor).
2.
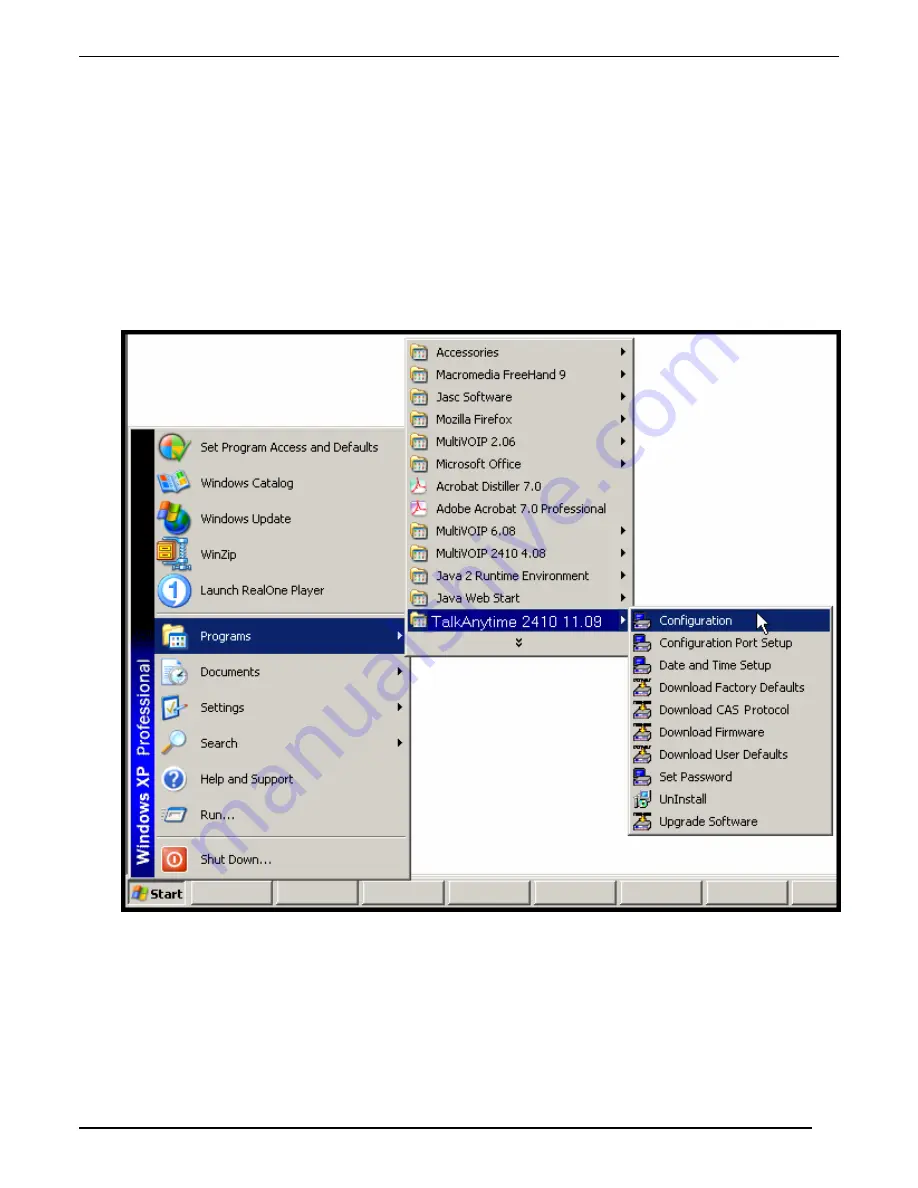
Start TalkAnytime Configuration Program
. Launch the TalkAnytime program from the Windows
Start
menu (from the folder location determined during installation).
Summary of Contents for TalkAnytime TA2410
Page 6: ...6 Chapter 1 Overview ...
Page 20: ...20 Chapter 2 Quick Start Instructions ...
Page 48: ...48 Chapter 3 Mechanical Installation and Cabling ...
Page 56: ...56 Chapter 4 Software Installation ...
Page 65: ...65 Chapter 5 Technical Configuration ...
Page 116: ...Technical Configuration TalkAnytime User Guide 116 ...
Page 123: ...123 Chapter 6 Phonebook and URL Configuration ...
Page 143: ...143 ...
Page 144: ...144 Chapter 7 Operation and Maintenance ...
Page 205: ...205 Chapter 8 Warranty Service and Tech Support ...
Page 208: ...208 Chapter 9 Regulatory Information ...
Page 213: ...213 Appendix A Cable Pinouts ...
Page 217: ...217 Appendix B TCP UDP Port Assignments ...
Page 219: ...219 Appendix C Expansion Card Installation TA24 48 TA30 60 ...
Page 234: ......
Page 235: ...235 S000424A ...


