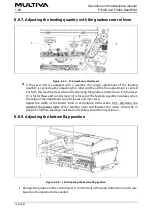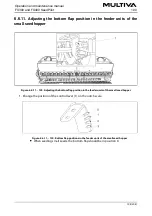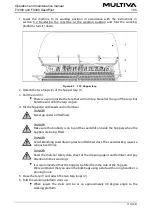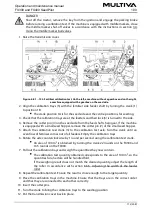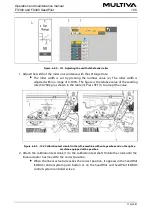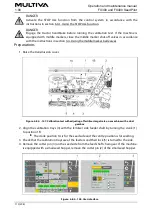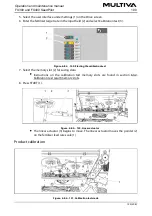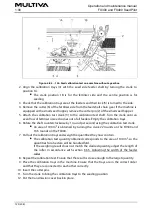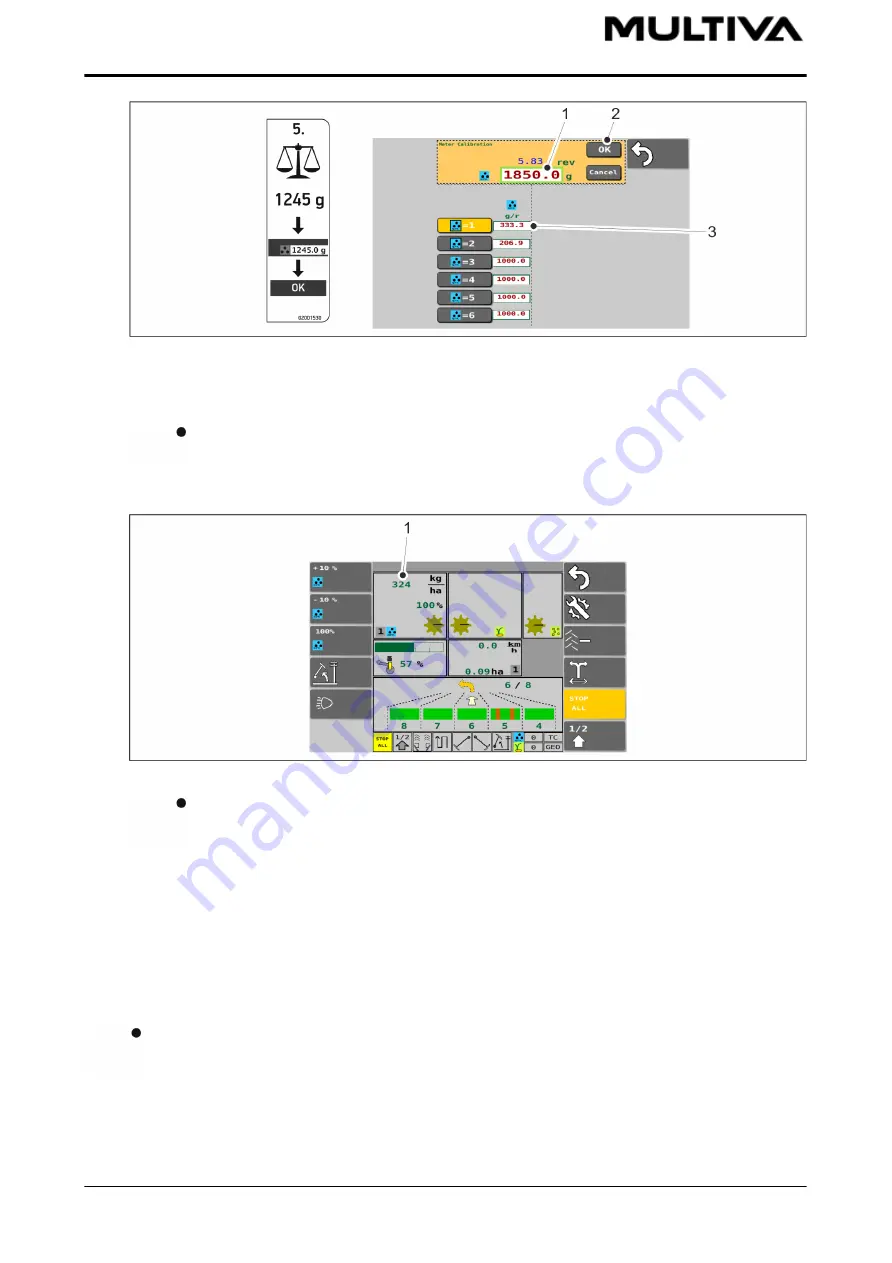
Figure. 6.8.3. - 145. Entering the weighing result
6. Press the number (1) and enter the weighing result.
7. Press OK (2).
The system will calculate the calibration value (g/r) from the weighing result. The
calibration value (3) is displayed on the screen next to the selected memory slot.
8. Return to the Drive screen.
Figure. 6.8.3. - 146. Feed rate according to the linear actuator position
The feed rate according to the linear actuator position (1) is displayed as the
fertiliser rate. Linear actuator works only when seed shafts rotate until the feeder
shaft begins rotating when starting the rst pass.
9. Insert the cotter pins.
10. Turn the crank to bring the calibration trays to the seeding position.
11. Put the transmission cover back in place.
6.8.4. Calibration test with adjusting of fertiliser target rate - machine
with gearbox
This section contains instructions on running calibration tests with the adjusting of
fertiliser target rate in the SeedPilot and SeedPilot ISOBUS control system. If the
machine has a dual gearbox, a calibration test must be run in accordance with these
instructions.
Operation and maintenance manual
FX300 and FX400 SeedPilot
1.00
118 (208)
Summary of Contents for FX300 SeedPilot
Page 200: ...Hydraulic schematics FX300 and FX400 1 Hydraulic schematics FX300...
Page 201: ...Hydraulic schematics FX300 and FX400 2...
Page 202: ...Hydraulic schematics FX300 and FX400 3 Hydraulic schematics FX400...
Page 203: ...Hydraulic schematics FX300 and FX400 4...
Page 204: ...Electrical schematics FX300 and FX400 1 Electrical schematics...


