9
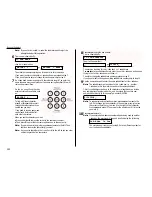
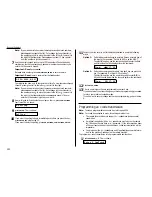
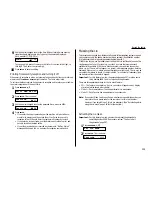
Use the numeric keypad to enter the two-digit identifier (01–32) for the first
call group. You can specify up to 10 separate groups for each relay broadcast
initiation. Between the entry of each new group, press
COM
-
OPTIONS
to insert
a comma. Do not insert a comma after the last group number.
For example, here, we enter 0, 4,
COM
-
OPTIONS
, 1, 1,
COM
-
OPTIONS
, 2, 4:
Note: The
LCD
shows only four characters at a time.
Important: Again, do not insert a comma after the last group number.
When finished, press
ENTER
.
10
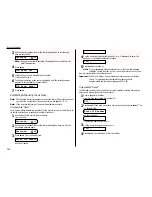
If you want the transmission to begin immediately every time you press the
key, press
ENTER
and skip to step 13.
If you want to delay the transmission, press
COM
-
OPTIONS
,
COM
-
OPTIONS
,
ENTER
.
11
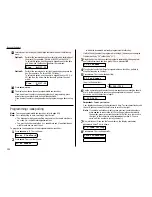
Instruct your fax to carry out this delayed command in one of the following
ways:
Option 1:
Perform the command once at a certain time on a certain day of
the month. (For example, “Do this at 5:05
PM
on the 30th.”)
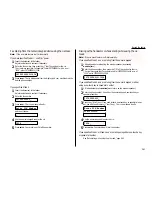
To select this option, use the numeric keypad to enter the date
and time when the fax should perform the command:
Option 2:
Perform the command at a certain time each day you press the
key. (For example, “Do this at 5:05
PM
today.”)
To select this option, use the numeric keypad to enter 0, 0 (i. e.,
00), and then the time when the fax could perform the command:
12
Press
ENTER
,
ENTER
.
13
The
LCD
now displays the next programmable one-touch key.
If you do not want to enter or change any other key’s programming, press
STOP
to return your machine to its usual standby mode.
If you do want to enter or change another key’s programming, go back to step
4.
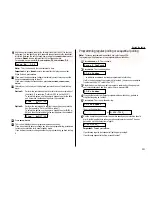
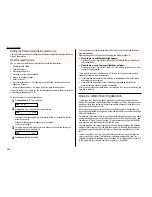
Programming regular polling or sequential polling
Note: To erase a programmable one-touch key, refer to page 2.36.
To program a polling operation into a programmable one-touch key:
1
Press
PROGRAM
,
C
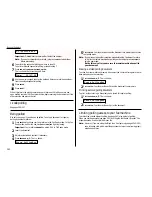
, 1. The
LCD
shows:
2
Press
ENTER
. The
LCD
shows either:
… or indicates a command is already programmed into this key.
If
P
1 is the key you want to program, skip to step 4. (However, our examples
from here will say “
P
3” rather than “
P
1.”)
3
Select the key in which you want to program a command or change a previ-
ously stored command and then press it. Here, we select
P
3.
4
If you decide to select a different programmable one-touch key, go back to
step 3 before going on to step 5.
5
Press
ENTER
. The
LCD
now shows briefly:
then it will show either:
or
6
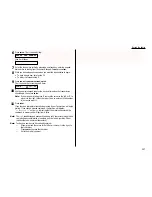
Use the numeric keypad to enter the number exactly as your machine should
dial it, including whatever codes your phone system may require. The num-
ber can be up to 40 characters in length:
Important: Do not press
ENTER
.
If performing regular (not sequential) polling, skip to step 8.
If performing sequential polling, proceed to step 7.
9-555-0629_
9-555-7312_
_
P3:Fax Number
P3:No Number
P1:No Number
Enter P OneTouch
Time : 00/17:05
Time : 30/17:05
Group No. 1,24_
Beyond the basics
2.31
Summary of Contents for F-65
Page 1: ...Operating Instructions For Muratec s F 65 plain paper fax machines ...
Page 3: ...Welcome ...
Page 8: ...Getting started A quick and friendly trip through the basics of your Muratec fax machine ...
Page 35: ...Beyond the basics We ve covered the musts Now let s explore the goodies ...
Page 107: ...Just in case 3 19 ...
Page 108: ...Appendix and index ...


