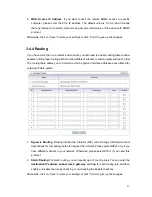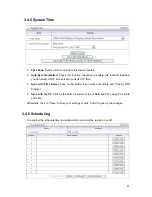
with a certain Domain name. You could choose your favorite provider.
3.
Host Name:
Register a domain name to the DDNS provider. The fully domain name is
concatenated with hostname(you specify) and a suffix(DDNS provider specifies).
4.
Username/E-mail:
Input username or E-mail based on the DDNS provider you select.
5.
Password/Key:
Input password or key based on the DDNS provider you select.
Afterwards, click on “Save” to store your settings or click “Undo” to give up the changes.
3.4.3 SNMP
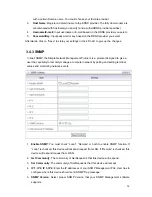
In brief, SNMP, the Simple Network Management Protocol, is a protocol designed to give a
user the capability to remotely manage a computer network by polling and setting terminal
values and monitoring network events.
1.
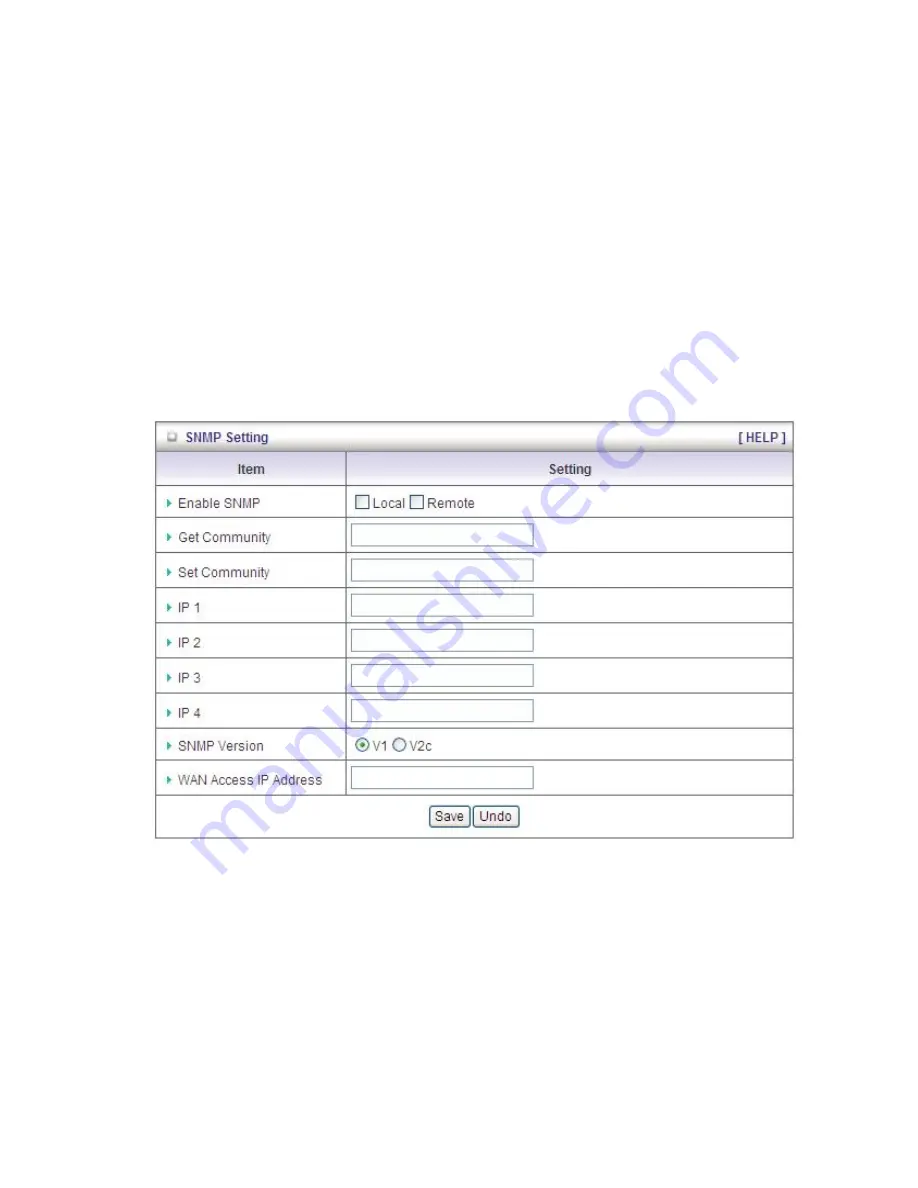
Enable SNMP
: You must check “Local”, “Remote” or both to enable SNMP function. If
“Local” is checked, this device will respond request from LAN. If “Remote” is checked, this
device will respond request from WAN.
2.
Get Community
: The community of GetRequest is that this device will respond.
3.
Set Community
: The community of SetRequest is that this device will accept.
4.
IP 1, IP 2, IP 3, IP 4
: Enter the IP addresses of your SNMP Management PCs. User has to
configure where this device should send SNMP Trap message.
5.
SNMP Version
: Select proper SNMP Version that your SNMP Management software
supports.
50

