23
3
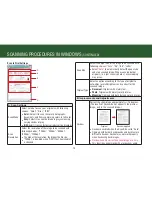
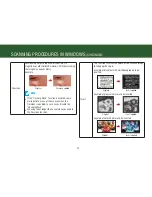
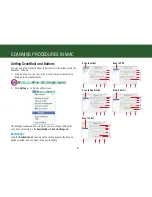
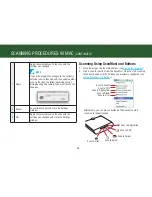
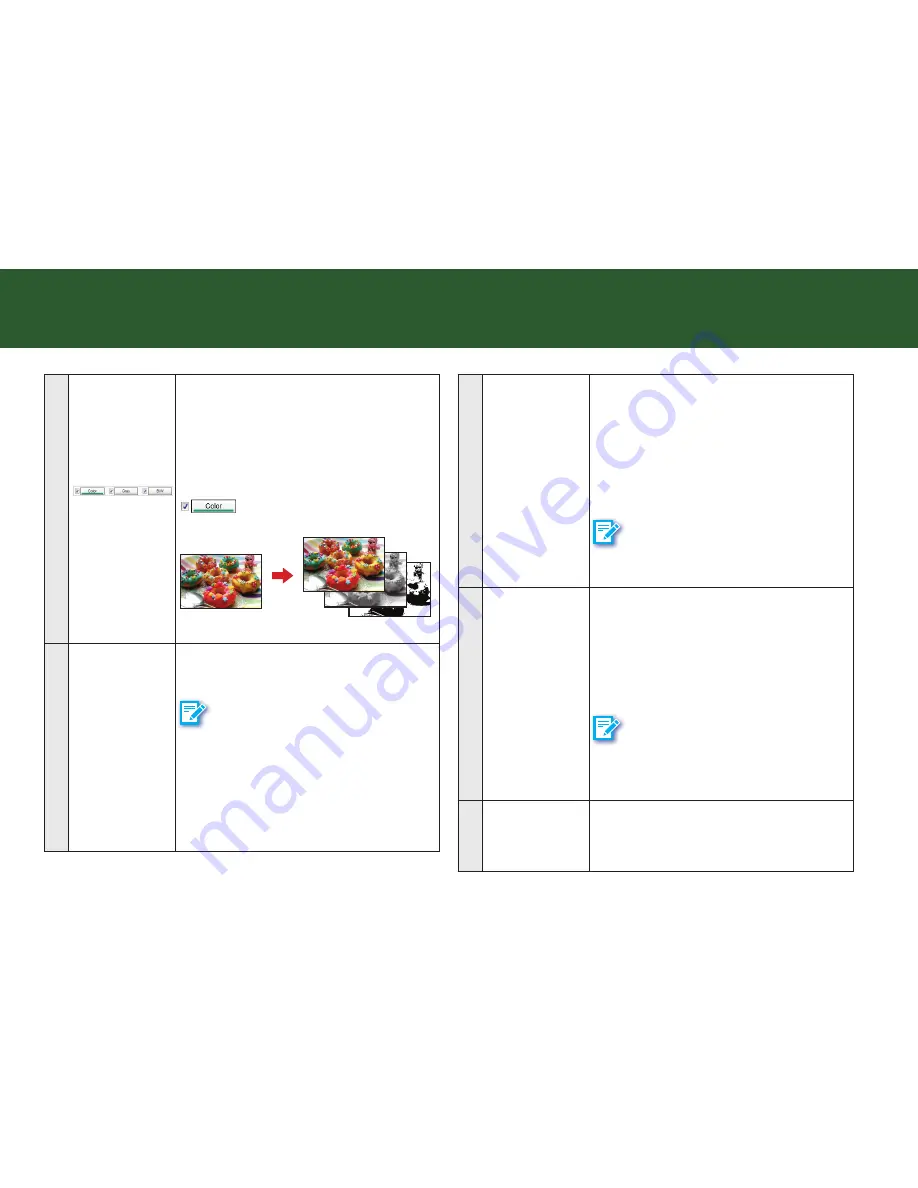
multi-color
output controls
tick the checkbox to select the modes
including: “color”, “Gray”, “B/W”. you can
make a single scan to be saved up to 3
separate images simultaneously.
press the “color”, “Gray”, or “B/W” button
to change the settings for each mode. A thick
line will appear on the button pressed (i.e.,
). you can set different settings for
each mode to be scanned.
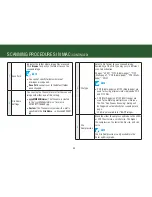
original
one scan into 3 images
4
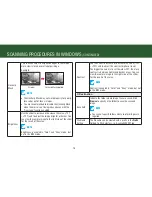
scan size
select the output size of the image to be
scanned with the following choices: “custom”,
“A4”, “B5”, “letter”.
NOTE
•
select “
Custom
” to automatically detect the
paper size and crop scanned image. When
scanning darker originals (i.e. night scenery
photos), over-cropping may occur.
•
select "
Custom
" to specify a custom page
size by resizing the cropping frame in the
preview Window.
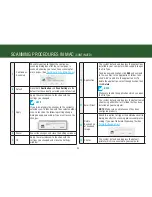
5
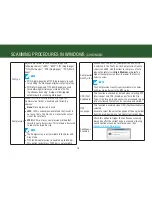
scan resolution
select the resolution of the image to be
scanned with following choices: “100dpi”,
“200dpi”, “300dpi”, “600dpi”, “1200dpi”,
“2400dpi”, “4800dpi”.
•
the higher the resolution, the bigger the file
size.
•
“100dpi” is disabled when “ocr (text
searchable)” is checked.
NOTE
the change of scan resolution will apply to
the selected cropping frame only.
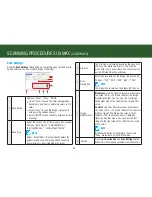
6
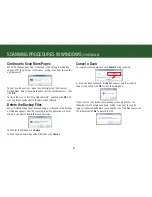
original type
select an option according to the type of
original to auto-adjust overall brightness and
contrast for the scanned image.
•
Document
: originals with mainly text.
•
Photo
: originals with mainly color pictures.
•
Magazine
: originals with both text and color
pictures.
NOTE
press the preview button to update the
preview image with the change made in the
original type.
7
output size
display the width and height of the cropping
frame. you can adjust the output size by
dragging the edges or corners of the cropping
frame in the preview Window.
scAnnInG procedUres In WIndoWs
(contInUed)
Summary of Contents for PageExpress 4800 Pro
Page 57: ...57 ...
Page 58: ...PageExpress 4800 Pro ...

