ting the Scanner to the PC
Refer to the
illustration and steps to connect your scanner,
With the power to your PC on, connect the scanner’s USB cable to the
USB port of your PC.
2. Connect the power adapter to the Scanner and plug it into an appropriate
power outlet.
Upon connecting the power adapter, the Windows operating system would
automatically detect your scanner and update your system configuration.
Scanner USB cable
Windows 95 OSR2 Users:
Upon installing the software driver and connecting the power adapter if the
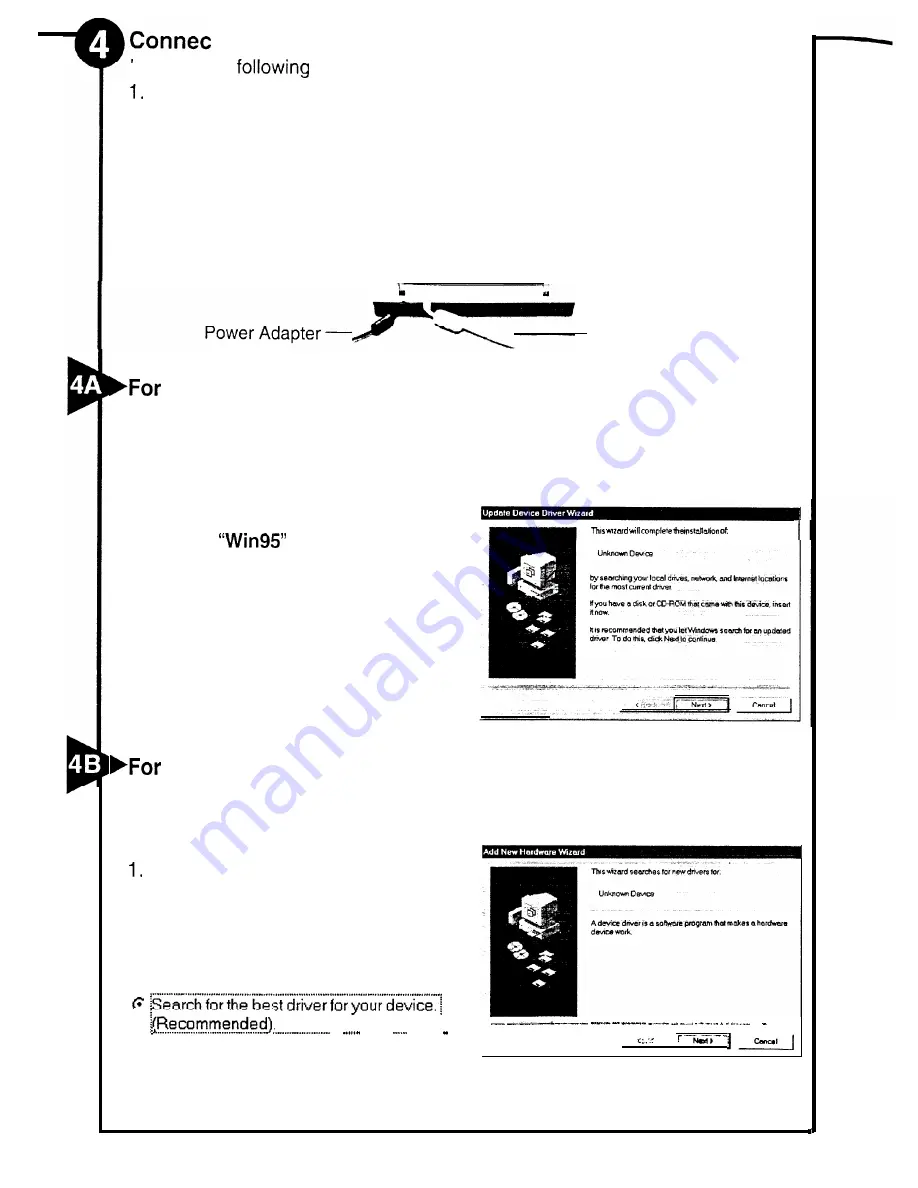
Update Device Driver Wizard
dialog box appears, perform the following steps:
1. Click on the
“Next”
button.
2. On the next screen click on the
“Other Locations”
button and go
into the
directory of your
installation CD.
3. Click on the “OK” button and on the
next screen Windows will confirm
that it has found the driver for your
scanner.
4. Follow all on-screen instructions to
complete driver installation.
Windows 98 Users:
Upon installing the software driver and connecting the power adapter if the
Add New Hardware Wizard
dialog box appears, perform the following
steps:
Click on the
“Next”
button.
2. On the next screen select the
following option and go into the
Win98 directory of your
installation CD.
. .
. . . . . . . . . . . . . . . . . . . . . . . . . . . . . . I.
__
Summary of Contents for ScanExpress 1200 CU
Page 1: ......


