Page 4 © MuxLab Inc. 2018
94-000892-B SE-000892-B
Page 1
2321 Rue Cohen, Montreal, Quebec, Canada, H4R 2N7
Tel: (514) 905-0588 Fax: (514) 905-0589
Toll Free (North America): (877) 689-5228
E-mail:
Model: 500769
Model: 500769-RM
500769 & 500769-RM Web Interface Guide
Overview
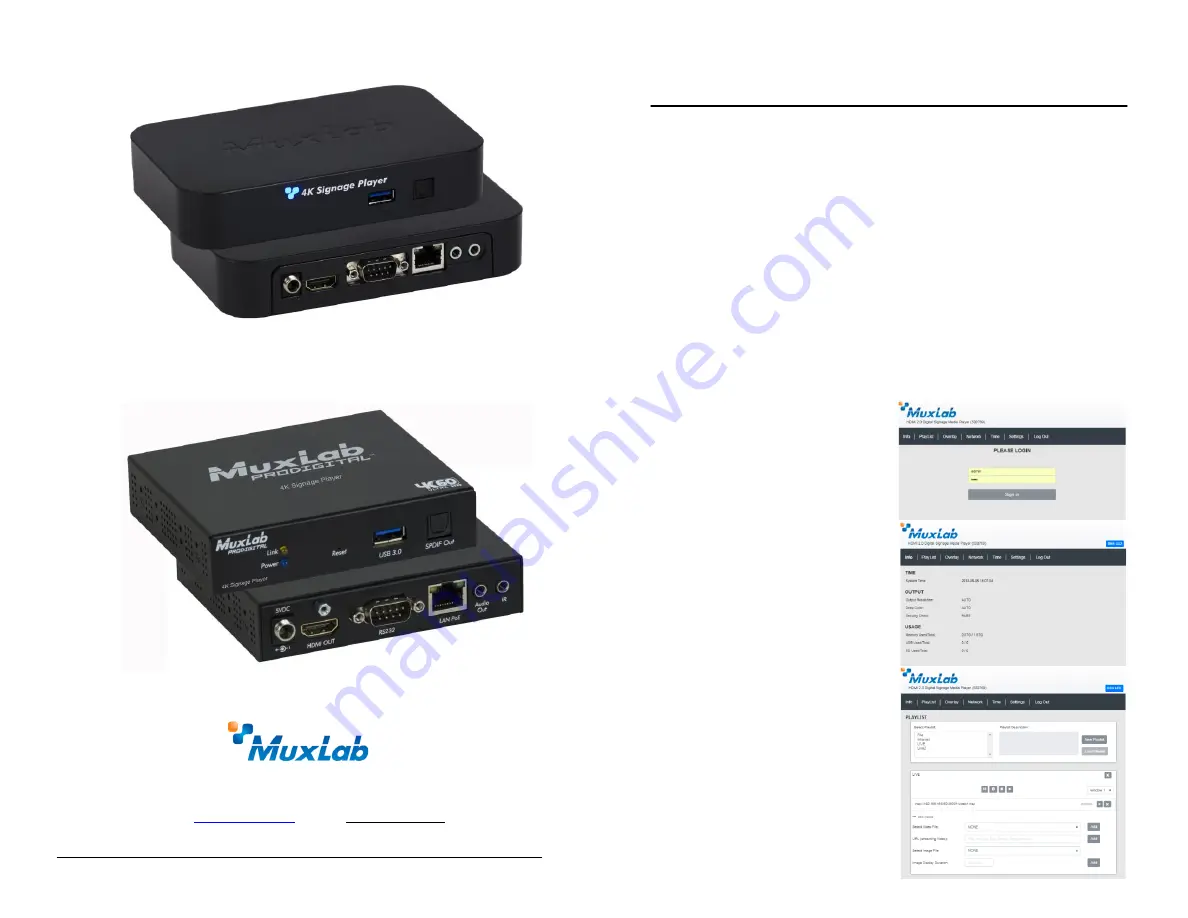
The HDMI 2.0 Digital Signage Media Player may be controlled by the unit Web Interface and by
Digisign CMS (Content Management System) software for scheduling. This document covers how
to setup and manage the 500769 and 500769-RM via the device’s web interface. Please refer to the
Digisign CMS operation manual for scheduling signage content on a weekly basis, with multiview
windows supporting multiple content sources (from both local and network sources).
Access to the 500769 and 500769-RM web interface is possible via a web browser. The unit is
configured in DHCP mode by default, and will be assigned an IP address if your network has a
DHCP server. If no DHCP server is available on the network, the device will default to the Static IP
address: 192.168.168.63. You may identify the IP address of the unit by looking at a connected
display, as it will be visible when the device is booting up. Once its IP address is known set your
PC to a different IP address in the same segment, and set the PC subnet mask and gateway address
accordingly. Enter the device IP address in your browser and press Enter. The first screen presented
is the Login screen. If you require assistance on how to do this, please see your IT manager.
There are several screens to navigate in order to manage the 500769 and 500769-RM. The first
screen shown after entering the device IP address in the browser is the login screen. Note that
several screens allow the user to click on a “Blink LED” button to cause the device “Link” LED to
blink for testing and tracing purposes. The “Blink LED” button operates as a toggle.
Login
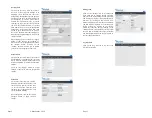
To login to the 500769 and 500769-RM web
interface, type in the Username and Password,
and then click on “Sign in”. The default
Username and Password is “admin”.
Info Tab
Click on the “Info” tab to get information on the
unit, such as the (a) System Time (b) output
video resolution, (c) deep color information, (d)
security check (e) memory usage vs total
memory, (f) external USB memory used vs total
and (g) internal SD memory used vs total.
PlayList Tab
Click on the “PlayList” tab to (a) create a new
play list (click on the “New Playlist” button,
enter a description then click on the “Save
changes” button), (b) select a playlist, (c) load a
playlist (click on the play icon beside the steam
URL to play the stream), (d) add a new playlist
(from either a file or live stream), (e) select an
image file to add it to the video or stream, then
enter the image display duration and click on the
“Add” button.


