Patriot Multi-Color Gelcoater Operations Manual
Page | 18
Getting Started
Installation and Set Up
1. Unpack the unit and all components.
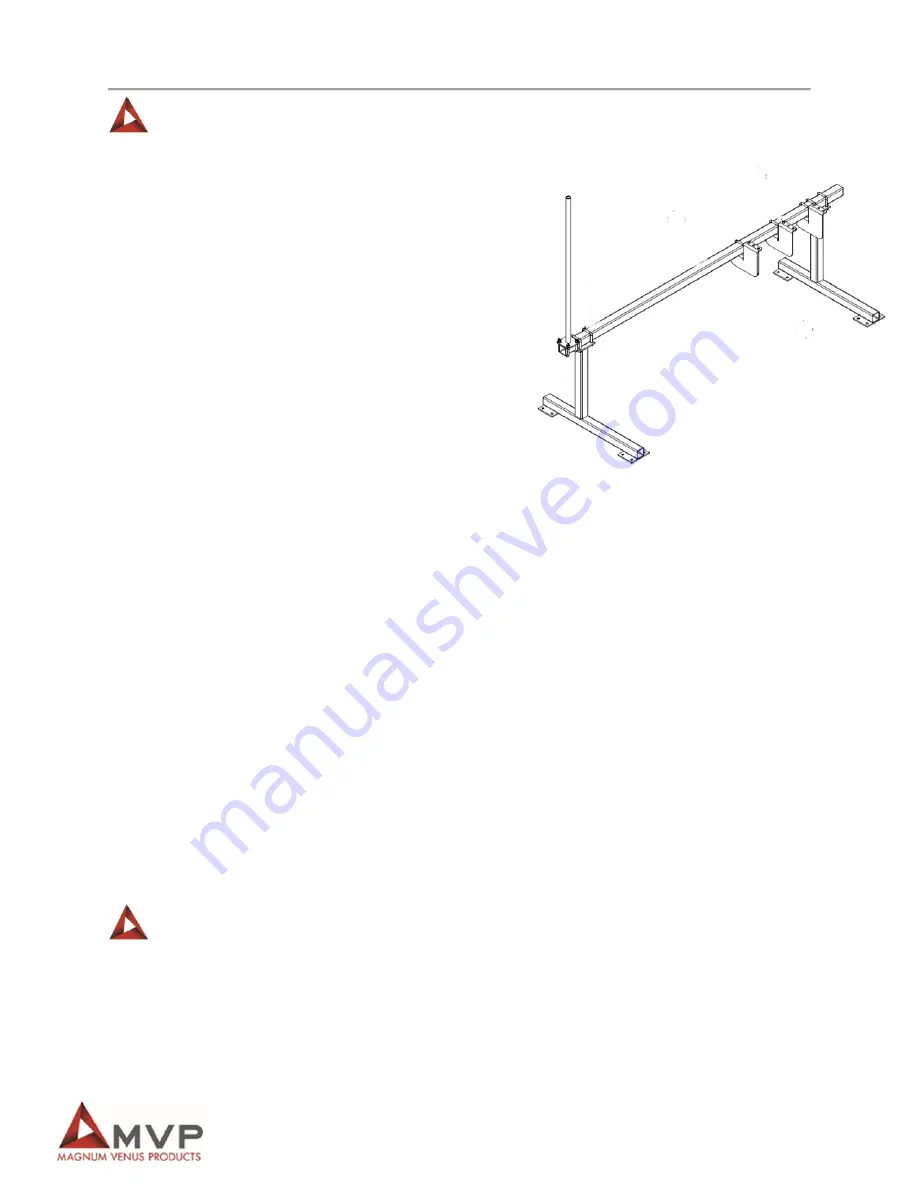
2. Assemble the frame work as needed.
Note
3 mounting brackets are provided with
the standard frame (enough for 2 colors).
Additional mounting brackets and
hardware can be ordered for each
additional color and will need to be
installed.
3. Install the carriage assembly to the pump module
assembly.
4. Install the catalyst jug in the jug bracket.
5. Install the gelcoat filter and surge chamber assembly.
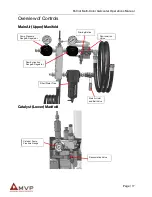
6. Install the air manifold and manifold air hose to the power cylinder.
7. Attach hose fittings to gelcoat pump, catalyst pump, and gun air.
8. Attach pickup hoses to the inlet of the pump.
9. If your system has an internal mix gun, place the flush tank in the holder, attach the air hose
from the manifold to the flush tank, and connect the yellow flush tube from the gun to the
tank.
10. Check to make sure all hose fittings and connections are tight.
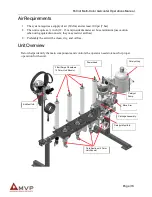
11. Connect an adequate air supply.
12. Open the incoming air supply ball valve all the way.
Note
The main air supply ball valve is a safety ball valve and must be fully open or
closed or air will leak. When the valve is close the air pressure remaining the
syst air manifold and air system will be released.
13. Check that the system pressure is set between 90 and 100 psi.
Charging Accumulators
Low pressure spray or pour applications where fluid pressures are medium to low will not require
charging the accumulators; in these instances the accumulators can be used as surge chambers.
In applications where a medium fluid pressure is used (most likely a spray or medium viscosity
pour application), only a Line Pressure Charge on the resin accumulator is necessary. The line
charge procedure uses the charging hose attached to the air manifold.

