9
Using the Dashboard
Current Date
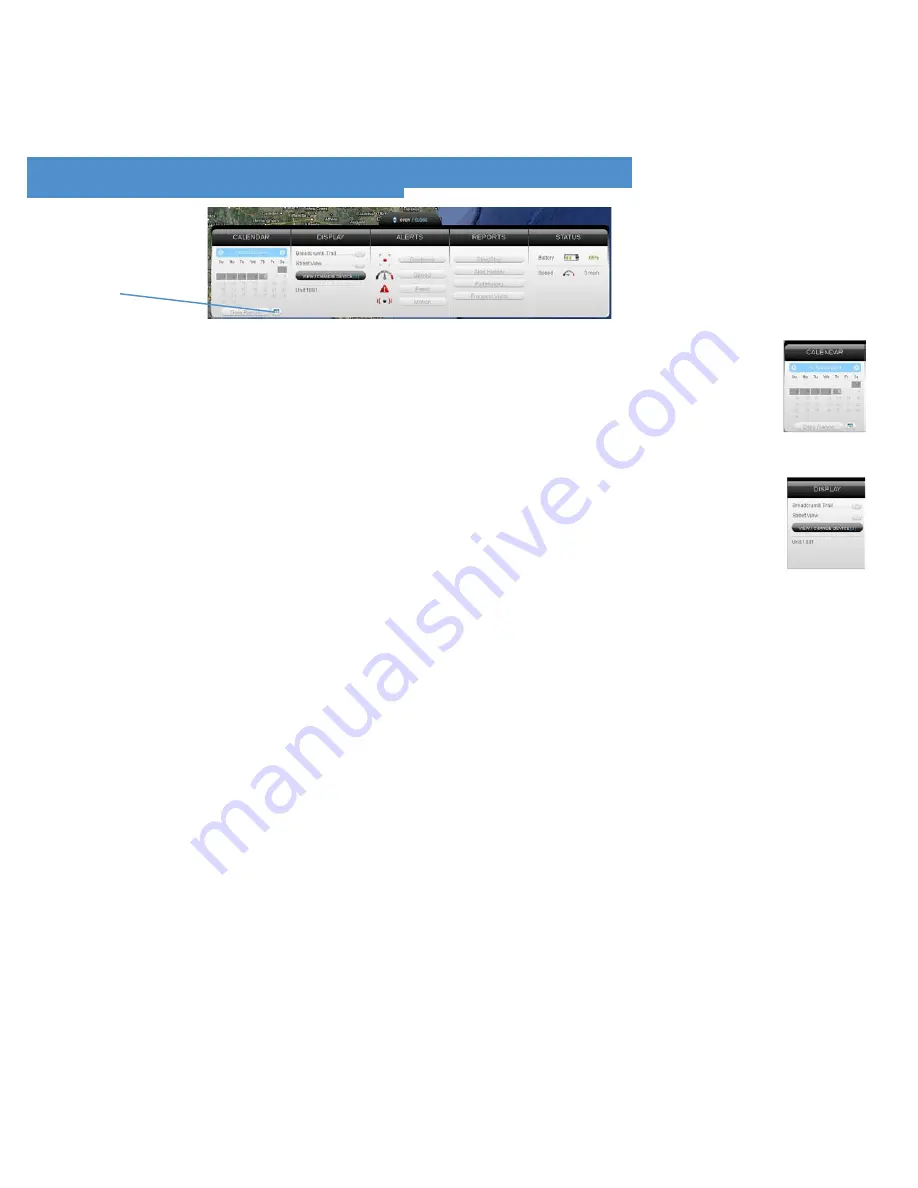
The Calendar allows a user to choose from which dates information can display. Any
date that has tracking information will be highlighted. Simply click on that date to
display information. To choose multiple days, click on the Date Range button, input
a start and end date, and press Search. Press the Current Date button to return to
viewing the current day’s information. When searching by date, all locates generated
in the chosen timeframe will display as breadcrumbs.
Under the DISPLAY section you can see a list of all devices currently displaying
information on the map. Click on the View/Change Device button to choose which of
your devices will display on the map. This button only serves a purpose if there are
multiple devices on your account.
Breadcrumb Trail will display all locates, or breadcrumbs, generated on the date you
currently have displayed, connected by a line. Click on any individual breadcrumb to
see detailed information. The
shield icon
rep
r
esents
the
start
and
stop
of a trip, green circles mean the device was moving with the arrow indicating
direction, and red octagons indicate stops.
Click on the Street View button to open a Google Street View window from the most
recent location of the device. This function will only work if Google Street View is
available in that location.
The Alerts section lets you manage what kinds of alerts your device will create and
how you will be notified.
Click the Geofence button to manage your geofences. The Geofence Alert
Configuration tab lets you choose when and where alerts will be sent. Select the
device you would like to edit by checking the box next to it.
•
Highlight
which
days
you
would
like
to
configure
by
clicking
on
each. You
may choose to enter certain hours during which alerts will be active, or leave these
fields blank to have them sent all the time.
•
Choose
if
duplicate
alerts
will
not
be
created
if
the
device
stays
inside
or
outside a geofence for a certain period of time using the slider bar.
•
Choose what icon will appear where a geofence alert was created using the
Alert Image dropdown box.
•
Enter Email Address allows you to choose where alert notificatio ns will be
sent. Click on the + icon to add phone numbers you want to have texted.


