- 24 -
IDEAL 4810-95/EP • IDEAL 4850-95/EP • IDEAL 5221-95EP • IDEAL 6550-95EP
cm
inch
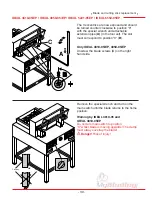
Only EP machines.
•
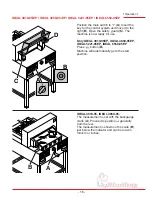
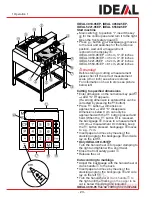
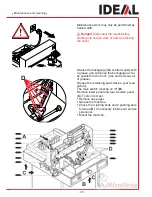
The further the hand-wheel
G
is turned to the right, the quicker the
backgauge moves. If the hand-wheel is turned
to the left the backgauge will return quicker.
Only IDEAL4810-95/EP
•
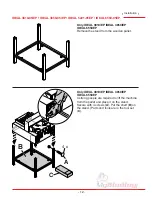
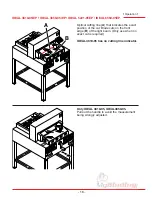
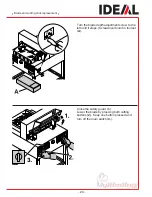
Turn the hand-wheel
for paper clamping
E
to
the right and tighten with a short twist.
•
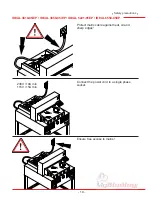
Close the front safety guard
A.
•
Release the cut.
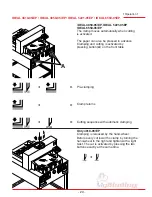
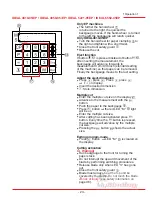
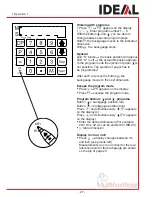
Eject function
If button
r
M
is pressed instead of button
S
O,
after inserting the measurement, the
backgauge will advance forwards to
measurement 9 cm/0,36 inch (standard setting
of the machine) so that paper can be removed.
Finally the backgauge moves to the last setting.
Adjust the eject-dimension
•
Press
p
, press
T
, Press
p
press
T
e
on display.
•
Insert the desired dimension.
•
g
Store dimension.
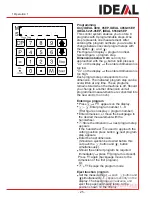
Multiple cut
•
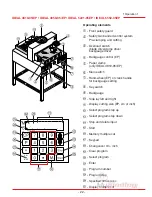
Enter the multiple cut size on the display
Q.
•
Advance to the measurement with the
S
button.
•
Push the paper to the backgauge
I
.
•
Press
T
button
the red LED "M "
Y
light
will be on.
•
Enter the multiple cut size.
•
After cutting has been activated press
S
button. Every time the
S
button is pressed,
the backgauge will advance by the multiple
cut size.
•
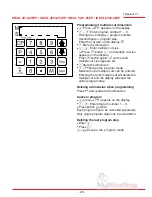
Pressing the
s
button
N
shows the actual
size.
Exiting program-mode
•
Press
T
button
LED "M "
Y
is cleared on
the display.
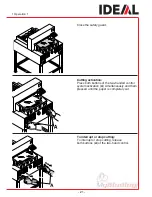
Cutting activation
Warning!
•
Run backgauge to the front for turning the
paper stack.
•
Do not interrupt the upward movement of the
blade by performing switching procedures.
•
Release blade only when LED "S" has gone
out.
•
Close the front safety guard
A
.
•
Blade must always be at the top and be
covered by the clamp. Do not touch the blade
risk of injury!
(see safety information on
page 36).
•
Operation
•

