I
UM204006-04
090617/PC64II/04E/DV
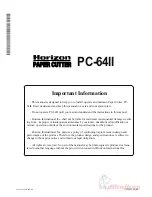
Important Information
- This manual is designed to help you to install, operate and maintain Paper Cutter, PC-
64II. Read, understand and keep this manual in a safe and convenient place.
- Do not operate PC-64II until you read and understand the instructions in this manual.
- Horizon International Inc. shall not be liable for incidental consequential damages result-
ing from : improper or inadequate maintenance by customer; unauthorized modification or
misuse; operation outside of the environmental specifications for the product.
- Horizon International Inc. pursues a policy of continuing improvement in design and
performance of the product. Therefore, the product design and specifications are subject to
change without prior notice and without our legal obligation.
- All rights are reserved. No part of the manual may be photocopied, reproduced or trans-
lated to another language without the prior written consent of Horizon International Inc.
PC-64II
PAPER CUTTER
Summary of Contents for Standard PC II-
Page 2: ......
Page 4: ......
Page 5: ......
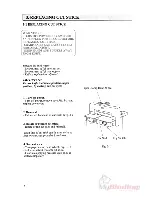
Page 6: ...2...
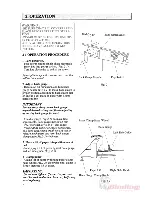
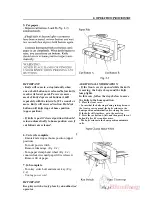
Page 7: ...3 Knife Lamp Left Small Cover...
Page 8: ......
Page 10: ......
Page 11: ...7 Cut Button A...
Page 12: ......
Page 14: ......
Page 15: ......
Page 16: ...12 Cut Button A...
Page 17: ......
Page 18: ......
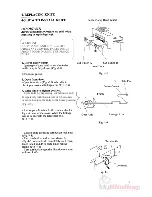
Page 19: ...left 15...
Page 22: ......


