5
IMPORTANT:
- Knife will come to a stop instantly when
one or both buttons are released before knife
reaches its lowest point. To reverse move-
ment of knife depress cut buttons A & B
separately with the interval of 0.5 seconds or
more. Knife will reverse direction. Hold cut
button until knife stops at home position
(upper position).
- If knife is past it's lowest position it should
return automatically to home position even if
cut buttons are released.
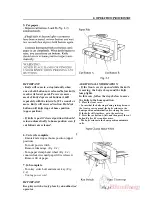
6. Cut cycle complete.
- Ensure knife stops at home position (upper
position).
- Turn off power switch.
- Remove trimmings.
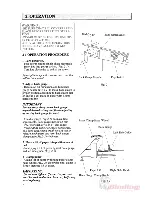
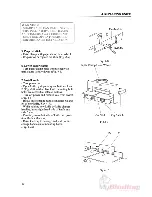
(Fig. 2-4)
- Turn paper clamp hand wheel
(Fig. 2-4)
counterclockwise until paper lift is released.
- Remove lift of paper.
7. Job complete.
- Turn key switch off and remove key.
(Fig.
2-4)
- Unplug power cord.
IMPORTANT:
Keep key switch at safe place by an authorized
operator.
5
ADDITIONAL INFORMATION
- If the front cover is opened while the knife
is moving, the buzzer beeps and the knife
lamp lights.
In this case, follow the steps below to move
the knife to the home position.
1. Close the front cover.
- In case that the knife stops during raising because
the front cover is opened, the knife returns to the
home position automatically after closing the cover.
If the knife still stay there, go to the next step.
2. Press the cut button A first, and then press the cut
button B after 0.5 seconds or more.
- The knife returns to the home position automati-
cally.
f
5
Summary of Contents for Standard PC II-
Page 2: ......
Page 4: ......
Page 5: ......
Page 6: ...2...
Page 7: ...3 Knife Lamp Left Small Cover...
Page 8: ......
Page 10: ......
Page 11: ...7 Cut Button A...
Page 12: ......
Page 14: ......
Page 15: ......
Page 16: ...12 Cut Button A...
Page 17: ......
Page 18: ......
Page 19: ...left 15...
Page 22: ......


