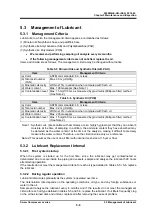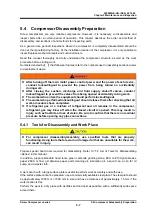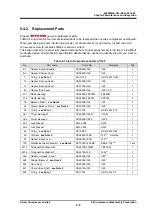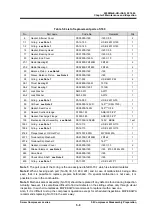
2200M4JE-HO-iS2-N_2014.04.
Chapter 5 Maintenance
Screw Compressor i-series
5.6 Reassembly
5-20
5.6 Reassembly
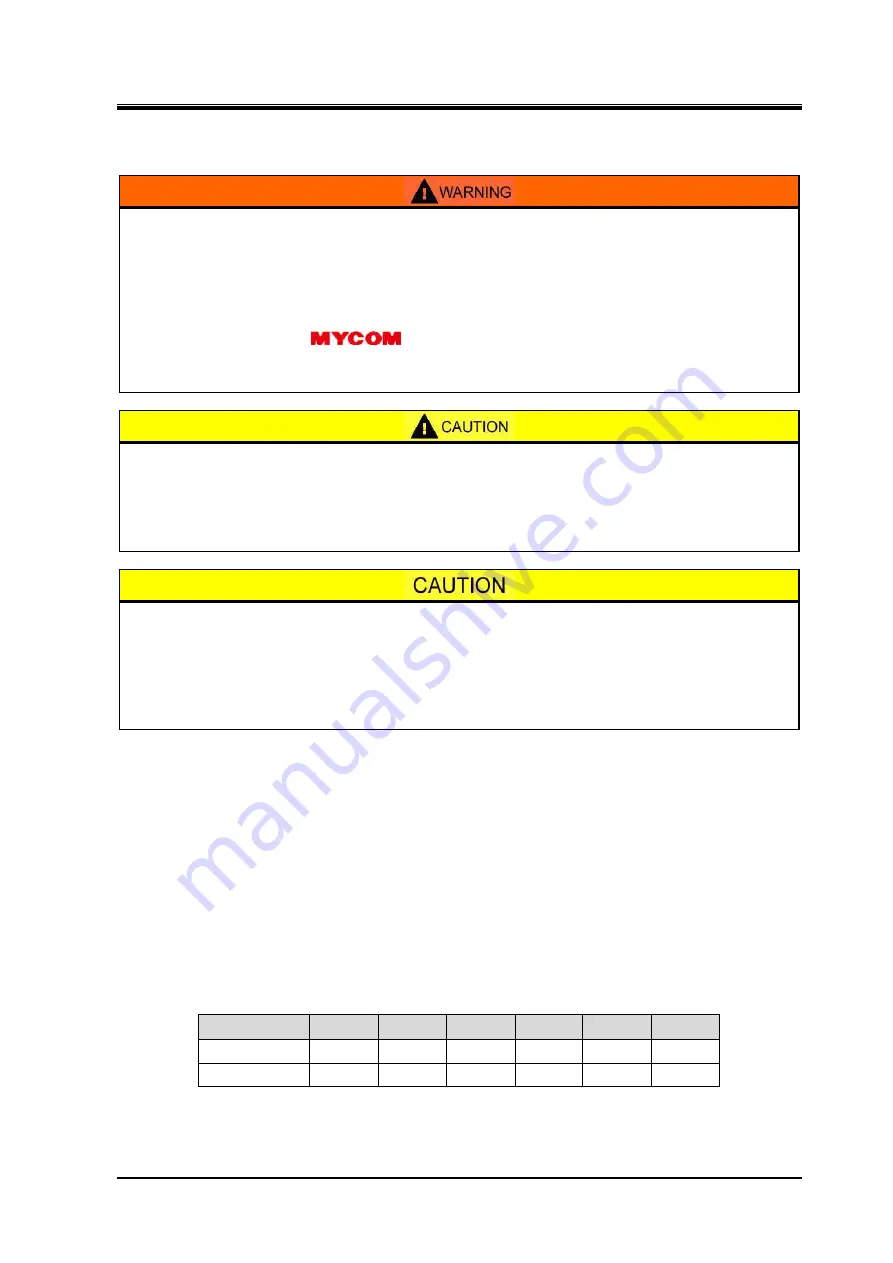
When turning on/off electric tools, take care to avoid electric shocks.
When handling heavy objects, exercise extreme care and use apparatus such as
crane as necessary. There is a risk that the compressor's main body or parts may
drop on human body.
When using a crane, allow only qualified personnel to operate it. Entrusting the
work to unqualified personnel may result in fall accident.
Replace parts with
genuine parts. If parts other than genuine parts
are used, there is a risk of the compressor and equipment being damaged or
ruptured.
For compressor disassembly/reassembly, use specified tools that are properly
functioning. Using tools that are worn or damaged or that are unsuitable for the
work, can result in injury.
When using electric tools, check beforehand that there is no problem with
insulation resistance. Otherwise, use double insulated tools.
When reassembling, ensure that the replaced O-rings are of the correct standard
(size, material, use for fixed portion or sliding portion, etc.). Incorrect
replacement can lead to defects such as oil leakage.
Some gaskets are asymmetrical. In that case, ensure that the assembly direction
is correct. If the assembly direction is not correct, problems such as blocking of
oil passages machined in the casing may occur, resulting in serious defects.
Start assembly after disassembly and inspection are finished.
Recheck the purchased replacement parts before assembly.
All the O-rings and gaskets of the parts removed during the overhaul work should be replaced by new
ones.
Almost all assembly procedures are reverse to the disassembly procedures. First, clean the work
bench and tools to be used.
Clean the assembly parts with cleaning oil (kerosene, etc.) immediately before assembly. Dry these
parts by blowing compressed air, and then apply sufficient lubricant over their surface. Prepare
sufficient amount of clean lubricant for use during reassembly.
Also apply oil to both sides of the gasket.
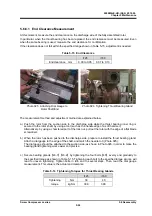
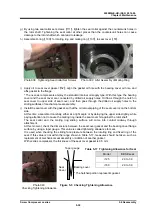
Table 5-11 Tightening Torques for Hexagon Socket Head Cap Screws
Unit
M6
M8
M10
M12
M14
M16
N·m
10 25 50 90 140
240
kgf·cm
100 250 500 900 1400
2400
Tighten each bolt by referring to the torque shown in the above table.

