Initial Energization
52
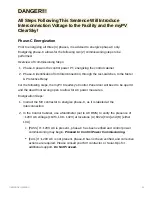
All Steps Following This Sentence Will Introduce
Interconnection Voltage to the Facility and the myPV
ClearSky!
Phase-C Energization
Prior to energizing all three (3) phases, it is advised to energize phase-C only.
Energizing phase-C allows for the following two (2) commissioning steps to be
performed:
Overview of Commissioning Steps:
1. Phase-C powers the control power PT, energizing the control cabinet
2. Phase-C identification from Interconnection, through the test-switches, to the Meter
& Protective Relay
For the following steps, the myPV ClearSky’s Control Panel door will beed to be open’d
and the dead front swung open to allow for AC power measures.
Energization Steps:
1. Instruct the MV contractor to energize phase-C, as it is labeled at the
interconnection
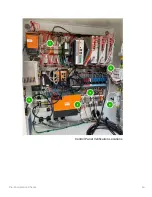
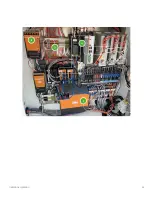
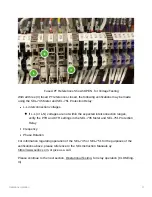
2. In the Control Cabinet, use a Multimeter (set to AC RMS) to verify the presence of
~120V AC voltage (±10%, 108 - 132V) at locations (A) 602A [FU3] and (B) [either
10A]
[PASS] If ~120V AC is present., phase-C has been verified and control power
commissioning may begin. Proceed to Control Power Commissioning.
[FAIL] If ~120V AC is not present, phase-C has not been verified, and corrective
actions are required. Please consult your MV contractor, or Solar-Ops for
additional support. Do Not Proceed.
DANGER!!!
Summary of Contents for ClearSky
Page 1: ...myPV ClearSky User Manual 1 myPV ClearSky User Manual ...
Page 12: ...Resources 12 ...
Page 14: ...Resources 14 ...
Page 19: ...Resources 19 ...
Page 20: ...Resources 20 ...
Page 48: ...Pre Energization Checks 48 Control Panel Verification Locations ...
Page 55: ...Initial Energization 55 ...
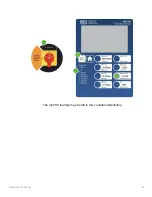
Page 63: ...Operational Testing 63 The myPV ClearSky may be left in this condition indefinitely ...
Page 68: ...Spare Parts 68 ...
Page 69: ...Spare Parts 69 ...


