© 2001, Myricom, Inc.
-- 6 --
Revision: 27 August 2001
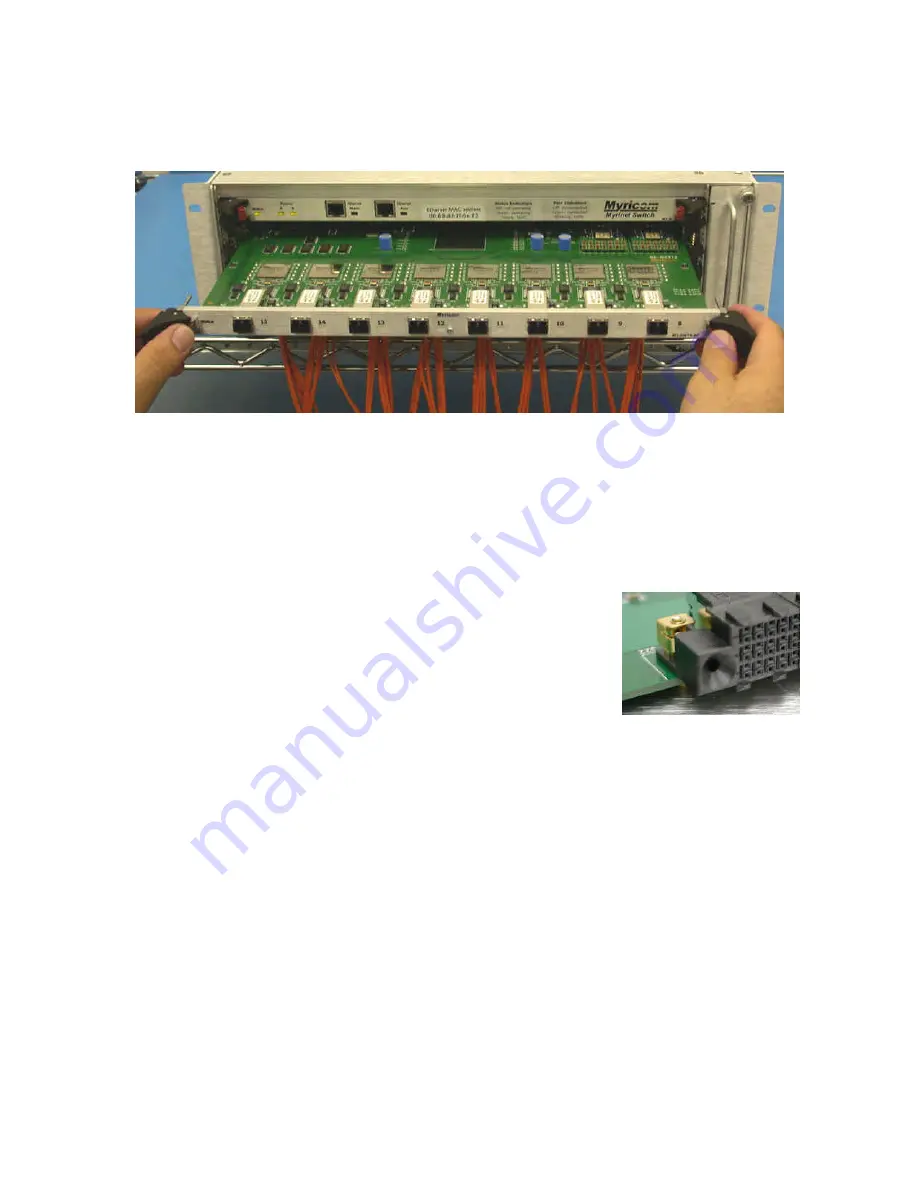
SAN ports) and the bottom of the top bezel have spring gasketing as an EMI seal. Once the
handles reach their outward extreme, the line card should slide easily out of the card cage.
The backplane power connector in the center of the line card protrudes downward below other
components on the bottom of the circuit board. Hence, just before the card is completely free,
you may need to lift the card slightly so that the power connector will clear the top of the front
panel or bezel below the line card you are removing.
Hot insertion of a line card just reverses the steps above. Be sure to start with the handles in
their out position, and guide the line card carefully into the card guides. The signal pins and
ground blades on the high-density connectors on the line card align
themselves by means of alignment/grounding posts on the backplane.
Conical depressions on the line-card connectors center themselves on
the posts to align the connectors with great precision. Nevertheless,
it is best to insert the line cards slowly and gently. When you use the
lever handles to complete the insertion of the line card, you’ll hear
the locks snap into place, and see the red tabs pop out.
When the connectors start to seat, you may see the Status LED momentarily showing yellow
before it becomes green. The yellow is a fault indication, and is due to some of the pins being
not yet connected. As the line card becomes fully inserted, the Status LED should show green
within ~0.5s. The green Status LED indicates that the line card has passed all of its self tests,
and is operating.


