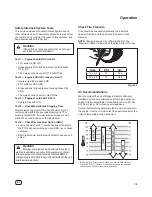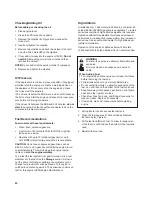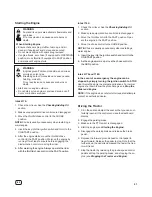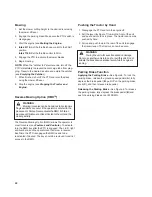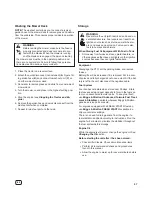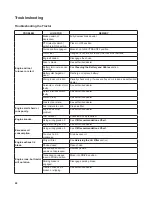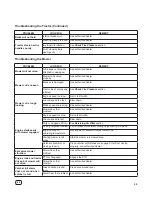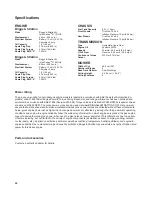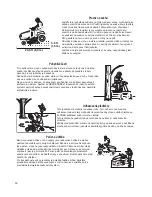
Check Mower Blade Stopping Time
Mower blades and mower drive belt should come to a com-
plete stop within ve seconds after the electric PTO switch
is turned o .
1. With tractor in neutral, PTO disengaged and operator in
seat, start the engine.
2. Engage the PTO and wait several seconds. Disengage
the PTO.
3. If mower drive belt does not stop within ve seconds,
see an authorized dealer.
Cleaning the Battery and Cables
1. Pull seat up to access the battery and cables.
2. Remove screws (
A
, Figure 12) and battery hold down
(
B
).
3. Slide the battery (
C
) forward inside the battery con-
tainer (
D
).
4. Remove hardware (
E
) then disconnect negative cable
(
F
) from battery.
5. Remove hardware (
G
) then disconnect positive cable
(
H
) from battery.
6. Remove battery and place on a at surface.
7. Clean battery container with a solution of baking soda
and
water.
8. Clean the battery terminals and cable ends with a wire
brush and battery terminal cleaner.
Changing the Oil
Used oil is a hazardous waste product and must be dis-
posed of properly. Do not discard with household waste.
Check with your local authorities, service center, or dealer
for safe disposal/recycling facilities.
25
en
Remove Oil
1. With engine o but still warm, disconnect the spark
plug wire (
D
, Figure 5) and keep it away from the
spark plug.
2. Remove the dipstick (
A
).
3. Remove the oil drain cap as shown in Figure 13. Drain
the oil into an approved container.
4. After the oil has drained, install the oil drain cap.
Battery Maintenance
WARNING
When removing or installing battery cables,
disconnect the negative cable FIRST and
reconnect it LAST. If not done in this order, the
positive terminal can be shorted to the frame by
a
tool.
WARNING
Battery posts, terminals, and related accessories
contain lead and lead compounds - chemicals known to
the State of California to cause cancer, birth defects, or
other reproductive harm. Wash hands after handling.
A dead battery or one too weak to start the engine may
be the result of a defect in the charging system or other
electrical component. If there is any doubt about the cause
of the problem, see your dealer. If you need to replace the
battery, see the
Cleaning the Battery and Cables
section.
To charge the battery, follow the instructions provided by
the battery charger manufacturer as well as all warnings
included in the
Operator Safety
section of this manual.
Charge the battery until fully charged. Do not charge at a
rate higher than 10 amps.
WARNING
Keep open ames and sparks away from the bat-
tery; the gasses coming from it are highly explo-
sive. Ventilate the battery well during charging.
Charging the Battery
9. Reattach the battery cables, positive cable rst, then
the negative cable using hardware.
10. Place battery inside battery container. Secure with hold
down and screws.
11. Push seat down.
Summary of Contents for EMT17538RDF
Page 2: ...2...
Page 3: ...6 A B 7 A 5 A D B C 3 en...
Page 4: ...4 A A B A 10 11 12 B C 8 9 A C E A G G F H B D E...
Page 5: ...5 en 15 C 13 16 B A C A B D 14 A...
Page 6: ...6...
Page 16: ...Features and Controls Figure 2 16...
Page 32: ...32...
Page 42: ...Funkce a ovl d n Obr zek 2 16...
Page 58: ...32...
Page 68: ...Funktionen und Bedienelemente Abbildung 2 16...
Page 84: ...32...
Page 94: ...Fonctions et commandes Figure 2 16...
Page 110: ...32...
Page 120: ...Funzioni e comandi Figura 2 16...
Page 136: ...32...
Page 146: ...Functies en bedieningselementen Afbeelding 2 16...
Page 162: ...32...
Page 172: ...Funkcje i elementy sterowania Rysunek 2 16...
Page 188: ...Briggs Stratton Power Products Group LLC P O Box 702 Milwaukee WI U S A...

