BROOMS DISASSEMBLY
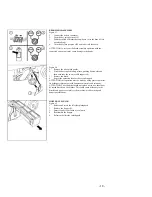
Figure 53
1.
Connect the battery connector.
2.
Turn the key into position ON.
3.
With the switch of brushes base up/down, raise the base (if it is
not already up).
4.
Turn the key into position OFF and take it off the board.
ATTENTION: to carry out the brush assembly operation with the
connected current on it may cause damage to the hands.
Figure 54
5.
Remove the side splash guards
6.
With the base in position up release, pushing downwards and
then outwards, the two movable supports (1).
7.
Remove the brush.
8.
Repeat the operation also for the second support.
ATTENTION: this operation must be made by using gloves to protect
from the possible contact with dangerous materials and solutions.
ATTENTION: The cylindrical brush unit, when not in use, should not
be stored directly on the brushes. This could cause deformity to the
bristles and upon re-assembly to the machine, produce strong and
dangerous vibrations.
HOPPER CLEANING
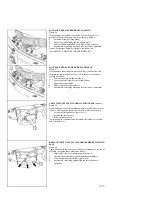
Figure 55
1.
Release and rotate the left side splashguard.
2.
Remove the hopper (1).
3.
Empty it and clean it with a jet of water
4.
Reassemble the hopper.
5.
Refasten the left side splashguard.
- 18 -


