1.Read this manual carefully and completely before proceeding.
2.It is recommended that you wear safety glasses at all times during the installation
ƽ
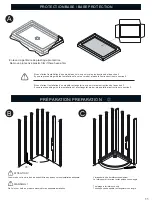
IMPORTANT / IMPORTANT
3.Prior to installation of base, all framing and plumbing work must be completed in accordance with this
instruction sheet.For renovation work, existing shower surfaces must be removed to accommodate
framing requirements. Ensure that outer wall are properly insulated, and that a vapor barrier has been
installed in accordance with established building codes.
In order to protect the acrylic surface of your base, never use scouring powder pads or other strong
solvent. Only clean with a mild detergent diluted in water or a detergent formulated speci
fically for
acrylic.
* Lisez attentivement ce manuel au complet avant de continuer.
* Il est recommandé de porter des lunettes de sécurité en tout temps lors de l'installation
* Avant l'installation de la base, toute la charpente et les travaux de plomberie doivent être complétés
conformément à la présente feuille d'instruction. Pour les travaux de rénovation, les surfaces murales
existantes doivent être enlevées pour installer le cadrage exigé. Assurez-vous que les murs extérieurs
sont isolés correctement et que le pare-vapeur a été installé conformément aux codes du bâtiment.
ƽ
Care for your Acrylic Shower Base / Prenez soin de votre Base de douche en acrylique
Afin de protéger la surface en acrylique de votre base, ne jamais utiliser de tampons à récurer avec
poudre ou tout autre solvant fort. Nettoyez avec un détergent doux dilué dans de l'eau ou un détergent
formulé spécifiquement pour l'acrylique.
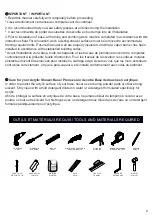
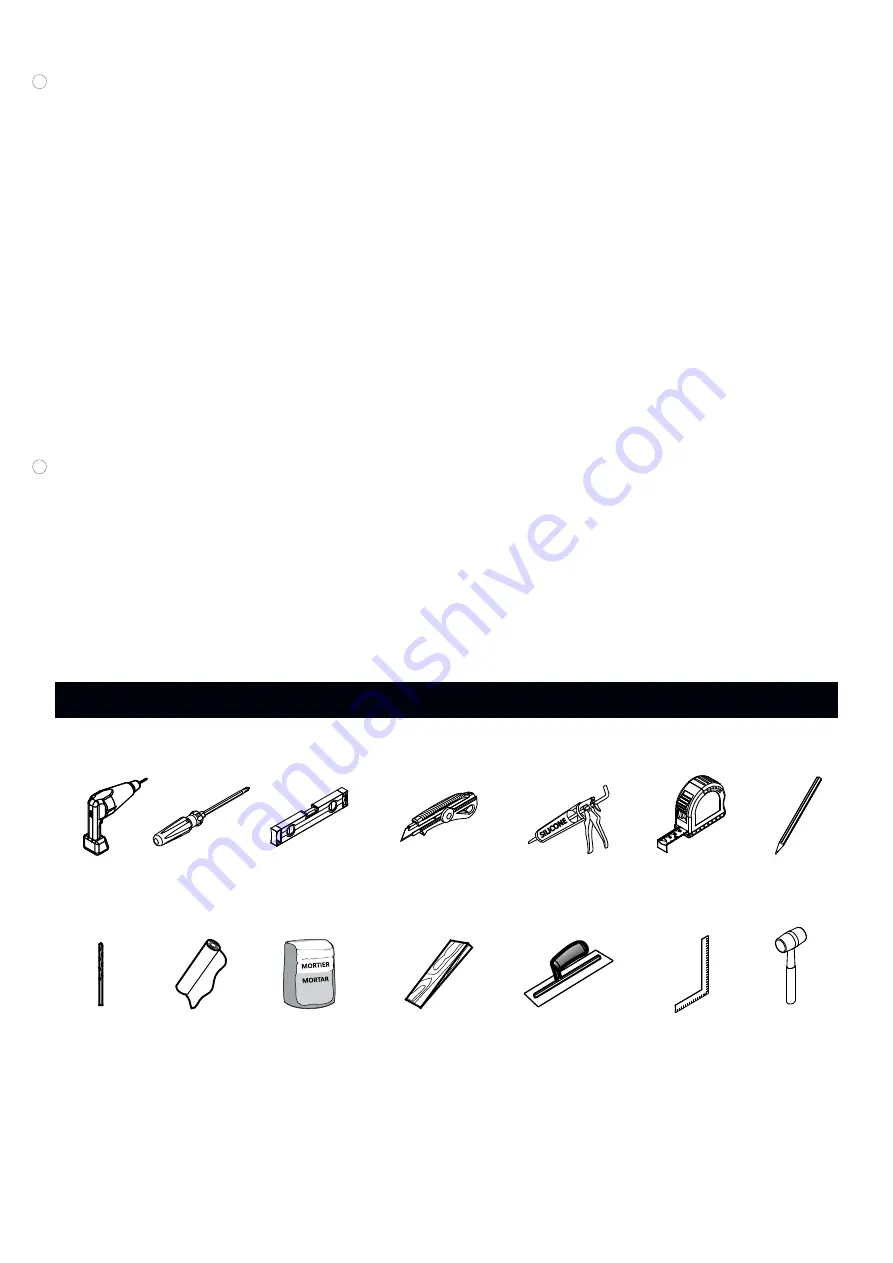
OUTILS ET MATÉRIAUX REQUIS / TOOLS AND MATERIALS REQUIRED
PERCEUSE
DRILL
SILICONE
SILICONE
COUTEAU DE PRECISION
PRECISION KNIFE
RUBAN À MESURER
MEASURING TAPE
MAILLET
MALLET
NIVEAU
LEVEL
TOURNEVIS
SCREWDR
CRAYON
PENCIL
ÉQUERRE
SET SQUARE
MORTIER
MORTAR
TRUELLE
TROWEL
CALE
SHIM
ESSUIE-TOUT
TOWELS
FORETS: 1/8"
DRILL BITS: 1/8"
2
Summary of Contents for PN-RD4003-223
Page 1: ...PN RD4003 223 Installation Instruction Sheet Manuel d installation...
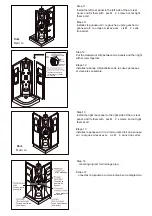
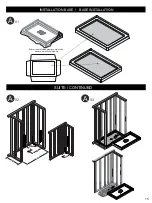
Page 8: ...Step 1 ix the parts tape 1 ixez les morceaux 7...
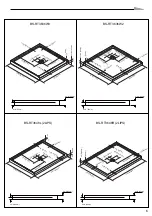
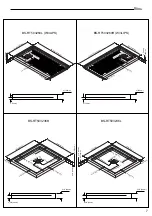
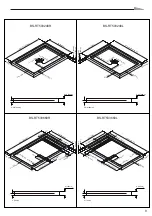
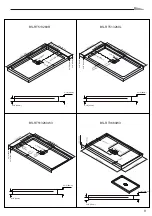
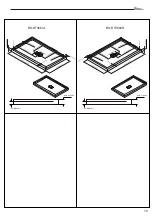
Page 19: ...10 BS RT3660L BS RT3660R 3 3 8 85mm 4 3 8 110mm 3 3 8 85mm 4 3 8 110mm...
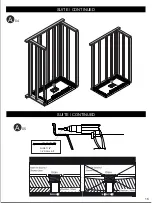
Page 25: ...SUITE CONTINUED FORET 1 8 1 8 DRILL BIT A 05 A 04 SUITE CONTINUED 16...


