62
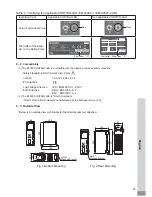
11 - 2 Installation of the Rubber Pad
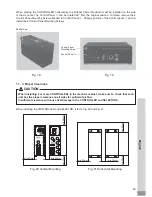
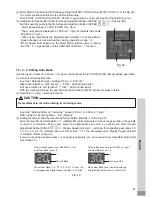
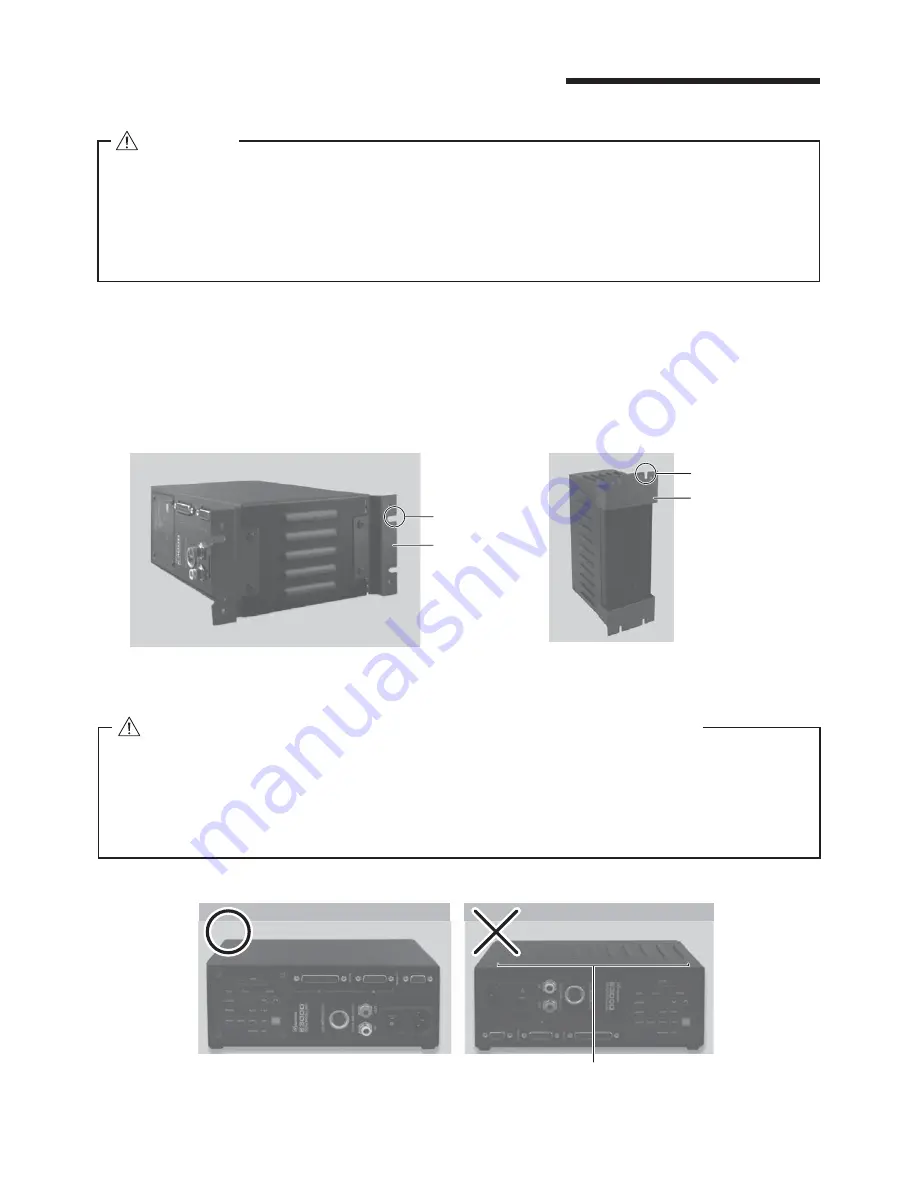
Caution for when installing the CONTROLLER horizontally
・
When installing the CONTROLLER, be sure to place the air vents downward, away from debris.
Protect the CONTROLLER (air vents and other connector) from cutting oil, mist oil, powder dust,
other contaminants that can buildup heat and damage the internal components.
・
When rotating the direction of setting Control Panel
②
, ensure that the Main Power Switch
⑨
is
turned OFF and the Power Cord has been removed from the CONTROLLER.
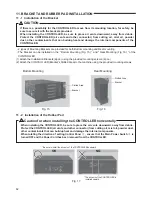
OK
NG
*Be sure to install the air vents of the CONTROLLER downward.
*The air vents of the CONTROLLER is
installed upward.
Fig. 17
11
. BRACKET AND RUBBER PAD INSTALLATION
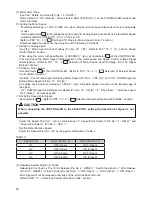
11 - 1 Installation of the Bracket
・
2
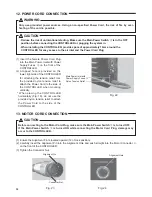
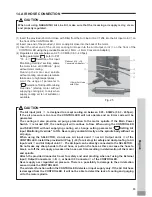
types of Mounting Brackets are provided for both Bottom mounting and Rear mounting.
・
The Bracket can be installed on the
"
Bottom Mounting (Fig.
15
)
"
and
"
Rear Mounting (Fig.
16
)
"
of the
CONTROLLER.
(
1
) Attach the Installation Brackets (
2
pcs.) using the provided mounting screws. (
4
pcs.)
(
2
) Attach the CONTROLLER (Bracket's Slotted Area) to the machine using the provided mounting screws.
CAUTION
・
If there is a possibility for the CONTROLLER to move from its mounting location, for safety, be
sure to secure it with the brackets provided.
・
When installing the CONTROLLER, be sure to place air vents downward, away from debris.
Protect the CONTROLLER (air vents and other connector) from cutting oil, mist oil, powder
dust, other contaminants that can buildup heat and damage the internal components of the
CONTROLLER.
Bottom Mounting
Rear Mounting
Fig. 15
Fig. 16
Bracket
Slotted Area
Bracket
Slotted Area


