66
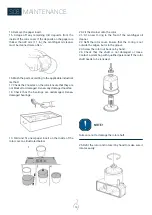
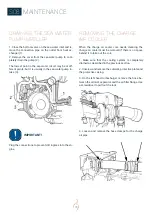
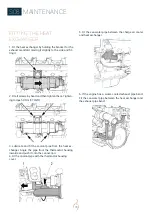
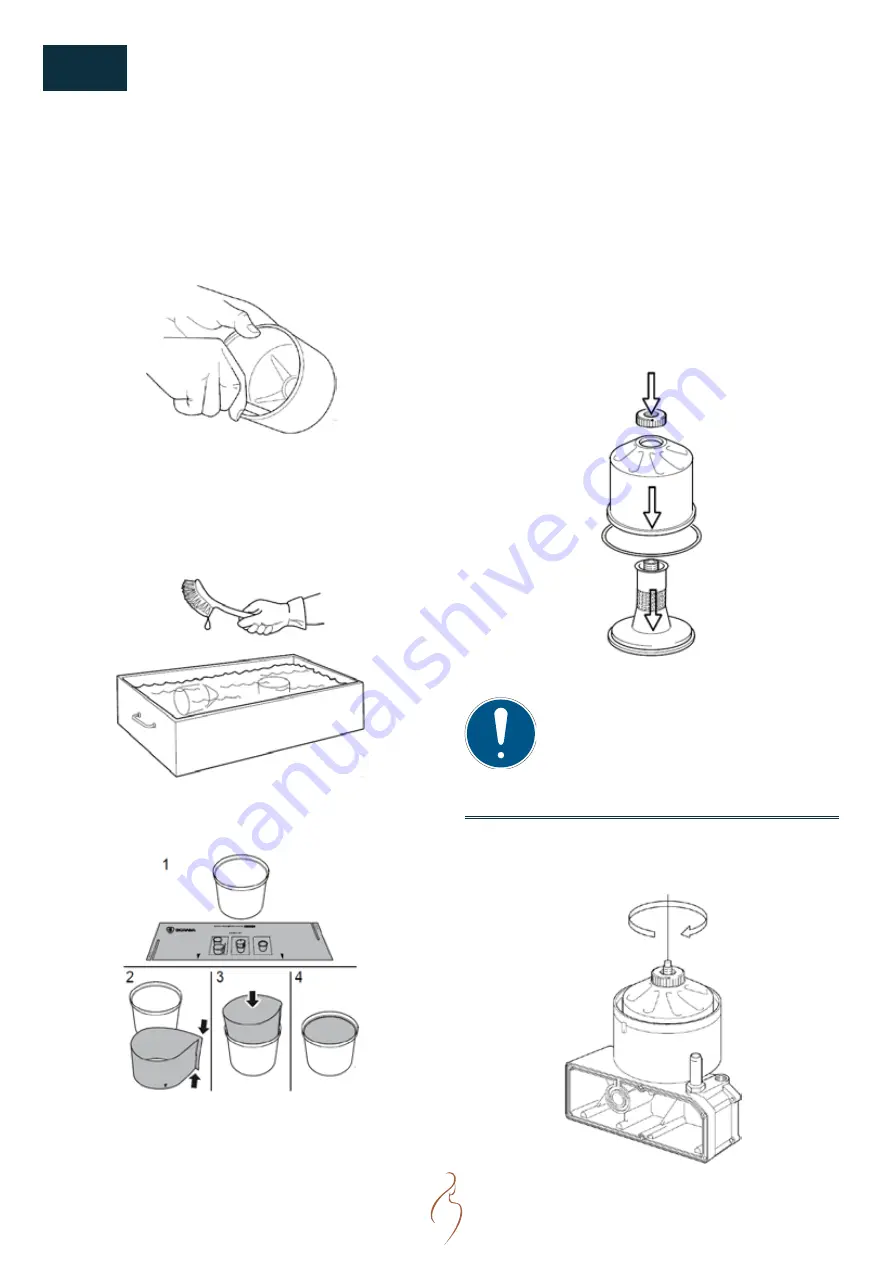
14. Remove the paper insert.
15. Scrape off any remaining dirt deposits from the
inside of the rotor cover. If the deposits on the paper are
thicker than 28 mm (1.1 in), the centrifugal oil cleaner
must be cleaned more often.
16. Wash the parts according to the applicable industrial
method.
17. Check the 2 nozzles on the rotor. Ensure that they are
not blocked or damaged. Renew any damaged nozzles.
18. Check that the bearings are undamaged. Renew
damaged bearings.
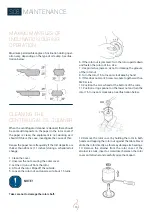
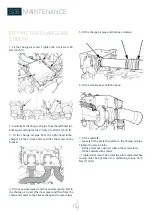
19. Fold and fit a new paper insert on the inside of the
rotor cover as illustrated below:
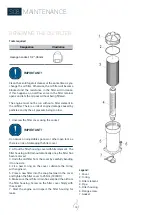
20. Fit the strainer onto the rotor.
21. Fit a new O-ring to the foot of the centrifugal oil
cleaner.
22. Refit the rotor cover. Ensure that the O-ring is not
outside the edges, but is in the groove.
23. Screw the rotor nut back on by hand.
24. Check that the shaft is not damaged or loose.
Contact a workshop with qualified personnel if the rotor
shaft needs to be renewed.
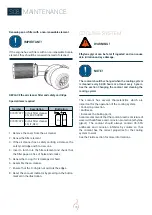
NOTE !
Take care not to damage the rotor shaft.
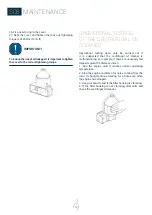
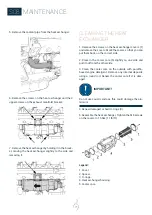
25. Refit the rotor and rotate it by hand to make sure it
rotates easily:
S08
MAINTENANCE
Summary of Contents for N16.1000 CR3
Page 2: ......
Page 4: ......
Page 34: ...34 S05 COMPONENTS ENGINE VIEWS N16 CR3...
Page 35: ...35 NOTES...
Page 48: ...48 S06 INSTRUMENTATION SYSTEM LAYOUT INCLUDING OPTIONS...
Page 118: ......

