76
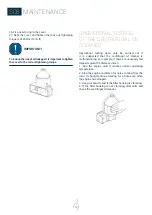
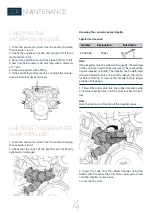
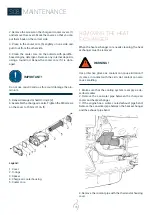
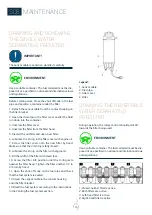
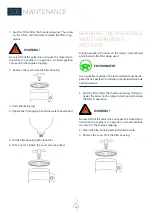
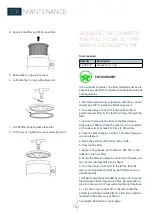
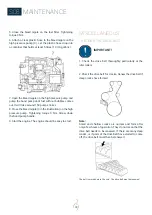
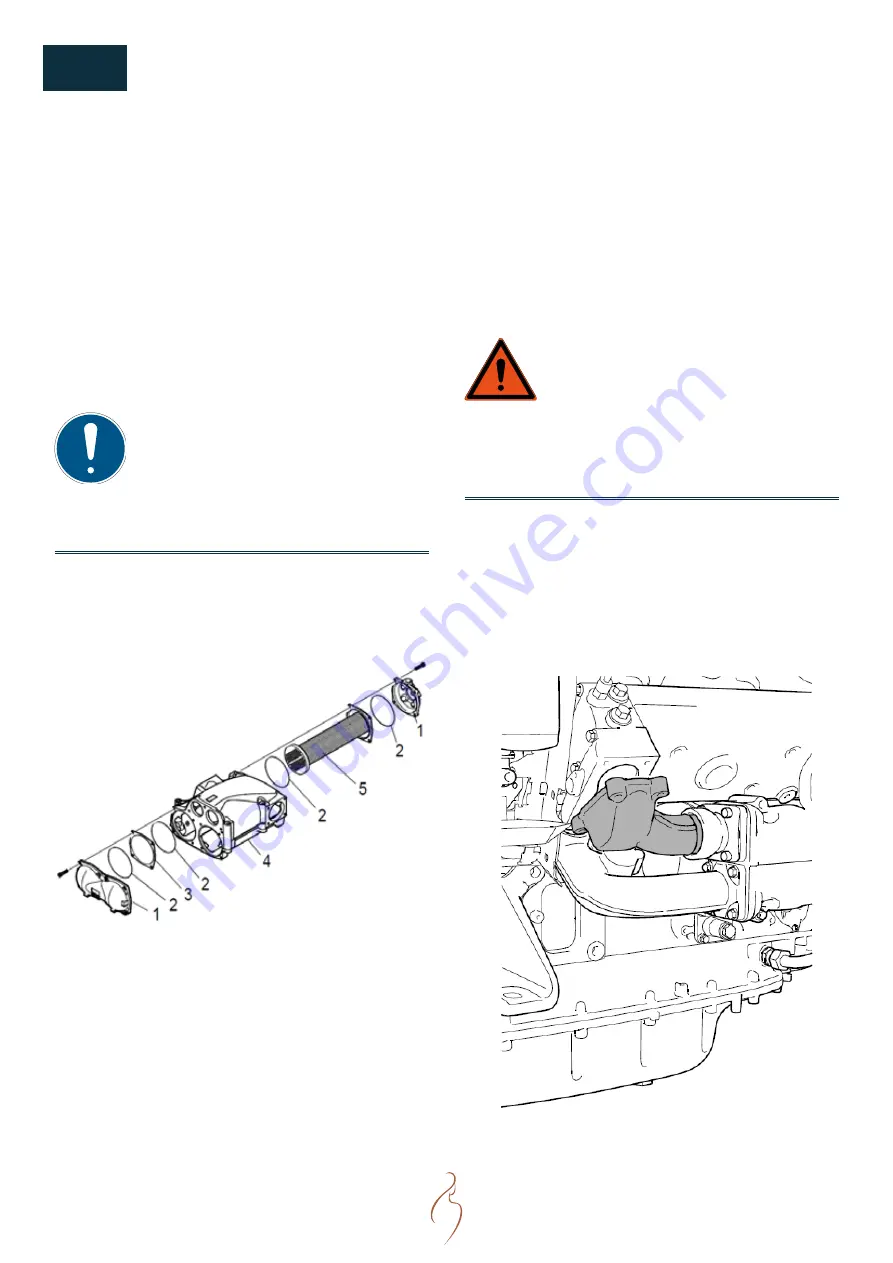
2. Remove the screws on the charge air cooler covers (1)
and remove the covers. Mark the covers so that you can
put them back on the correct side.
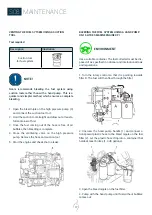
3. Press in the cooler core (5) slightly on one side and
pull it out from the other side.
4. Clean the cooler core on the outside with paraffin-
based engine detergent. Remove any internal deposits
using a round rod. Renew the cooler core if it is dam-
aged.
IMPORTANT !
Do not use caustic soda as this could damage the alu-
minium.
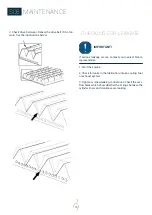
5. Renew damaged or hard O-rings (2).
6. Assemble the charge air cooler. Tighten the M8 screws
on the cover to 15 Nm (11 lb-ft).
Legend:
1. Cover.
2. O-rings.
3. Spacer.
4. Charge air cooler housing.
5. Cooler core.
S08
MAINTENANCE
REMOVING THE HEAT
EXCHANGER
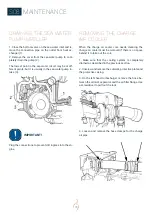
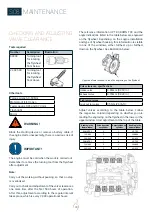
When the heat exchanger core needs cleaning, the heat
exchanger must be removed.
WARNING !
Use protective gloves as coolant can cause irritation if
it comes in contact with the skin. Hot coolant can also
cause scalding.
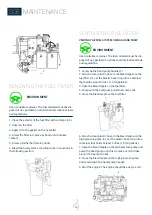
1. Make sure that the cooling system is empty as de-
scribed earlier.
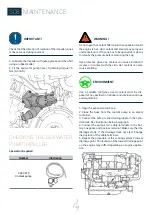
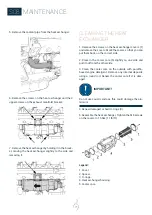
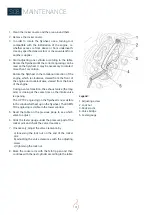
2. Remove the sea water pipe between the charge air
cooler and heat exchanger.
3. If the engine has a water-cooled exhaust pipe bend:
Remove the sea water pipe between the heat exchanger
and the exhaust pipe bend.
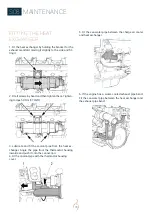
4. Remove the coolant pipe with the thermostat housing
cover.
Summary of Contents for N16.1000 CR3
Page 2: ......
Page 4: ......
Page 34: ...34 S05 COMPONENTS ENGINE VIEWS N16 CR3...
Page 35: ...35 NOTES...
Page 48: ...48 S06 INSTRUMENTATION SYSTEM LAYOUT INCLUDING OPTIONS...
Page 118: ......


