68
S08
MAINTENANCE
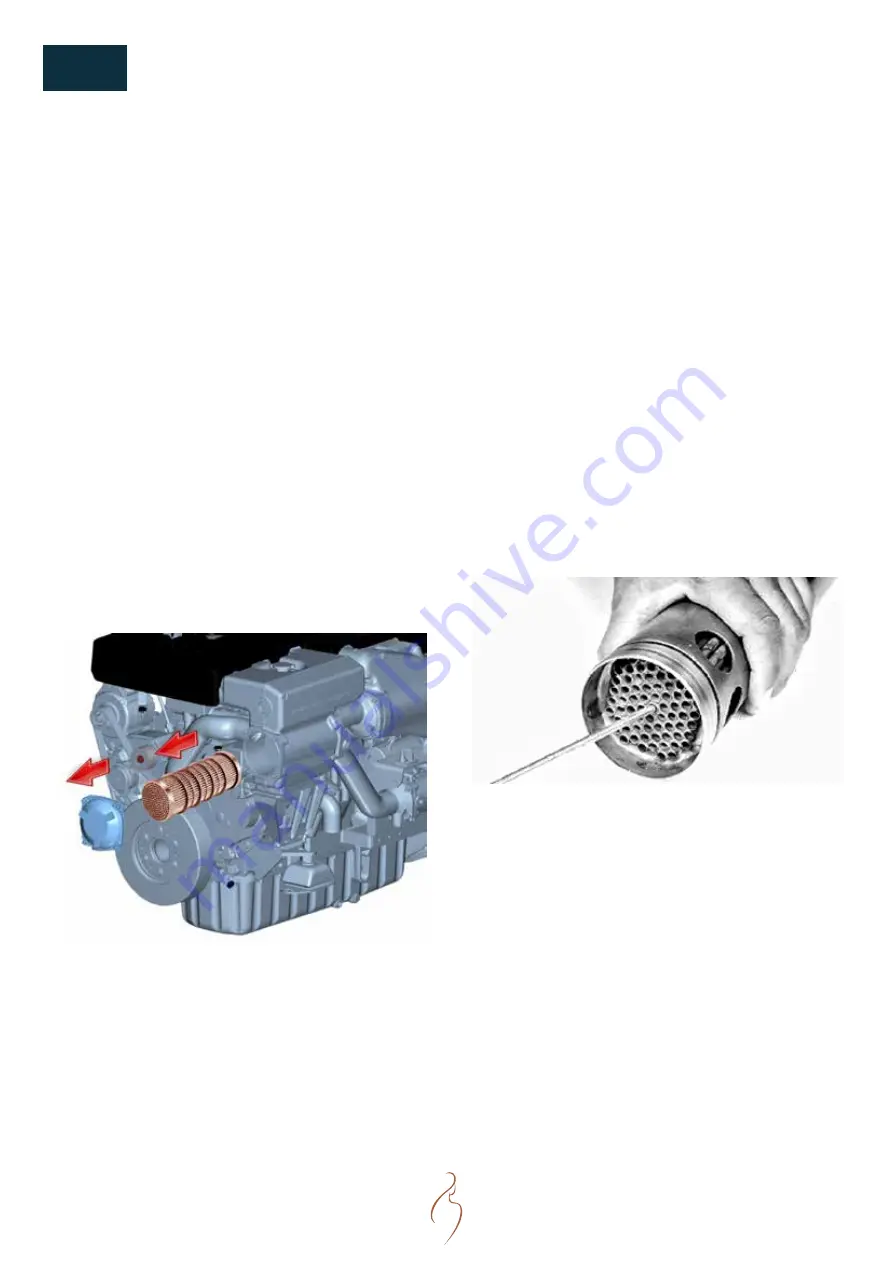
HEAT EXCHANGER SERVICE
HEAT EXCHANGER INSPECTION :
1. Close sea cocks and drain the sea water system.
2. Open drain valve on cylinder block and drain engine
coolant into a clean container. Close drain valve.
3. Loosen hose clamps and disconnect sea water tube.
4. Remove cap screws and remove rear end cap. Identify
end cap so it can be installed in the same position as
removed.
5. Remove socket head cap screws.
6. Remove cap screws and remove front end cap. Identify
end cap so it can be installed in the same position as
removed.
7. Thoroughly inspect condition of end cap sealing O-
rings. Sealing O-rings may be reused if not excessively
worn or damaged during disassembly. Replace sealing
rings as necessary.
8. Remove socket head cap screws.
9. Remove heat exchanger core tube stack through rear
side of housing.
10. Remove remaining end cap from water manifold/
heat exchanger housing. Remove end cap from heat
exchanger core.
11.Thoroughly clean all buildup from both end caps
and inspect zinc plug in each. Replace plugs as needed.
12. Use a brass rod to clean out any buildup in each
heat exchanger tube. Run the rod the entire length of
each tube to push debris out. Flush the heat exchanger
tubes with clean water, making sure all tubes are
cleared of debris.
If you suspect that your heat exchanger core tube stack
is defective, have your authorized Nanni representative
to handle this task. Remove and thoroughly clean with
water the manifold/heat exchanger housing as needed.
Inspect end cap O-rings which may be reused if not
worn nor flattened. Lubricate front and rear end cap
O-rings with clean multi-purpose grease. Thighten cap
screws to 49 Nm (36 lb-ft).
Summary of Contents for N9.330 CR2
Page 2: ......
Page 4: ......
Page 39: ...39 S06 COMPONENTS ENGINE VIEWS N9 CR2 SERIES 1 6 12 19 10 3 13 8 16 2 14 5 18...
Page 40: ...40 ENGINE VIEWS N9 CR2 SERIES S06 COMPONENTS 5 21 12 20...
Page 52: ...52 NOTES...
Page 106: ......
Page 107: ......


