background image

8

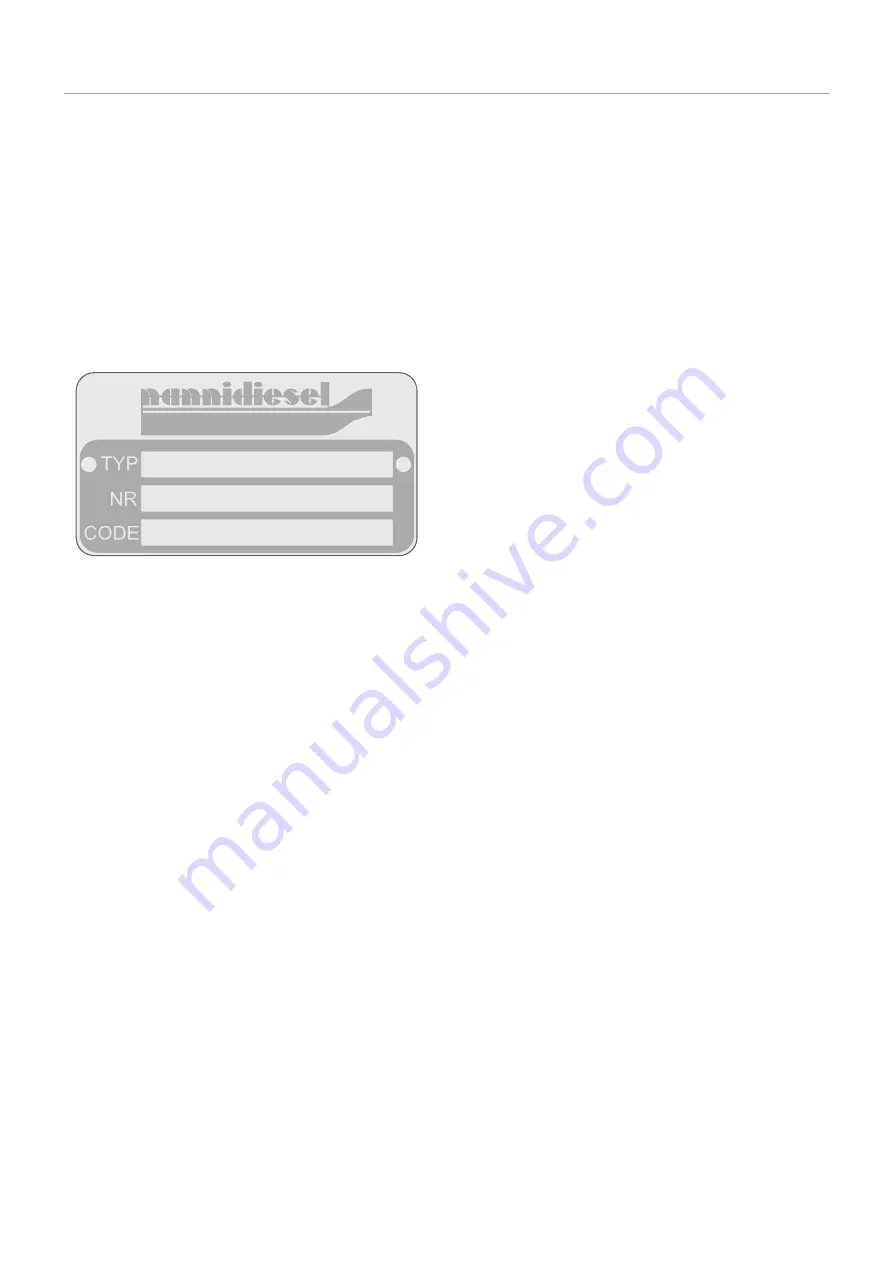
The TYP inscription indicates the commercial des-

ignation of the generating set (eg. QMS10T).

The NR inscription indicates the engine serial

number.

The CODE inscription lists the various specifica-

tions of your engine.

The elements on the alternator identification plate are 

explained in the alternator documentation.

About the generator 

Refer  to  your  generator  manual  for  more  information 

about this component. 
The generators are installed and run for the first time in 

our  factory.  A  professional  electrician  should  connect 

the generating set to the craft’s electrical circuit follow-

ing the applicable safety standards. 
Always check the installation of your generating set be-

fore handling it. Check the overall condition of the gen-

erator,  the  tightness  of  the  assembly  screws  and  the 

stability of the generator as a whole. 

Identification numbers

Your generating set has 2 identification plates: one for 

the engine and one for the generator.
Keep  these  plates  accessible  and  in  good  condition. 

Record  and  keep  the  engine  and  generator  serial 

number and designation. These numbers will be useful 

if you work on your set, order parts or invoke the war-

ranty.
The engine identification plate is as follows:

Checks before commissioning

 Caution! : 

Your generating set must be installed by a 

shipyard or authorised representative following the on-

board assembly instructions. 
The electrical connections must also be carried out by 

qualified personnel. The electrical installation must be 

equipped with all the mechanisms for protecting people 

and property in accordance with the applicable stand-

ards.
When the set has been installed on board and before 

removing the protective elements covering the different 

orifices, clean the exterior surface of the generating set. 
For  transportation  reasons,  some  of  our  generating 

sets are delivered without their operating fluids. In all 

cases, you must:

• Check the levels and fill the engine oil if necessary.
• Fill the exchanger with coolant and degas if neces-

sary.

• If necessary prime the raw water circuit
• Check the belt tension.
• Check  the  tightness  of  the  different  connections

and drain caps (coolant and oil).

• Check the tightness of the alternator electrical lugs

(check the cabling by referring to the corresponding

documentation),  battery  terminals,  circuit  breaker,

connection of extension sections, battery electro-

lyte level.

• Make a final check of the fixing elements and a vis-

ual check of the generating set as a whole.

Some of these operations are explained in more detail 

later in this manual.

  Caution!  : 

The  modern  fuel  engine  is  precision 

equipment that requires the use of a high-quality fuel 

and lubricant.

Presentation

Summary of Contents for QLS 10T

Page 1: ...MARINE GENERATING SET INSTRUCTION MANUAL MU_GE_970315535_ENG QMS 32T QMS 39T QLS 32T QLS 39T QLS 47T...

Page 2: ......

Page 3: ...l system 16 Bleeding the fuel circuit 16 Replacing the fuel filter 16 Replacing the fuel prefilter 16 Draining the water from the fuel prefilter 16 Lubrication system 17 Checking the oil level 17 Drai...

Page 4: ...should be carried out by Nanni Diesel authorised per sonnel or by a professional If you have to work on the generating set carefully follow the safety instructions set down in this manual Certain info...

Page 5: ...ant and oil circuit caps when the generating set is operational and or hot Never start or run the generating set when the oil fill cap is not screwed on as hot oil could spray out If you come into con...

Page 6: ...nal I Rotating parts Rotating parts can be extremely dangerous and cause serious injury and even death Do not work on the generating set when it is operational If work on the engine when running is ab...

Page 7: ...use special filters Avoid using fuel mixed with water or other substances as you may damage the engine The engine performance is influenced by the fuel tem perature the temperature and relative humidi...

Page 8: ...ng I Caution Your generating set must be installed by a shipyard or authorised representative following the on board assembly instructions The electrical connections must also be carried out by qualif...

Page 9: ...gauge 14 Fuel filter 15 Fuel pump 16 Supports 17 Generator 18 Generator identification plate 19 Engine identification plate 20 Generating set hoisting eyes Principal parts of the generating set QLS32T...

Page 10: ...orifice 11 Oil filter 12 Oil drain pump option 13 Oil gauge 14 Fuel filter 15 Fuel pump 16 Supports 17 Generator 18 Generator identification plate 19 Engine identification plate 20 Generating set hoi...

Page 11: ...3 Battery charge This indicator illuminates when the set is switched on If it lights when the generating set is running this indicates an engine alternator charging fault 4 Oil pressure This indicator...

Page 12: ...INJECTION SYSTEM QMS32T QLS32T QMS39T QLS39T QLS47T Combustion principle Indirect Direct Intake Atmosph rique Natural Turbo Injectors Type Bosch mini Injection pressure bar 140 250 Fuel type Gazole NF...

Page 13: ...circuit compo nent has been replaced Starting the generating set I Caution On a soundproof generating set the lo cal remote selector must be in remote position to start the generating set using the in...

Page 14: ...set except in emergencies and contact your Nanni Diesel authorised dealer Stopping the generating set Before stopping the generating set cut the power of the electrical appliances connected to the cr...

Page 15: ...50 of pure antifreeze Use clean and distilled water for the mix Water that is too hard will produce limescale build up and will reduce the cooling system s effectiveness The cooling system allow the...

Page 16: ...e generating set as they may increase the risk of fire in the engine compartment Check the operation of the different lamps and indica tors situated on the instrument panel Take care not to get the ge...

Page 17: ...receptacle under the filter and then remove the used filter C cartridge Apply a thin layer of fuel over the seal surface of the new filter cartridge before fitting it Tighten it by hand until the fil...

Page 18: ...urn Start the engine and let it warm up for approximately 5 minutes so that oil suction is easier Stop the engine Use a pail to collect the extracted oil and pump until the oil has been completely ext...

Page 19: ...t must be drained in or der to remove the various deposits that can build up in the circuit Carry out this operation with the engine stopped and cold Place a receptacle under the drain cap then un tig...

Page 20: ...d with fresh wa ter Ensure the receptacle you use is large enough as the seawater pump must never be run without water Check that no one is in the vicinity of the engine and then start it Let the engi...

Page 21: ...p propriate grease If the battery is replaced use a battery with similar specifications to the previous one If starting with an emergency battery and connection cables proceed as follows Connect the e...

Page 22: ...tec tion of the generating set and consequently the gener ating set itself The installer should ensure that all the necessary precautions are taken to guarantee the cor rosion protection of the genera...

Page 23: ...ce the fuse or replace the circuit breaker Electrical circuit breaker is not working Electrical connections are faulty Check the electrical connections and wires especially the battery cables Clean an...

Page 24: ...ck or faulty Re tighten or replace the belt Seawater pump rotor is faulty Replace the rotor Insufficient coolant Fill with coolant and check that the cooling system is leak tight Thermostat is malfunc...

Page 25: ......

Page 26: ...Nanni Industries S A S 11 Avenue Mariotte 33260 La Teste France Tel 33 0 5 56 22 30 60 Fax 33 0 5 56 22 30 79 www nannidiesel com...

Reviews: