8
Product Setup
Nanoleaf Shapes – User Manual
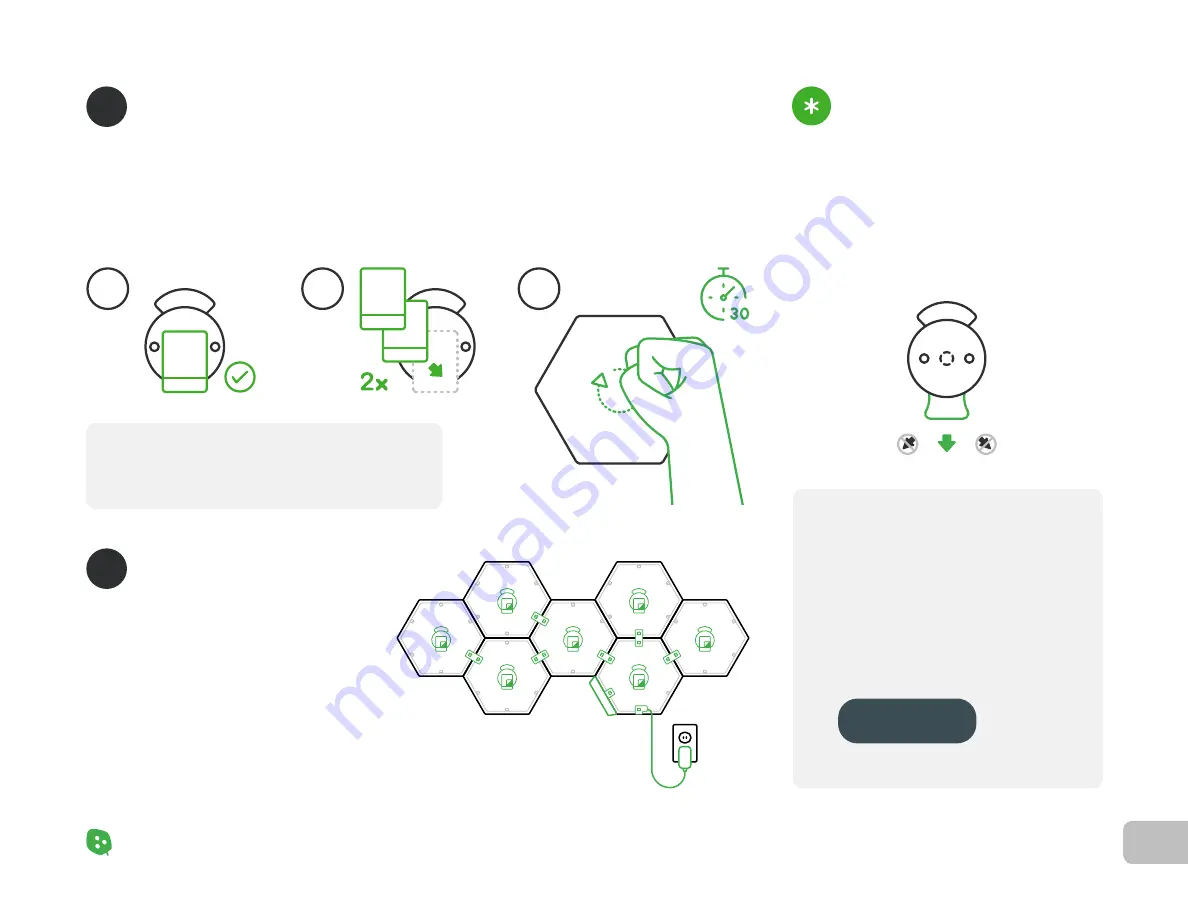
Mount Your Panels
With a piece of tape, attach one adhesive side to the Mounting Plate. Make sure to place it between the
two holes on the plate,
DO NOT cover them (4.1). Repeat the same process so that there are 2 pieces of
tape on each plate (4.2). To mount, position your panel on your surface and use your fist to apply strong
pressure to the center while rubbing in a circular motion for 30s (4.3.)
4
Completing Your Setup
Attach all needed linkers before you mount
the next panel to the wall. Continue to snap
each panel together and ensure that each
panel lights up. Make sure the linkers are fully
snapped onto the linker slot, the panels should
be aligned edge to edge.
5
Gently snap off the panel from the wall. The
Mounting Plate will remain on the wall. With one
hand on the Mounting Plate, use your other hand
to pull the end of tape along the wall. Do not pull
perpendicularly or at any other angle, otherwise
you may damage your wall.
Need to Dismount Your Shapes?
Be even more creative and grow
your setup with Expansion Packs.
Purchase at
NOTE: Make sure to leave end of the tape sticking out. This will
allow you to safely remove them later from the wall.
4.1
4.2
4.3
Summary of Contents for Shapes Hexagons
Page 1: ...Nanoleaf Shapes Hexagons User Manual...
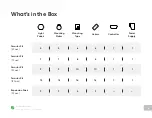
Page 4: ...Product Overview Light Panels Mounting Plates Mounting Tape Linkers Controller Power Supply...
Page 5: ...Product Setup...
Page 17: ...Product Resources...
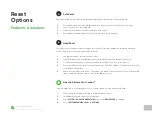
Page 20: ...Problems Solutions...
Page 27: ......


