3. Removing the front panel and top cover
Please keep in mind that the top cover is made of tempered glass and as such should be
handled with care.
3.1 Removing the front panel
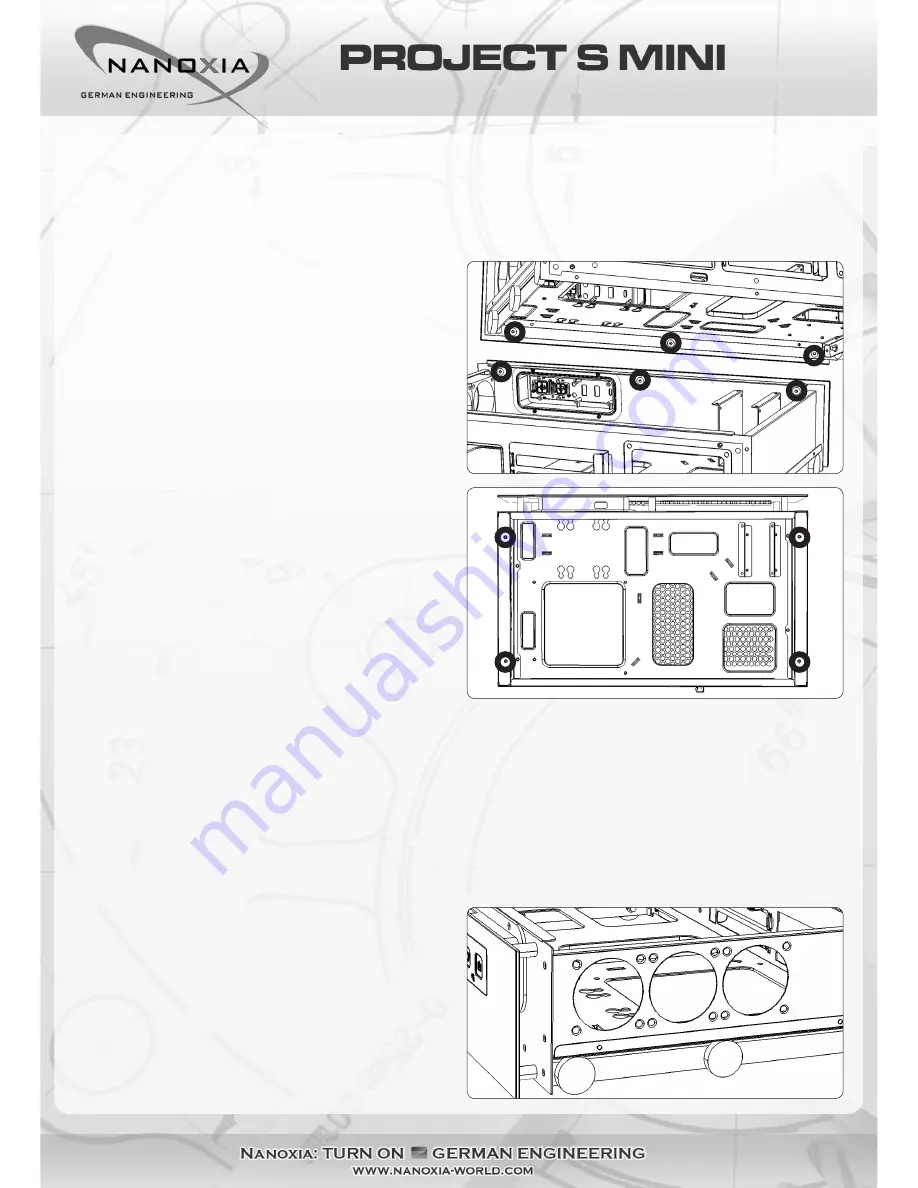
To remove the front panel, remove the six
screws from the inside of the drawer, which
holds it in position (3 x above, 3 x below the
motherboard-tray). Please be aware of the
Rigid-LED connector cable, else you might
damage it.
3.2 Removing the top cover
To remove the top cover of the case, please
unscrew the four screws that hold it in place.
You can then simply take it off.
4. Fan assembly
Up to three 60 mm case fans can be mounted inside the Project S Mini.
All air intake openings of the Project S Mini are equipped with easy to clean dust filters. We
recommend that you clean them on a regular basis. This includes the air intakes for the SFX
PSU and the VGA card.
4.1 Fans on the right side panel
Three 60 mm fans can be mounted at the right
side panel. For installation, please hold them to
the chassis from the inside and fix them with
screws from the outside.
05
Summary of Contents for PROJECT S MINI
Page 1: ......
Page 11: ...Nanoxia...