Case fans installed at the side of the case should exhaust air out of the case (fan rear side
facing outwards). The dust filter is magnetic and can be removed and cleaned easily.
5. Installation of the VGA card
The graphics card is installed horizontally in the Project S Mini. For the installation, first remove
the PCI slots by loosening the screws. Then insert the graphics card and screw it into the PCI
bracket.
For the installation of longer VGA cards, we recommend using the rubber spacers supplied by
us to support the card in the rear area.
Connect the supplied PCI-E 3.0 Riser card cable to the PCI-E slot of your mainboard and then to
the graphics card. The high-quality cable does not need any additional power supply.
The cables are perfectly shielded and offer a particularly stable signal transmission.
The openings in the chassis below the graphics card are equipped with a magnetic dust filter.
We recommend cleaning it regularly. Simply pull the drawer out so you can reach the filter
easily.
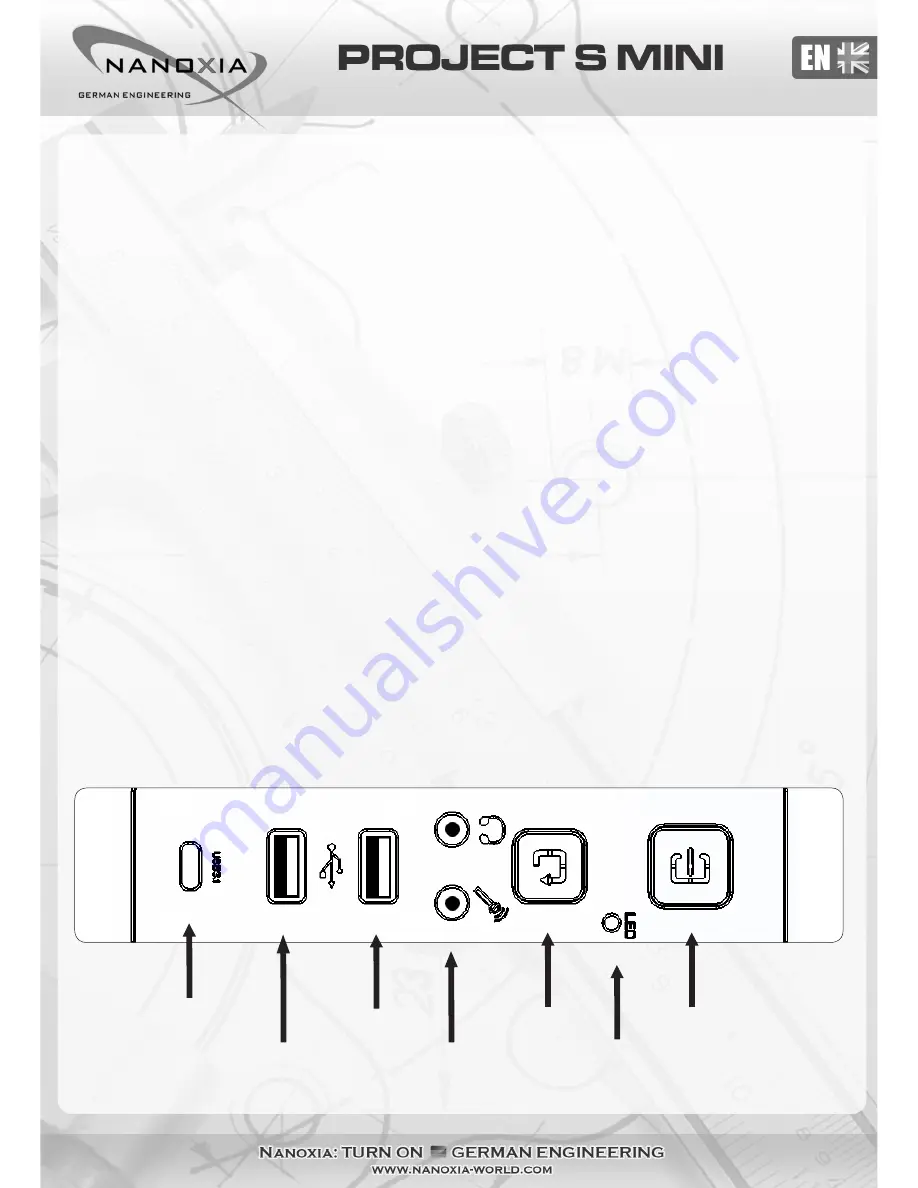
6. Das I/O-Panel
The I/O panel includes connectors for external USB devices (2 x USB 3.0, 1 x USB 3.1 Type C),
and the microphone and headphone ports. The power-, reset-, and RGB color selector button
are located here as well.
USB 3.0
USB 3.0
USB 3.1 type C
On/Off botton
RGB color selector button
Reset button
Audio connectors
06
Summary of Contents for PROJECT S MINI
Page 1: ......
Page 11: ...Nanoxia...