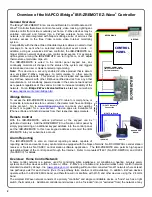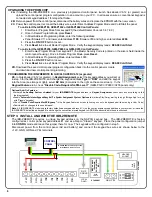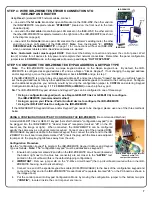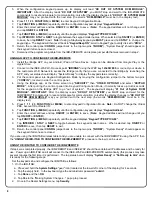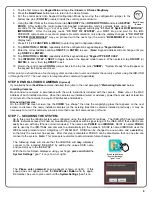
11
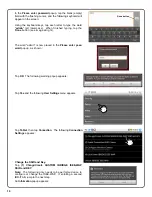
Tap
Continue
. In the
Preferred Network
dialog that appears
(shown at right), type a new
SSID
name, ensure the default
security protocol is
WEP
, then type a new secret
Key
(check
Show Password
to view the password text as you type).
The
Key
MUST be one word (no spaces) 10 digits in length
using only 0-9, A, B, C, D, E or F as digits.
DO NOT use the
same
SSID
name and secret
Key
as the customer's router.
Again, do not use spaces!
When finished, tap
Save
. This action adds this unique
SSID
and this unique
Key
to the ISEE-WAP. A popup will display
that reads, "
Command completed successfully -- OK
" . Tap
OK to close; wait two (2) minutes for the ISEE-WAP to re-
start and the IBR-ITAB to reconnect.
Next, you must configure the IBR-ITAB to hereafter ONLY
connect to the ISEE-WAP with this unique
SSID
and this
unique
Key
. Proceed as follows:
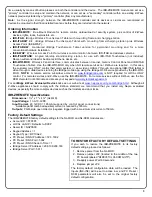
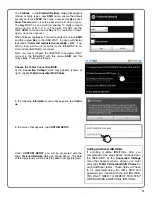
Choose the Tablet Connection/SSID.
At the
Connection Settings
menu that appears (shown at
right), tap
(2) Tablet Connection/SSID Choice
.
In the following
Information
popup that appears, tap
Contin-
ue
.
In the screen that appears, tap
CUSTOM SETUP
.
Under
CUSTOM SETUP
you will be presented with the
same
Preferred Network
dialog as shown above. The data
entered previously will still exist; tap
Join
to accept this data.
Adding Additional IBR-ITABs
If enrolling multiple IBR-ITABs, after you
complete all of the steps above and lock down
the ISEE-WAP, at the
Connection Settings
menu that appears (shown above), you must
select
(2) Tablet Connection/SSID Choice
for
each additional tablet. These fields will have
to be completed using the same SSID and
password you created with the first IBR-ITAB.
YOU ONLY NEED TO REPEAT THIS STEP
WHEN ADDING ADDITIONAL IBR-ITABs.
Summary of Contents for iBridge Suite
Page 18: ...18 NOTES...


