37
" V I D E O " B U T T O N > E N R O L L C A M E R A S
Camera Enrollment
After activating the camera at
www.NapcoComNet.com
, there are 3
configuration methods that can be used to enroll your
ISV2
series
camera into your iBridge app:
A. Configure Wi-Fi using an Ethernet Cable
B. Configure Wi-Fi wirelessly
C. Configure camera that has NO Wi-Fi
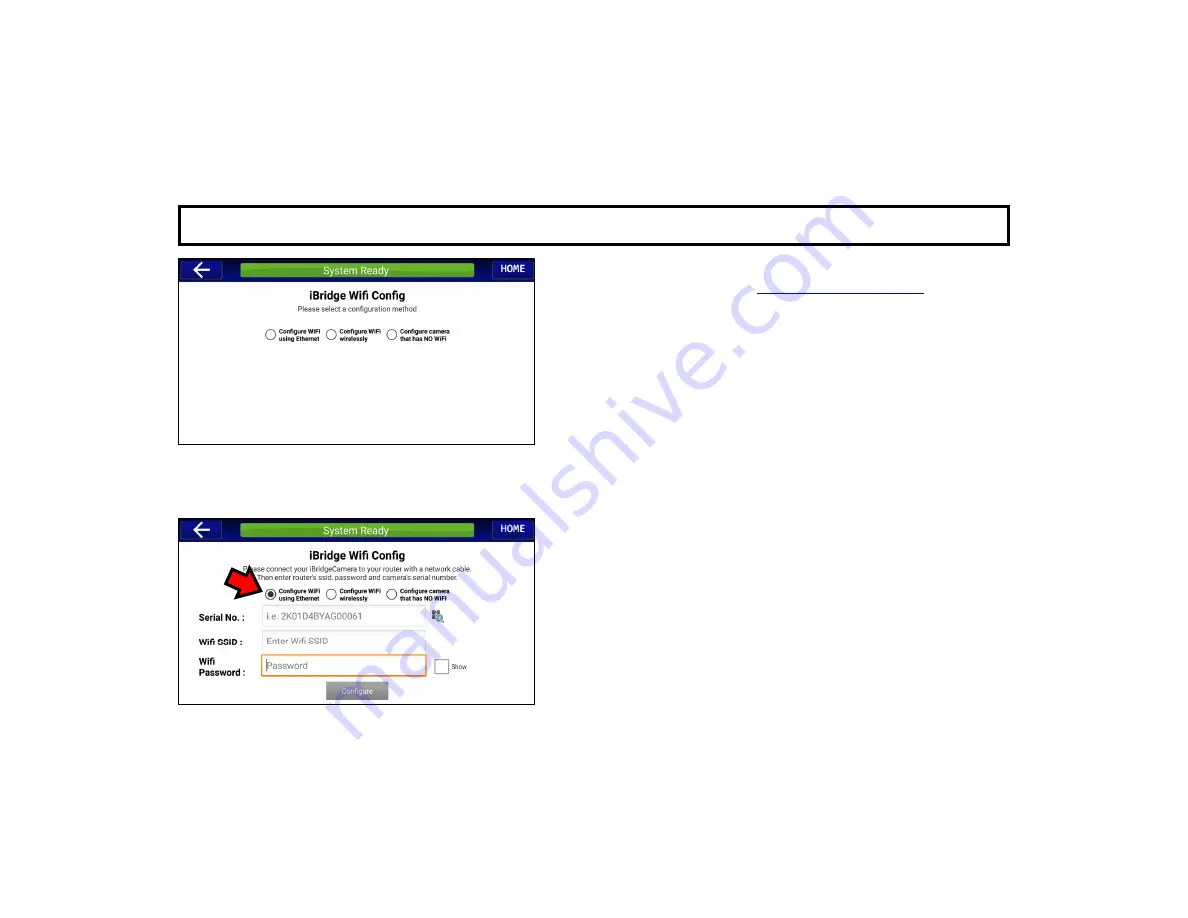
Tap one of the 3 radio buttons to select the configuration method (full
instructions for each detailed below). If cameras will be configured to
your subscriber's Wi-Fi router using an Ethernet cable (method "A",
above), we recommend performing this procedure with your mobile
device in the same room as the wireless router or access point be-
fore mounting the camera (also be sure the final mounting location is
within wireless range of the router / access point). Perform the en-
rollment procedure with your mobile device connected to the local
2.4GHz Wi-Fi network and after logging into your iBridge app:
A. Configure Wi-Fi using an Ethernet Cable
This method requires temporary use of an RJ-45 Ethernet network
cable to make the network connection to the camera.
1. Power camera. Wait for the camera green LED to flash slowly.
2. Connect the camera to the router using the RJ-45 cable.
3. Tap the "QR Code Magnifying Glass" icon (located to the right
of the
Serial No.
field). Use the mobile device's camera to
scan the QR code of the video camera you wish to enroll (or
tap within the
Serial No.
field to type the characters manually).


