Operating Instruction
3-1
3 - Operating instructions
3.1 Starting PMM 1008
3.2 Main menu display
PMM 1008 has been designed with a user friendly interface to be used by
EMC engineer as well by non-skilled personnel.
For a better safety must connect all cable before connected the Magnetic
Field Generator at distribution Network and not disconnect anything before
end of test.
For connect the Magnetic Field Generator at distribution network
must used only a appropriate cable included in the PMM 1008. For
connect the instrument at distribution network don’t use extension
lead or adapter.
Connect the power supply cable and HD Key to the rear panel connector
and switch on, the standby led will switch on.
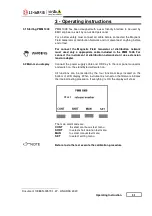
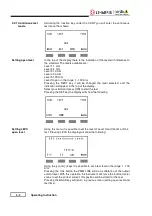
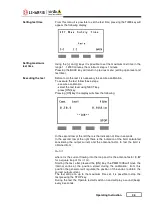
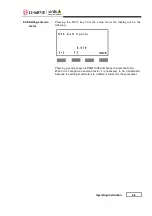
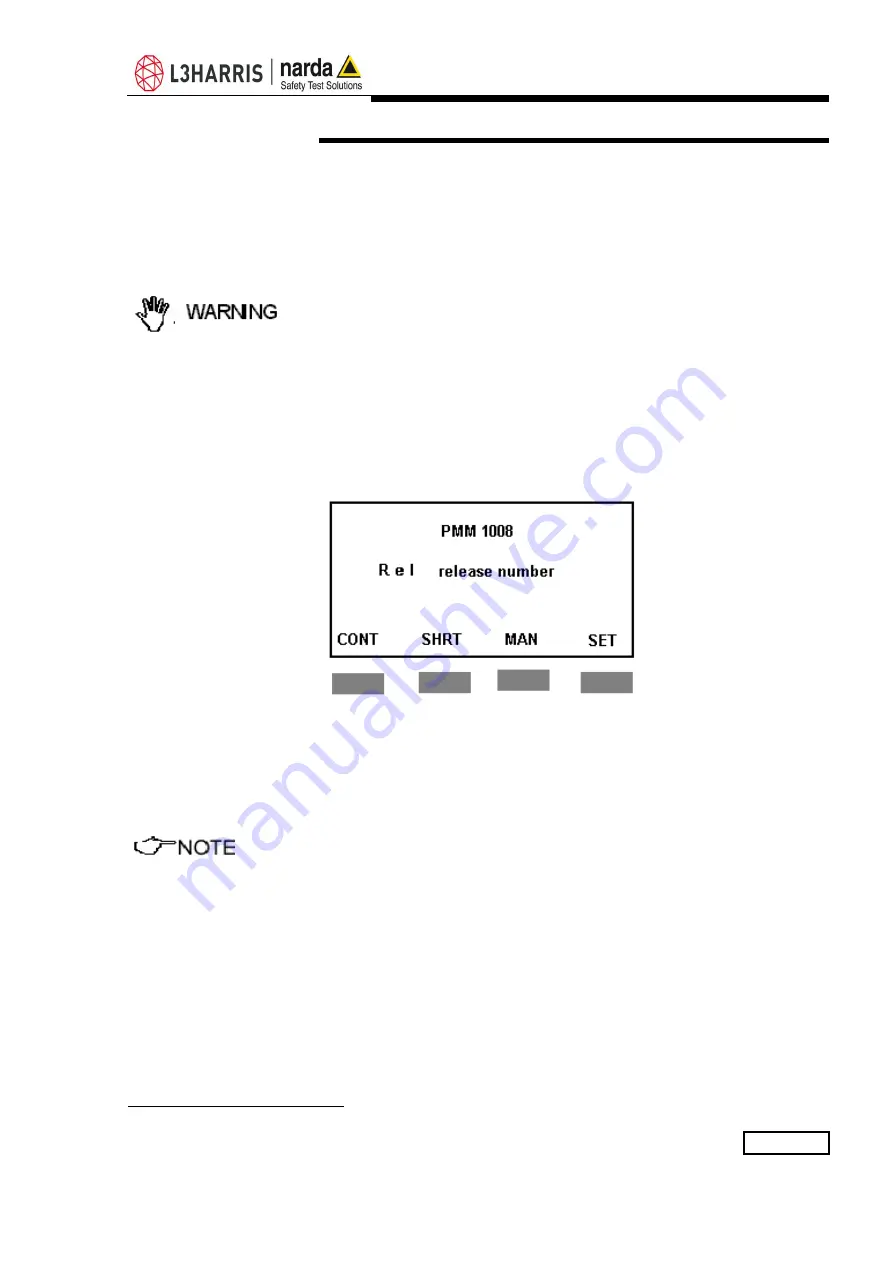
All functions can be recalled by the four functional keys located on the
bottom of LCD display. When instrument is turned on the firmware initiates
the internal testing procedure. If everything is OK, the display will show:
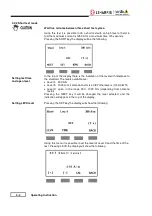
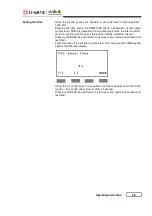
The main commands are:
CONT
to select continuous test menu
SHRT
to select short duration test menu
MAN
to select manual test menu
SET
to select setting menu
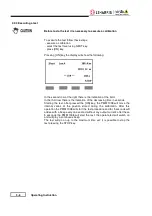
Before to do the test execute the calibration procedure
Document 1008EN-00519-1.27 -
© NARDA 2020
Summary of Contents for PMM 1008
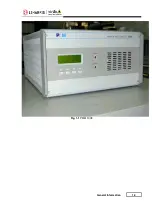
Page 9: ...General Information 1 3 Fig 1 1 PMM 1008...
Page 12: ...1 6 General Information This page has been left blank intentionally...
Page 16: ...2 4 Installation 3 Lock the loop to the support using the six screws...
Page 17: ...Installation 2 5 4 Lock the antenna mast on the Cart using the screw on the bottom...
Page 36: ...5 4 How to program This page has been left blank intentionally...
Page 40: ...Suggerimenti Commenti Note Suggestions Comments Note...


