3-18 9010F
Fast
3.3.3.5 Conversion
factor
When using a transducer to make a measurement – a Voltage or Current
Probe, an Antenna, etc. – there is always the need to add to the measured
values the conversion factor of the transducer in use.
The Conversion factor may also take proper account of losses as cable
loss, attenuators added externally to the receiver, etc.
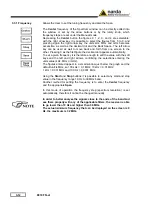
The PMM 9010F can handle these factors in an automatic way and directly
correct the readings.
The PMM 9010F can store in its internal non-volatile memory up to 4
different correction factors, and use them one at a time when recalled.
However, the
Conversion Factors
shall be created and loaded via the
PMM 9010F Software Utility.
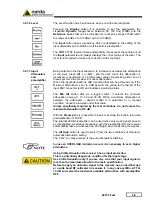
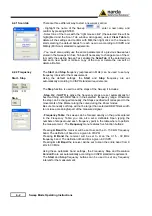
Press the relevant button to load the conversion factor, and
NONE
to
unload it.
3.3.4 Marker
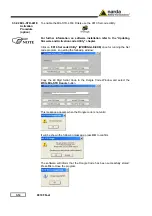
With this command the
Marker
function can be enabled.
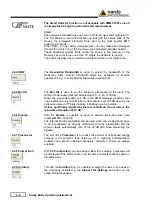
Switching ON the marker it appears on the screen as a small black pointing
down arrow, and simultaneously a small window shows up in the bottom
left corner of the screen, indicating the actual frequency and level read by
the marker.
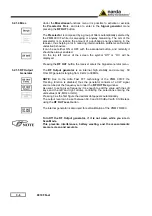
Pressing the
Peak
button the marker will automatically move to the highest
signal found in the span range in that given moment, and with the help of
the
Center
button the frequency selected by the marker becomes the
center frequency on the screen, making very easy any signal analysis.
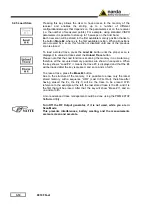
ESC
: This button allows to return to the previous view or condition.
3.4 Setup - Unit
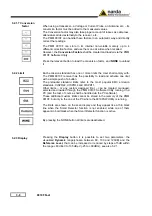
Entering in the
Unit
menu it is possible to change the indicated unit used to
display the measured levels.
The available units are
dBµV
and
dBm
.
In a 50 Ohm system the relationship between dBm and dB
μ
V is:
dB
μ
V = dBm + 107
i.e., 0 dBm (1 mW) = 107 dB
μ
V
Summary of Contents for PMM FR4003
Page 10: ...X Contents This page has been intentionally left blank...
Page 20: ...1 10 General Information This page has been intentionally left blank...
Page 26: ...2 6 Installation Remove the battery charger and all AC plug adapters enclosed into the bag...
Page 32: ...2 12 Installation This page has been left blank intentionally...
Page 82: ...5 12 Utility Calibration and Analog mode This page has been left blank intentionally...
Page 94: ...7 10 Updating Firmware This page has been left blank intentionally...
Page 134: ...10 4 Packaging Instructions Close the carrying case...
Page 138: ...Suggerimenti Commenti Note Suggestions Comments Note...


