background image

English

11

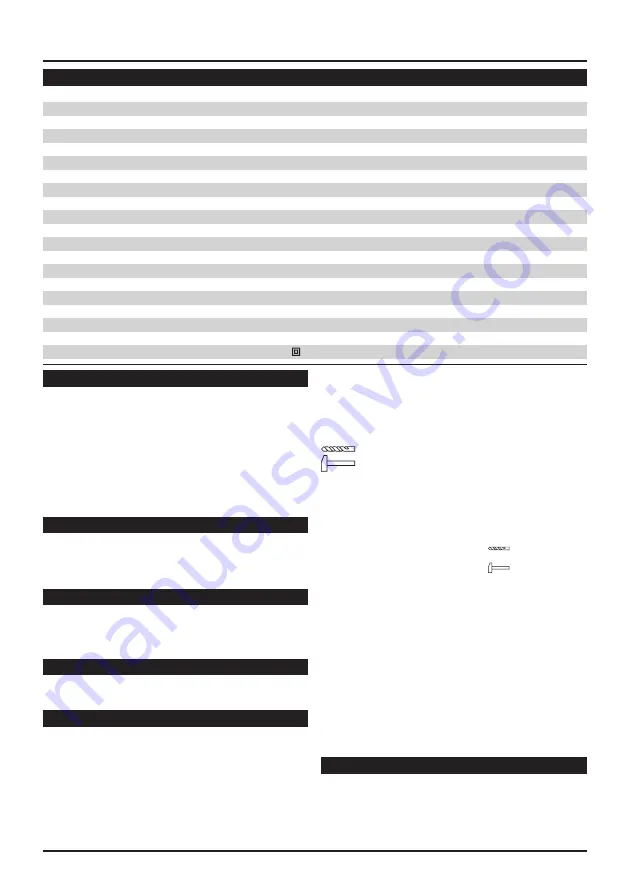
Technical data

Rotary hammer

Typ  

EKV 20 E

Voltage.

30.V

Frequency.

50–60.Hz

Input.power.

550.W

No-load.speed.

0–1.000.min

–1

Speed.under.load.

0–730.min

–1

Electronic.speed.control.

Right/Left.rotation.

No-load.impact.rate.

0–4.950.min

–1

Impact.energy.

.0.J

Tool.holder.

SDS-Plus

Drilling.–.ø.max.,.full.drill:

.

Steel.

13.mm

.

Wood.

30.mm

.

Concrete.

0.mm

Screw.screws-.ø.max.

.

Wood.

6.mm

Weight.

..kg

Protection.class.

II./

Description of the device

1 ............ Chuck head 

2 ............ Locking sleeve 

3 ............ Ventilating apertures 

4 ............ On/off switch with speed control 

5 ............ Locking button for on/off switch 

6 ............ Function change over switch 

7 ............ Switch for change of rotating direction 

8 ............ Additional handle 

9 ............ Adapter with thread for chuck 

10 .......... Chuck 

11 .......... Protective cover
Not all of the accessories illustrated or described are included as standard 

delivery.

Application

Electropneumatic hammer drill is the device specified in particular for im-

pact drilling into concrete, stone and masonry, further on, for  impact-free 

drilling and screwing into wood, metal and plastics. 
This electropneumatic hammer drill may be used for the purposes above 

within the scope determined by the manufacturer.

Double insulation

To ensure maximum safety of the user, our tools are designed and built to 

satisfy applicable European standards (EN standards). Tools with double in-

sulation are marked by the international symbol of a double square. These 

tools  must  not  be  grounded  and  a two-wire  cable  is  sufficient  to  supply 

them with power. Tools are shielded in accordance with EN 55014.

Supplementary handle assembly

Before any interference to the tool, disconnect the supply cable first. Use 

the hammer only with supplementary handle (10). Mount the handle to the 

fastening neck and secure with revolving grip.

Putting into operation

Connect  only  to  a single-phase  alternating  current  power  network  with 

voltage marked on the nameplate. It is possible to connect the tool even to 

outlets without a protective contact, as this is a class II appliance.
Check, if the plug type corresponds with type of the outlet.

Switching ON and OFF

To switch the tool on, push the switch (4) and hold. The hammer switches 

off as soon as you release the hold of the switch.

Rotation regulation

You can continuously change rotations with the switch (5). Push the switch 

slightly and the hammer will start rotating slowly. The stroger you push at 

the switch, the faster the rotation.

Function switch

The change-over switch of functions (6) has two positions:
 

= drilling,


= impact drilling.

Change the functions in the rest position only. Swivel the switch (6) simply 

to the requested position. 
The hammer drill gearbox will be switched to the selected position after 

depressing the switch (4) and/or as soon as the hammer drill is started.

Drilling and impact drilling

For drilling or screwing:
switch the function switch (6) onto the symbol 

.

If you want impact drilling:
switch the function switch (6) onto the symbol 

.

Notice: When impact drilling, do not change the speed to the left to 

prevent drill damage. You can switch the speed to the left only if the 

drill is jammed and you want to put it out of the hole more easily. Use 

only and exclusively the recommended drills with the SDS-Plus shank 

for impact drilling.

You  cannot  use  the  impact  drills  with  the  cylindrical  shank  specified  for 

common chucks (quick-acting chucks or chucks with handle) for this elec-

tropneumatic hammer drill.

Direction switch

Use the direction switch (7) only if the hammer drill is at rest. Grip the speed 

switch (7) from both sides.
Rotation to the right: 

Move the speed switch (7) to „R“.

Rotation to the left: 

Move the speed switch (7) to „L“.

Important! Swivel the speed switch (7) as far as the stop on the mo-

tor guard, until you can hear a click. If the speed switch is in the in-

termediate position between „R“ and „L“, the hammer drill cannot be 

started.

Inserting and removing bits

Drilling and chiseling bits are inserted to and removed from the chuck head 

(1) without a key.

Inserting bits

Before any interference to the tool, disconnect the supply cable first.
Clean the shank of the bit and grease it slightly.

Summary of Contents for EKV 20 E

Page 1: ...P vodn n vod k pou v n P vodn n vod na pou itie Original operating manual Instrucciones de uso originales p Pierwotna instrukcja obs ugi Eredeti haszn lati tmutat EKV 20 E...

Page 2: ...o reduce the injury hazard Cuidado Lea las instrucciones para reducir los riesgos de que se produzcan da os Uwaga Dla zmniejszenia ryzyka urazu nale y przeczyta niniejsz instrukcj Figyelem A vesz lyek...

Page 3: ...1 2 3 4 5 6 7 8 9 10 11...

Page 4: ...ov n vidlice do z suvky a nebo p i zasouv n bate ri i p i p en en n ad vypnut P en en n ad s prstem na sp na i nebo zapojov n vidlice n ad se zapnut m sp na em m e b t p inou nehod d P ed zapnut m n a...

Page 5: ...ntaktu nebo spot ebi je t dy II Zkontrolujte zda typ z str ky odpov d typu z suvky Zapnut a vypnut P stroj se zap n tak e stisknete sp na 4 Vypne se jakmile sp na uvoln te Sp na je mo n pomoc areta n...

Page 6: ...spole nosti Narex Stroj je vybaven samoodpojiteln mi uhl ky Jsou li uhl ky opot ebeny mo tor se automaticky vypne T m se zabr n po kozen rotoru V m na uhl k sm b t provedena pouze autorizovan m st edi...

Page 7: ...suvky alebo pri zas van bat ri i pri pren an n radia vypnut Pren anie n radia s prstom na sp na i alebo zapojovanie vidlice n radia so zapnut m sp na om m e by pr inou neh d d Pred zapnut m n radia od...

Page 8: ...ochrann ho kontaktu preto e spotre bi je triedy II Skontrolujte i typ z str ky zodpoved typu z suvky Zapnutie a vypnutie Pr stroj sa zap na tak e podr te stla en sp na 4 Vypne sa hne ako vyp na uvo n...

Page 9: ...ervisn prehliadku a d kladn vy istenie do autorizovan ho servisu spolo nosti Narex Stroj je vybaven samoodpojite n mi uhl kmi Ak s uhl ky opotreben motor sa automaticky vypne T m sa zabr ni po kodeniu...

Page 10: ...carrying the tool Carrying power tools with your finger on the switch or energising power tools that have the switch on invites accidents d Remove any adjusting key or wrench before turning the pow er...

Page 11: ...ive contact as this is a class II appliance Check if the plug type corresponds with type of the outlet Switching ON and OFF To switch the tool on push the switch 4 and hold The hammer switches off as...

Page 12: ...ons If the carbons are worn down the motor automatically switches off This prevents the rotor from further damage The carbons may be replaced only by an authorized service centre Approximately every 1...

Page 13: ...ndo vaya a cambiar las bater as o porte las herramientas Asimismo la causa de accidentes puede ser tambi n el portar una herramienta con el dedo puesto en el pulsador o el conectar la clavija con el p...

Page 14: ...evoluciones se pueden regular de manera precisa con el bot n 4 Con una presi n leve del bot n el martillo de taladrar comienza a girar lentamen te Cuanto m s presione el bot n m s r pida ser la rotaci...

Page 15: ...se evitan da os al rotor El cambio de los carbonos nicamente debe realizarse en centros autorizados Adem s cada aprox 100 horas de trabajo es necesario realizar un mante nimiento regular del aparato...

Page 16: ...16 1 2 a RCD RCD 3 a 4 a 5 a...

Page 17: ...17 T EKV 20 E 230 V 50 60 550 0 1 000 1 0 730 1 0 4 950 1 2 0 SDS Plus 13 30 20 6 2 2 II 1 2 3 4 5 6 7 8 9 10 11 8 II 4 5 4 6 6 6 4 6 6 SDS Plus 7 7 7 R 7 L 7 R L...

Page 18: ...18 1 2 11 2 9 10 9 SDS Plus x20 UNF 10 2 2 8 6 10 9 3 Narex 100 5 C a 5 C 2002 96 ES 12 24 6 NAREX...

Page 19: ...5 ahHD 16 8 2 K 1 5 2 LPA 94 LWA 105 K 3 EN 60745 1 EN 60745 2 6 2006 42 E EN 55014 1 EN 55014 2 EN 61000 3 2 EN 61000 3 3 2004 108 E 2009 Narex s r o Chel ick ho 1932 Anton n Pomeisl 470 01 esk L pa...

Page 20: ...lizgowe sztywne nakrycie g owy lub ochrona s uchu u ywane zgodnie z warunkami pracy obni aj niebezpiecze stwo uraz w os b c Strze cie si nieumy lnego w czenia Sprawdzajcie czy wy cznik podczas wtykan...

Page 21: ...asy II Skontrolowa czy typ wtyczki odpowiada typowi gniazdka W czenie i wy czenie Narz dzie w cza si przytrzymuj c naci ni ty w cznik 4 Wy czy si po puszczeniu w cznika W cznik mo na za pomoc przycisk...

Page 22: ...e uszkodzeniu wirnika Wymian szczotek mo e przeprowadza wy cznie autoryzowany warsztat Opr cz tego trzeba po ka dych ok 100 godzinach pracy odnie narz dzie na przegl d okresowy kt ry zapewni sta e dob...

Page 23: ...atlan ind t s t Gy z dj n meg ar r l hogy a csatlakoz dug ki van h zva a dugaszaljb l vagy az akkumul tor ki van kapcsolva a szersz m thelyez s n l A szersz m thelyez se jjal a kapcsol n vagy a h l za...

Page 24: ...lel e a fali csatlakoz t pus nak Bekapcsol s s kikapcsol s A k sz l ket a kapcsol 4 benyom s val kell bekapcsolni Amint elengedi a kapcsol t a g p kikapcsol A kapcsol t a r gz t si gomb 5 seg ts g vel...

Page 25: ...zerelve Ha a sz nkef k elhaszn l d nak a motor automatikusan kikapcsol Ezzel v d a rotor s r l se ellen A sz nkef k cser j t csak m rkaszerviz v gezheti A g pet tov bb kb minden 100 munka ra ut n rend...

Page 26: ...26...

Page 27: ...27...

Page 28: ...x cz Narex s r o Chel ick ho 1932 CZ 470 01 esk L pa V robn slo Datum v roby Kontroloval Dne Raz tko a podpis Z RU N OPRAVY Datum P evzet P ed n Raz tko a podpis Prod no spot ebiteli Z RU N LIST 00 64...

Reviews: