- 13 -
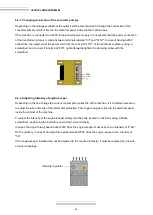
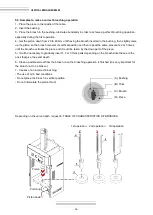
Star picture
(preset)
For tension 400V
Triangle picture
For tension 230V
4. INSTALMENT AND STARTING UP
4.1 Instructions to fix it
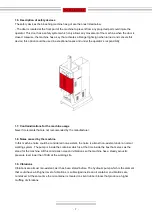
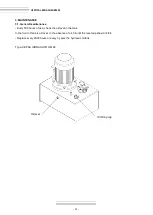
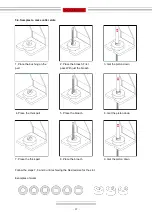
When the machine is put down by a crane it is necessary to place it down correctly so it doesn’t have to be
moved once it is on the floor. In case it is not possible, then a moveable base must be placed below aways
caring for its inclination to avoid any possible turn over.
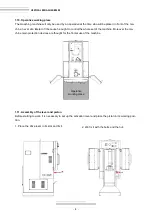
4.2 Assembling to reduce noise and vibrations
The machine will be fixed on the floor due to its own weight, therefore it needs to be located in a flat and
leveled surface so any possible vibration could be also reduced.
4.3. Admissible outer conditions
* Environment temperature: b5ºC and +40ºC without exc35ºC as average temperature
within 24 hours.
* Humidity: Between 30% and 90% without water condensation.
4.4. Connection to power supply
In order to cary out the electrical connections of the machine, first make sure it is not plugged to the electri-
cal supply and that there is no tension in any of its pieces.The machine should be connected to only one
source as well as to a proper ground socket to avoid possible accident and keep the equipment saved from
any possible power leaking.
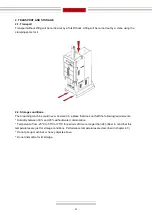
The standard machine is prepared to be connected to a 400V three phased system. In case the supply
three phase tension was 230V a change must be carried out in the connections inside tha machine to
adapt it to that tension.
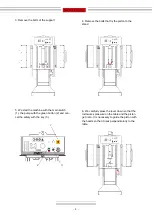
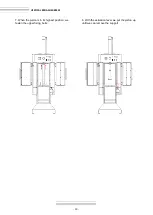
The machine has a 230/400V three-phased engine that comes star like connected. If the three phase line
tension is 230V it must be connected triangularly. The engine is inside the box that serves as stand for the
machine. The lateral of the machine must be opened and the cover of the engine connection box must be
removed. The engine bobins will be accessible then and it will be possible to carry out the change from
triangle to star connections as it is indicated in the following pictures:
Once the engine bobins connection is finished, the cover of the box connections must be closed as well as
the lateral door by fastening the screws.
Summary of Contents for BM25
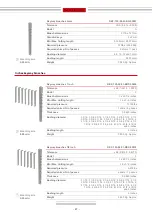
Page 2: ...Thank you for choosing our machines www nargesa com...
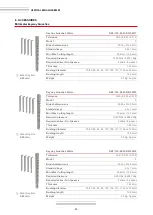
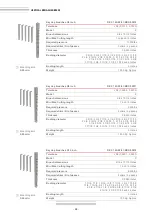
Page 18: ...18 VERTICAL BROACHER BM25 6 TABLE OF CHARACTERISTICS OF BRUSHES 6 1 Millimeter keyway broaches...
Page 19: ...19 6 2 Inches keyway broaches...
Page 20: ...20 VERTICAL BROACHER BM25...
Page 35: ...A3 VERTICAL BROACHER BM25 A1 List of parts...
Page 36: ...A4...
Page 37: ...A5 VERTICAL BROACHER BM25...
Page 38: ...A6...
Page 39: ...A7 VERTICAL BROACHER BM25...
Page 40: ...A8 A2 Piston assembly...
Page 41: ...A9 VERTICAL BROACHER BM25...
Page 42: ...A10 A3 Hydraulic group...
Page 43: ...A11 VERTICAL BROACHER BM25...
Page 44: ...A12...
Page 45: ...A14 A4 Electric box...
Page 46: ...A15 VERTICAL BROACHER BM25...
Page 47: ...A16...


